After posting my last blog post (Goodbye Dropbox, One Drive, iCloud and Hello Nextcloud private cloud on UpCloud) I received comments from readers as to why I used Putty/WinSCP and not MobaXterm. To be honest I had no idea MobaXterm existed.
I did a quick Google and checked out the pros and cons of Putty/WinSCP v MobaXTerm.
MobaXterm Highlights
- MobaXterm is a lot faster at uploading and downloading files over SSH connections
- MobaXterm can connect to practically anything (SSH, Telnet, RDP, RSH, Xdmcp, VNC, FTP, SFTP, Serial, Shell etc)
- Multiple terminals can either be in tabs or split horizontally or vertically.
- Edit remote files via SSH and SFTP – Pro feature
- Supports macro controls (multi commands in single screen) – Pro feature
- MobaXterm has many plugins
- MobaXterm can be run from a portable USB drive
Nice
MobaXterm Website
I visited https://mobaxterm.mobatek.net/
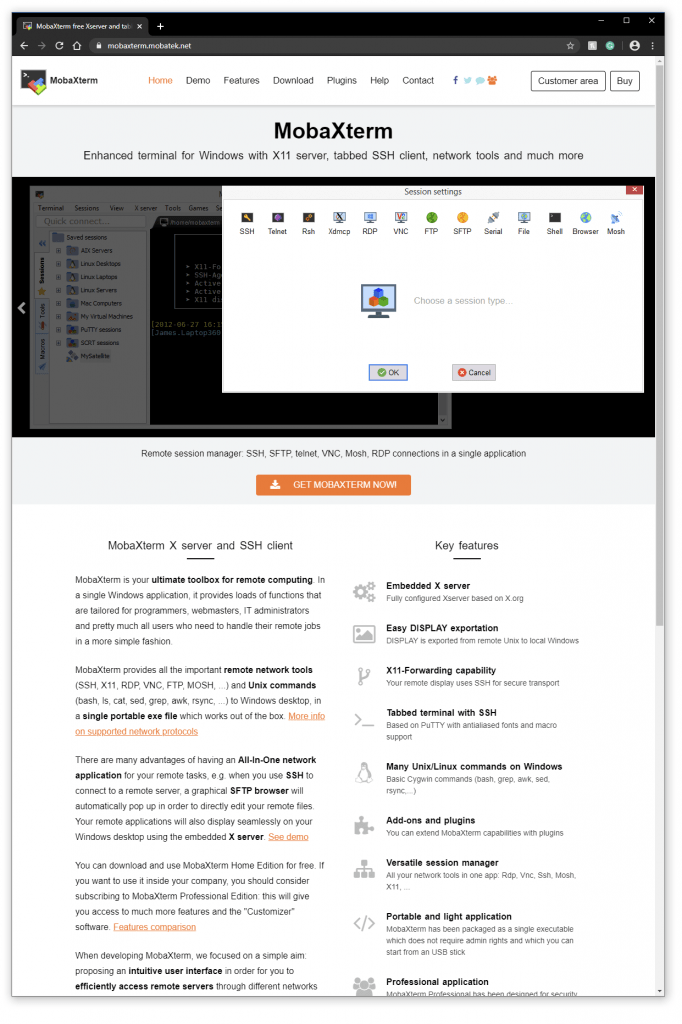
I had an option to download the Free Version or to purchase a Professional Version.
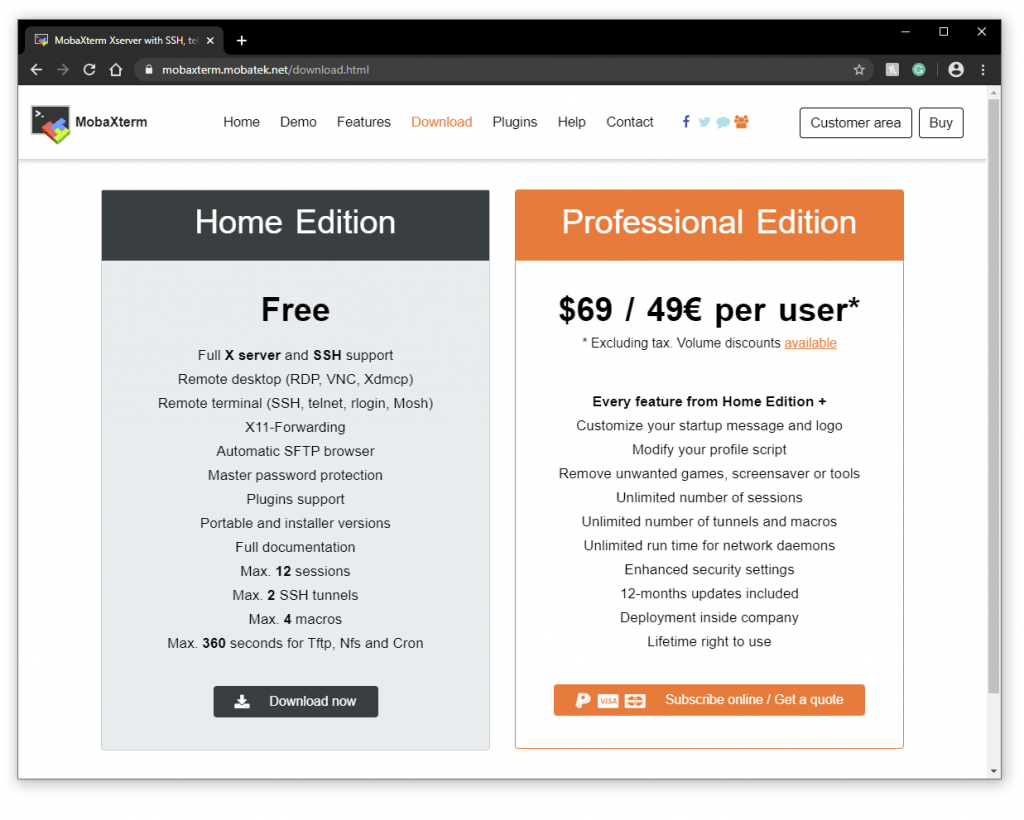
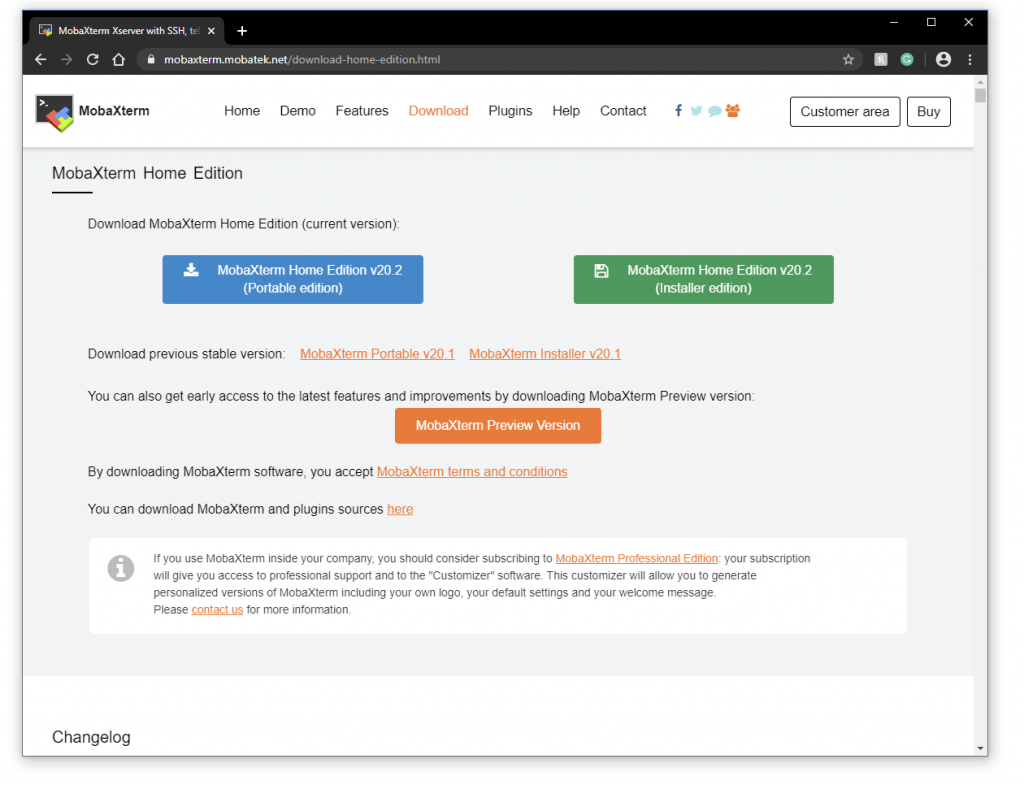
I will be reviewing the Pro version (you will see why later). I am reviewing Version 20.2 (Build 249). You can download the free version at https://mobaxterm.mobatek.net/download.html.
If you purchase the Pro version (with 12 months of updates) for $69 USD. Delivery is done by email within 24 hours after payment is received.
Installing MobaXterm
I downloaded the 1.5MB Installer (the link was emailed to me after purchase)
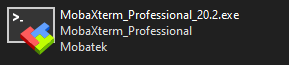
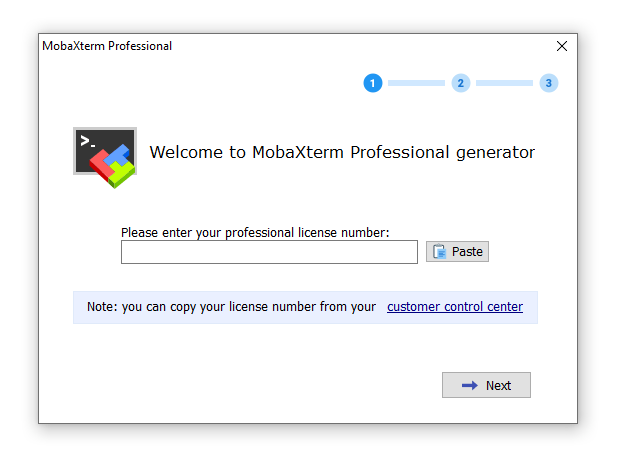
I opened the MobaXterm installer and entered my Pro serial number (emailed to me) then I clicked Next
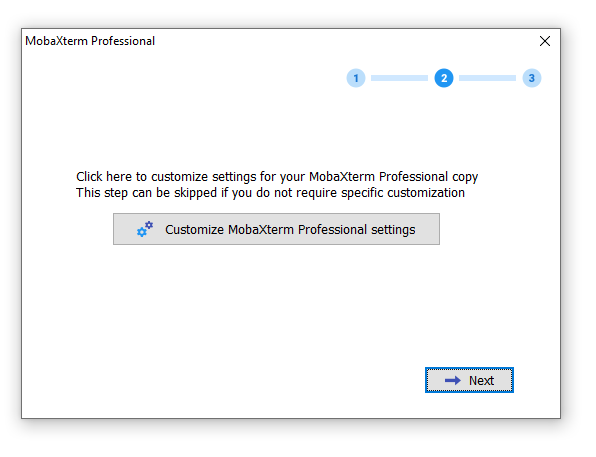
Customise Options (during the install)
I clicked Customise MobaXTerm Professional settings button
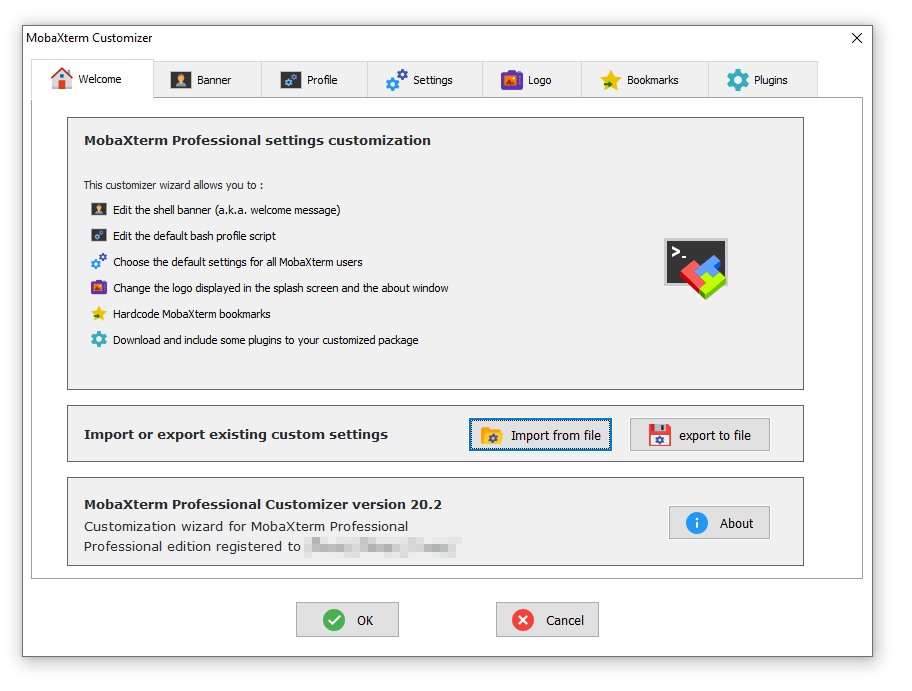
The customizer options are impressive (Import and export settings, enable/disable features, generate a portable package etc)
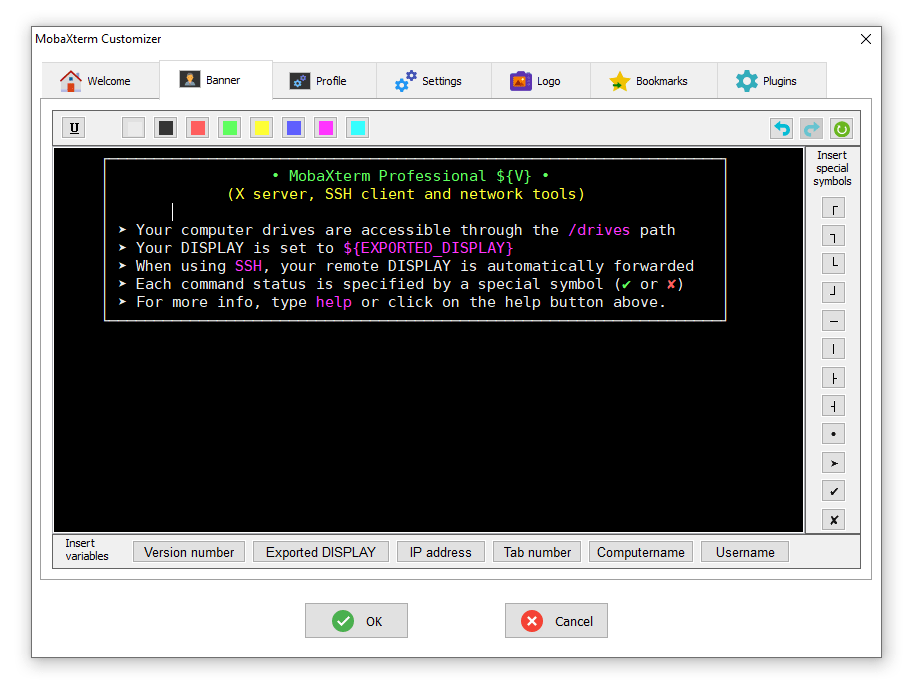
I had an option to customise the banner or any server I connect to but I left the banner as the default banner.
I reviewed all options for the application. This is more in depth than Putty for sure.
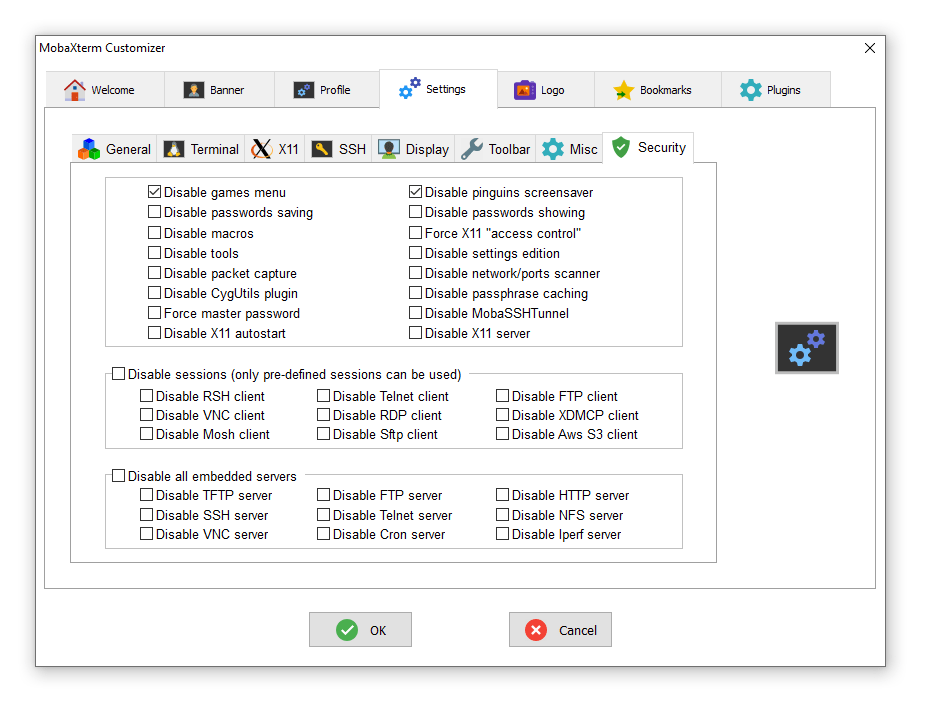
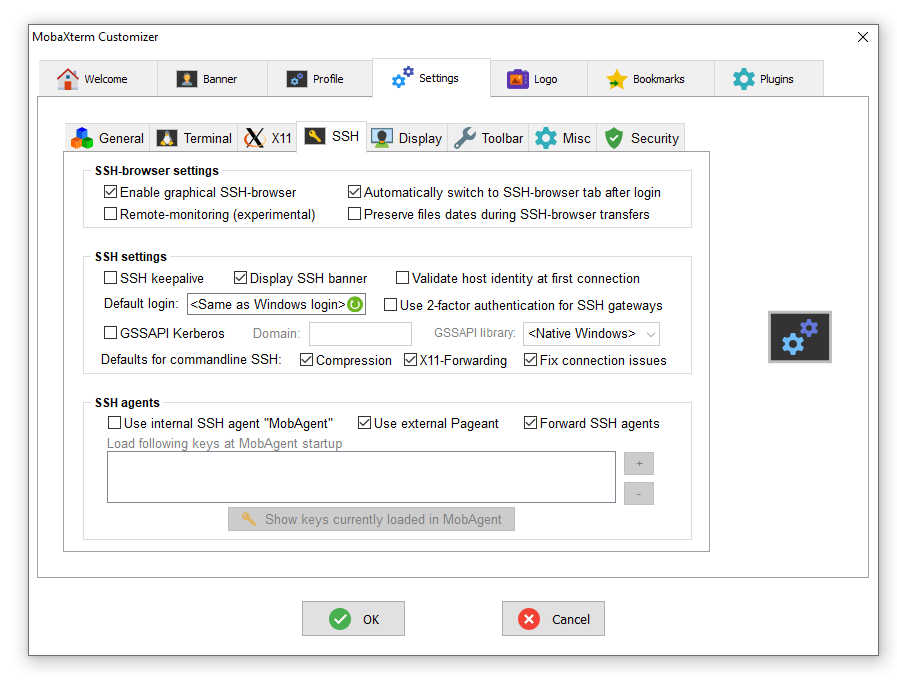
I reviewed my default SSH settings. SSH Keep alive will be turned on for sure.
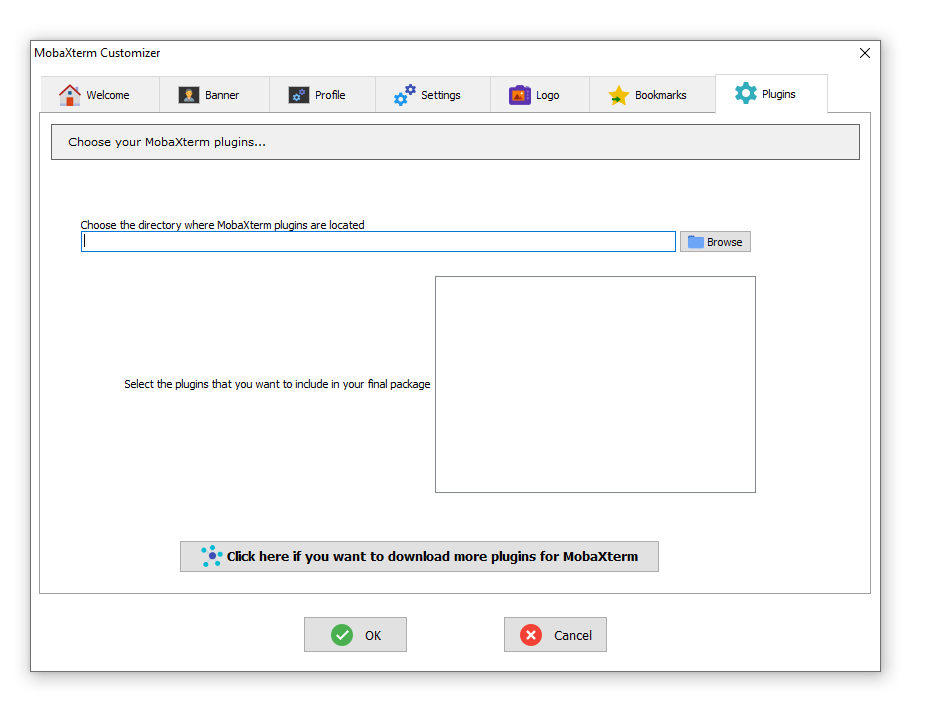
I had an option to add plugins to MobXTerm
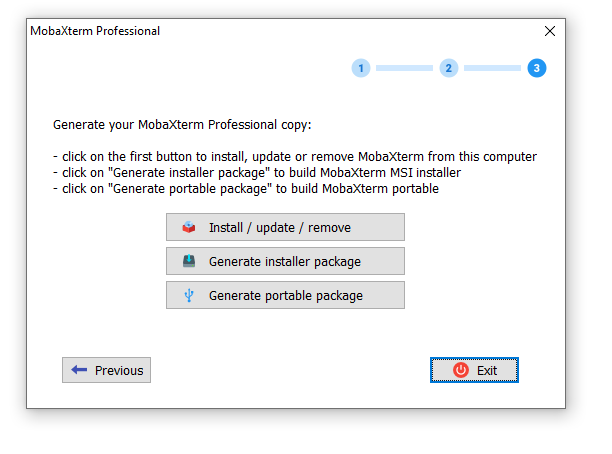
I had the option to generate a portable of full installer
Now I can resume the setup of MobaXterm, I clicked Next
I accepted the licence agreement and clicked Next
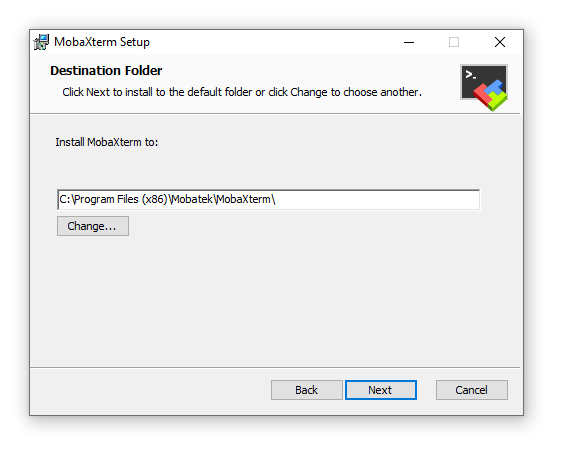
I installed MobaXterm to my C:\ Drive
I clicked Install
MobaXterm was now installed
MobaXterm
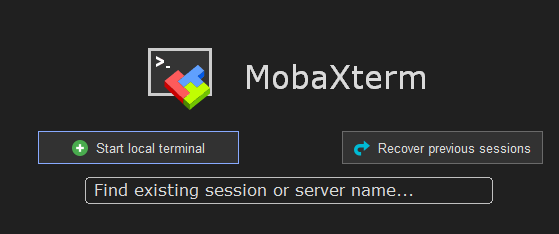
I opened MobaXterm
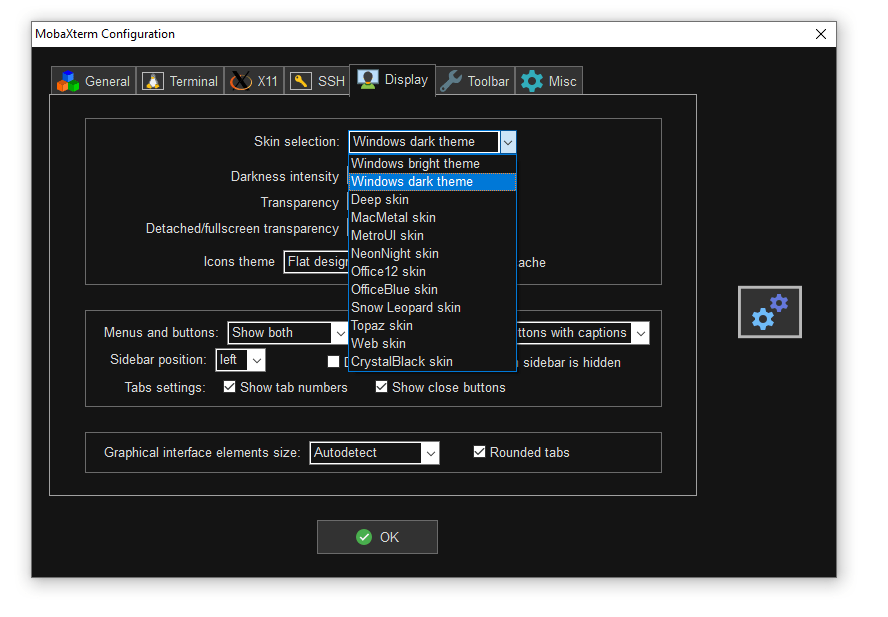
Apologies in advance I setup Dark Mode in MobaXterm as soon as I opened the Configuration. All screenshots will be shown below in Dark Mode.
There are 12 colour themes to choose from.
Main Interface
The MobaXterm interface is more feature packed than Putty.

Windows prompted me to allowed access to MobaXTerm in my Windows firewall.
Time to create a connection to a server.
Adding a SSH Connection to a Server
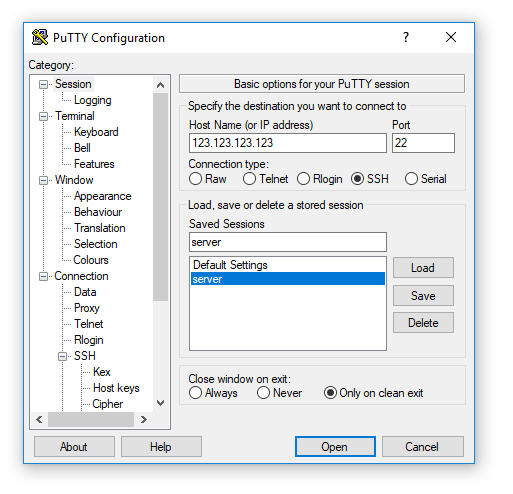
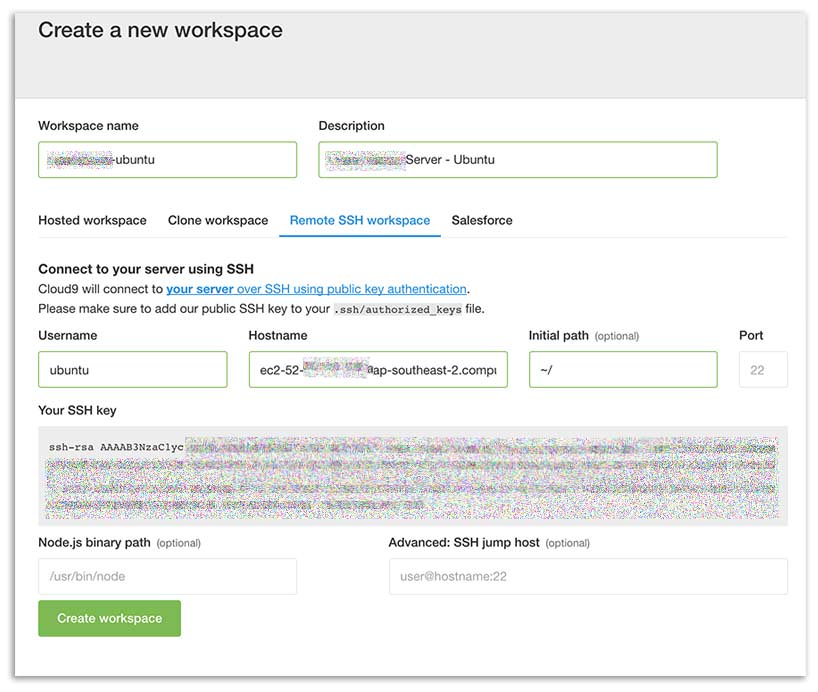
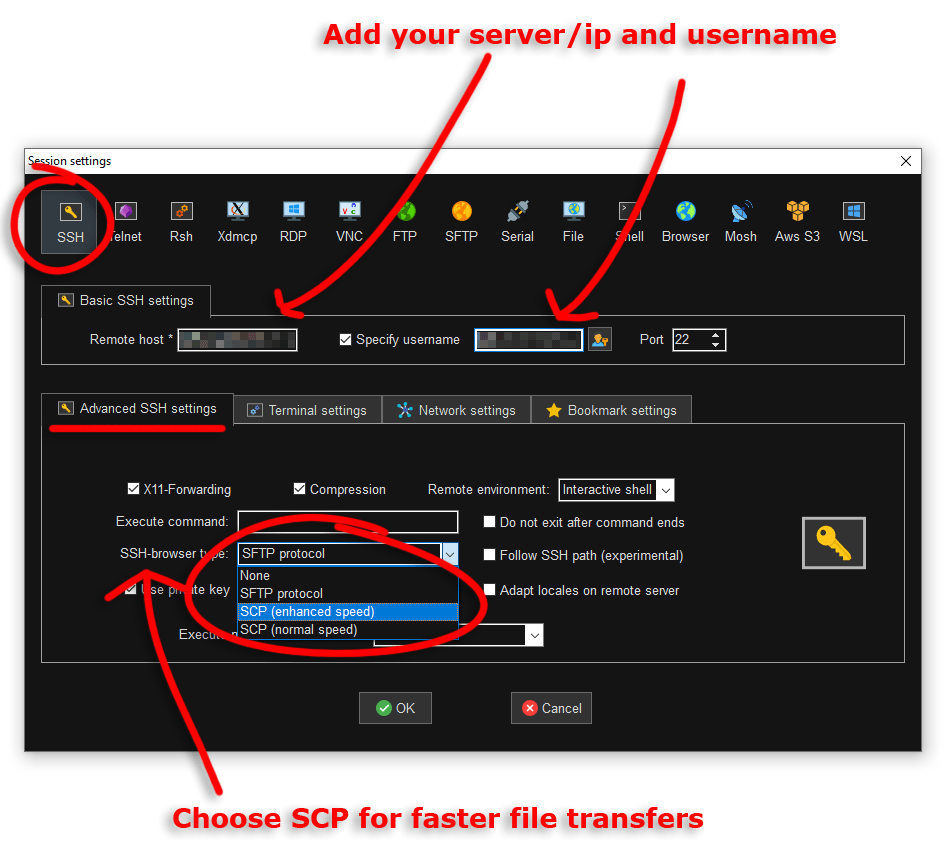
I created a new SSH server connection to one of my existing servers.
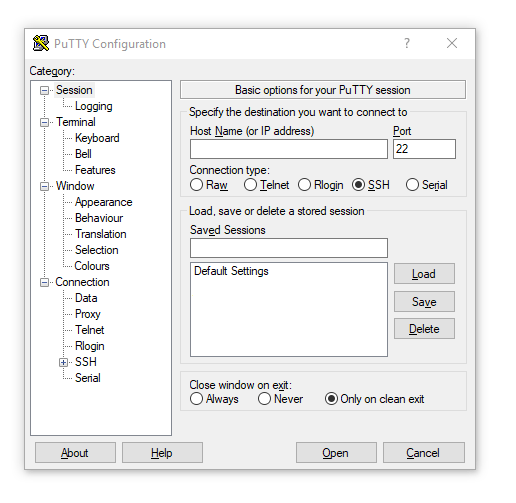
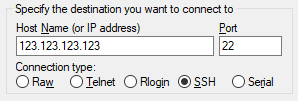
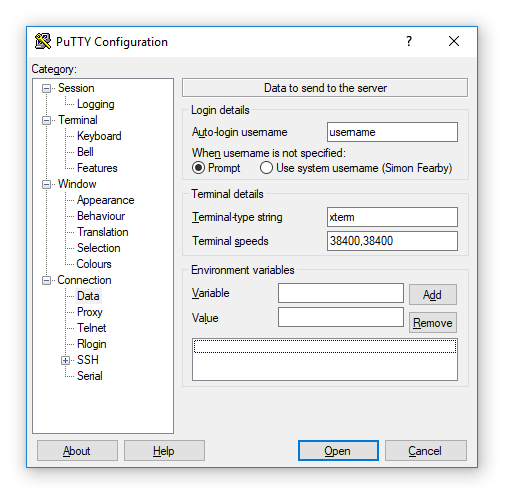
- I specified the IP address, username and protocol.
- I set “SCP (enhanced speed)“
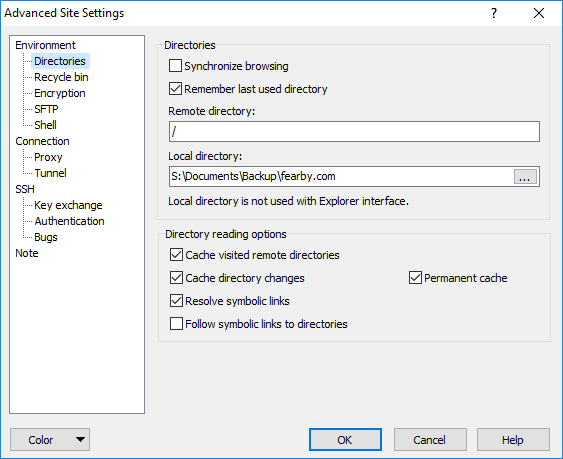
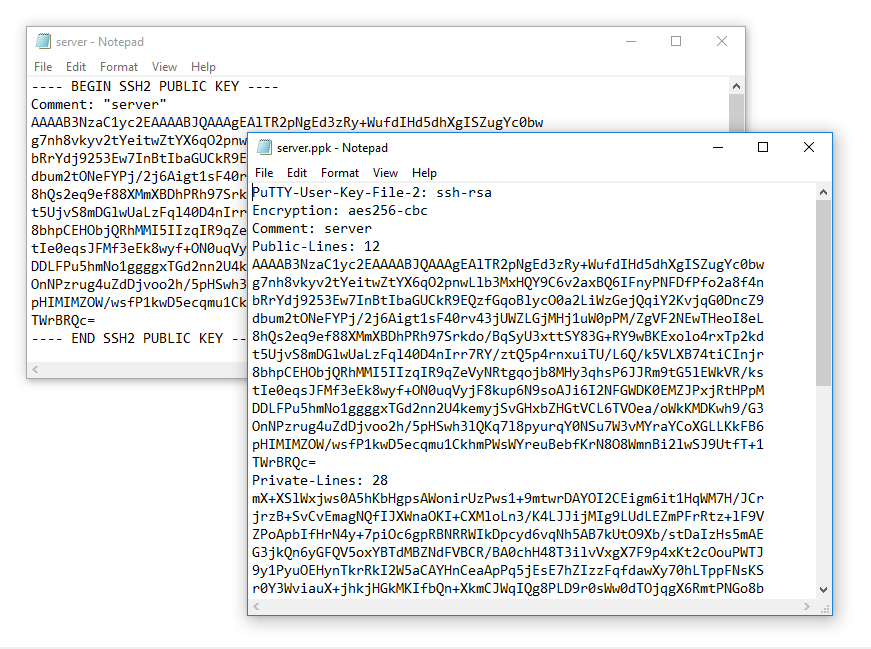
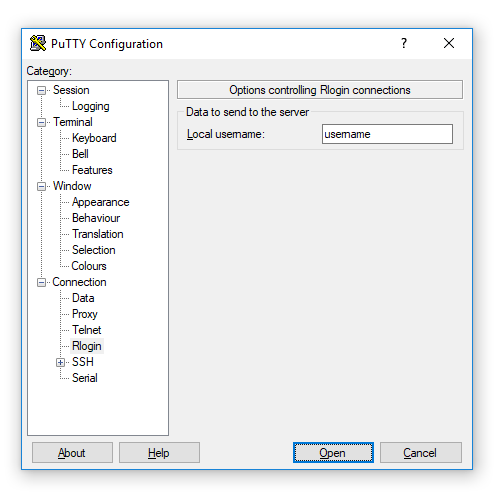
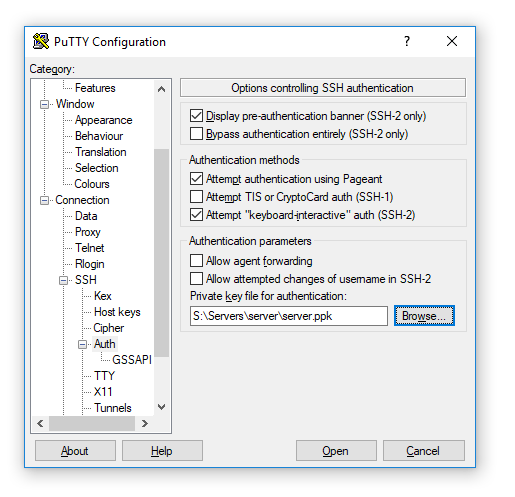
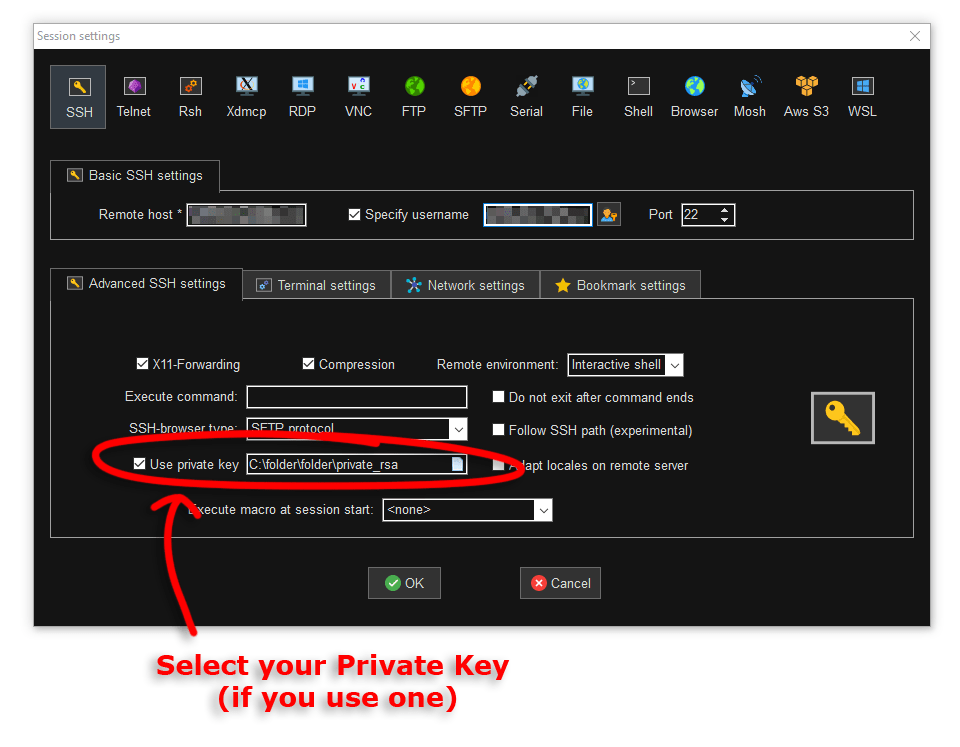
I specified the path to my private key (for the server)
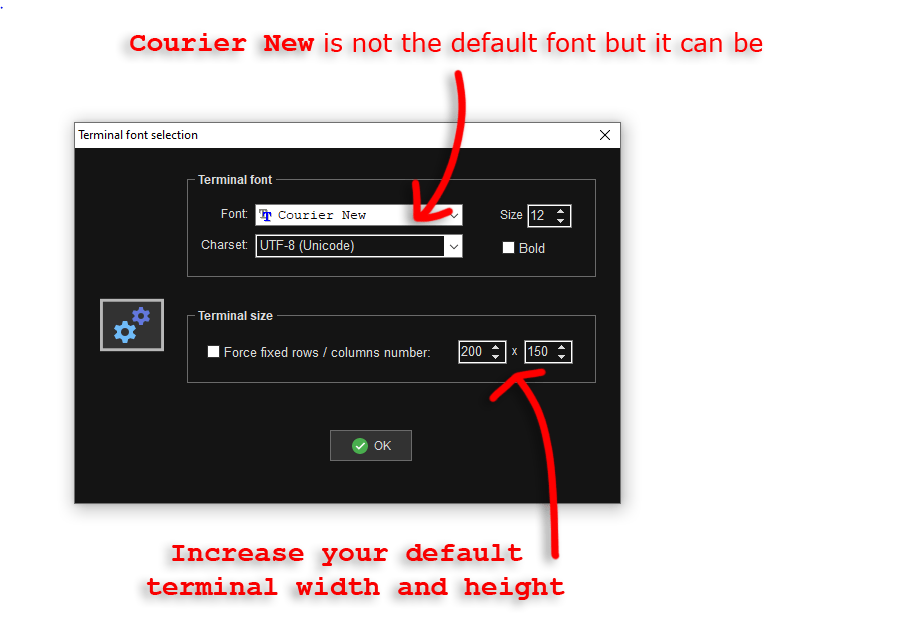
I reviewed other terminal settings.

I changed the font to Courier New, Size 12 (I am sad). I also increased the initial size of the terminal (width and height)
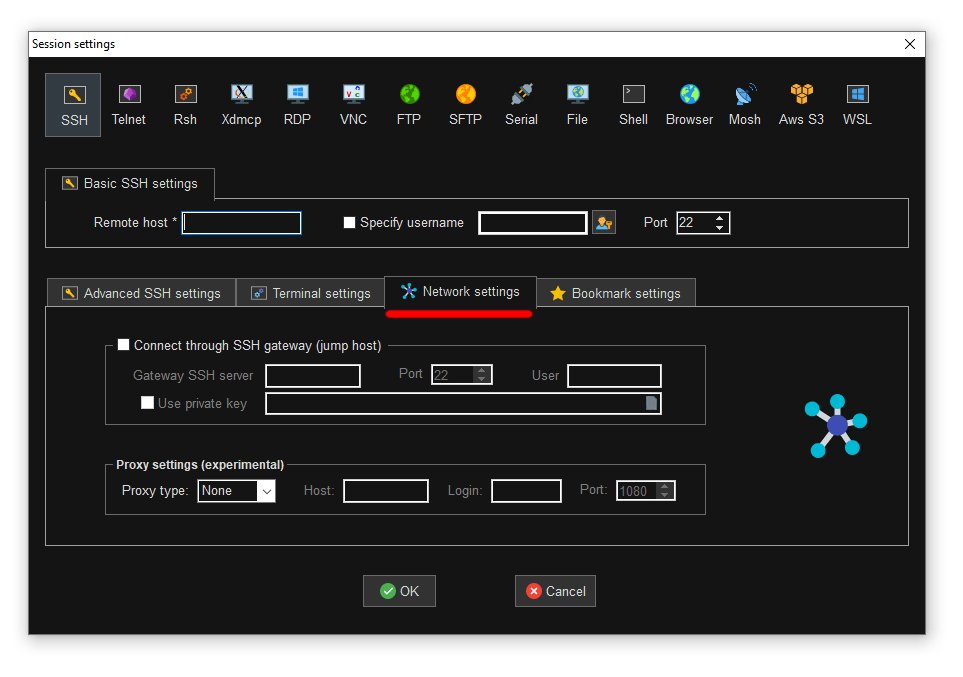
I reviewed network settings (all good)
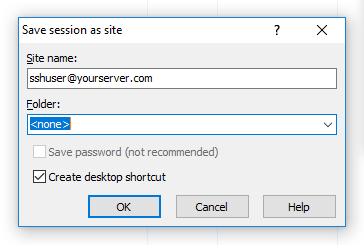
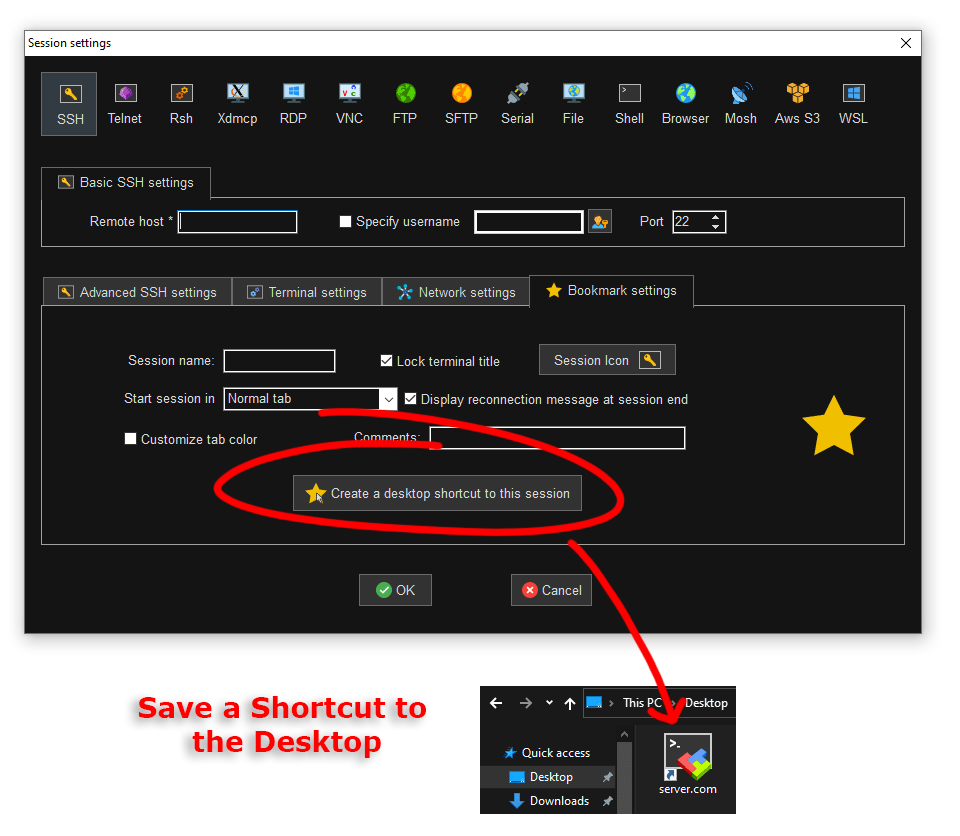
I added a shortcut to the server onto my desktop
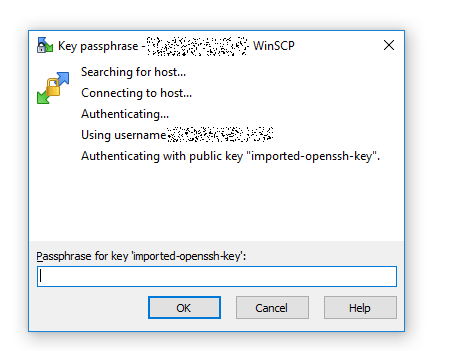
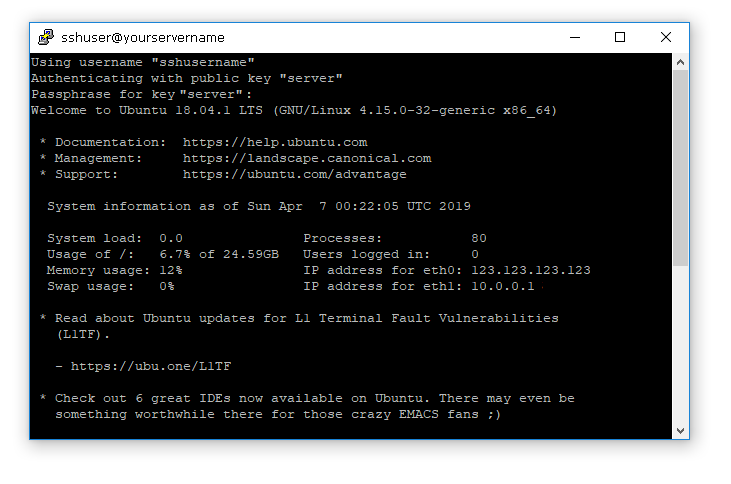
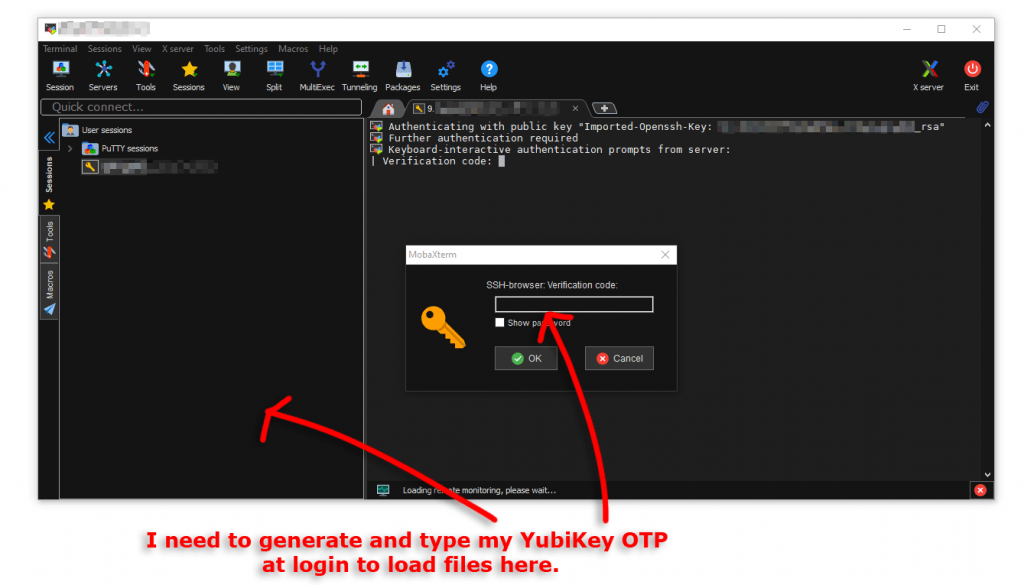
When I opened the connection to the server I was prompted to enter the Passphrase I set on my Public Key (nice).
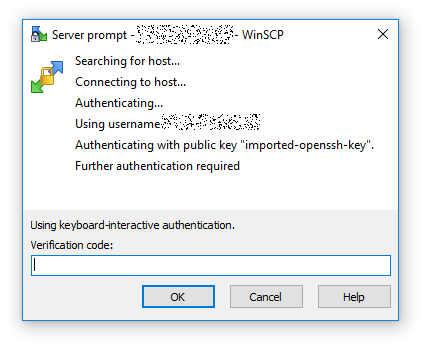
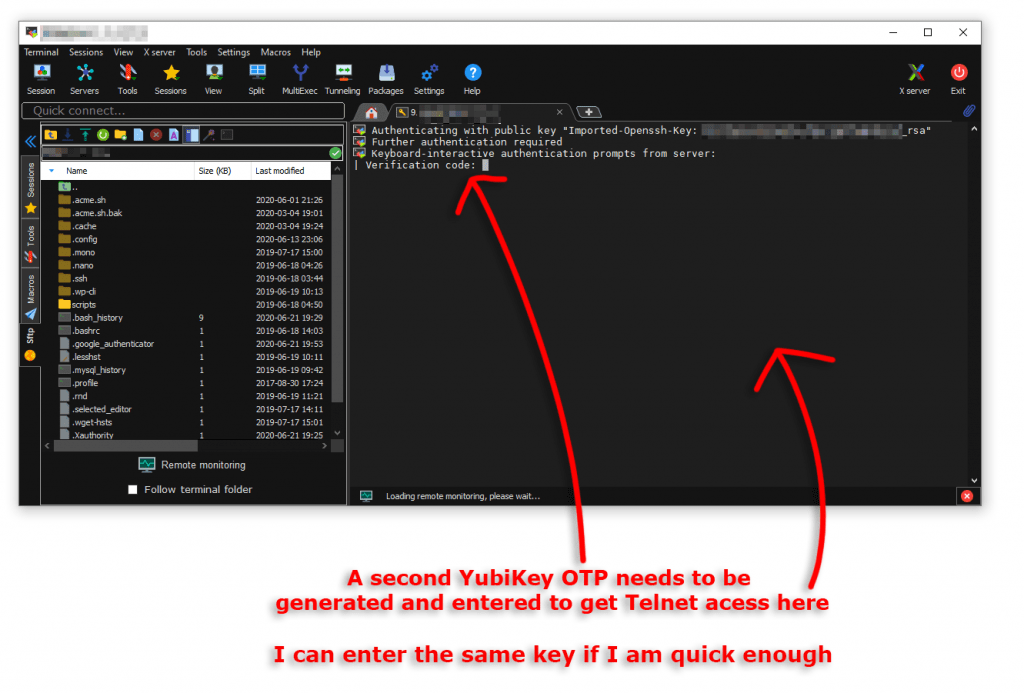
Then I was prompted to put in my 2FA One Time Password (OTP) in the main terminal windows and a second time in a popup form (for the connection that builds the folder structure on the left). This is how I configured my website. To get the OTP I need to insert my YubiKey and one the YubiCo Authenticator app and enter my keys password.
Some people say that having a passphrase on a public/private key and 2FA Authentication is a bit overkill but that is not everything I do.
I need to enter two OTP’s to connect to my site.
If you are fast you can use the same OTP in both windows (but they expire in 30 seconds)
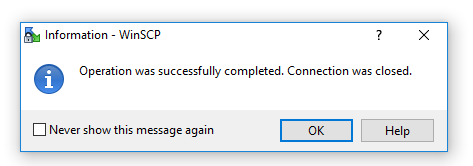
Nice I was able to connect to my Server just like Putty. The cool thing is I can see files and folders without opening WinSCP.
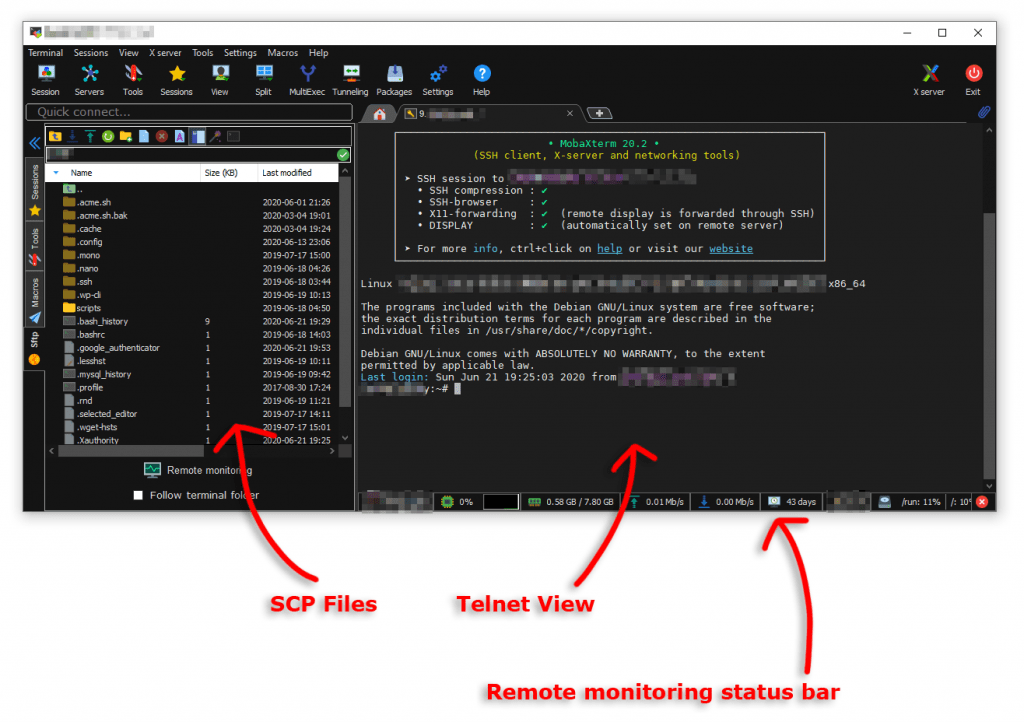
This is way more convenient than using two programs.
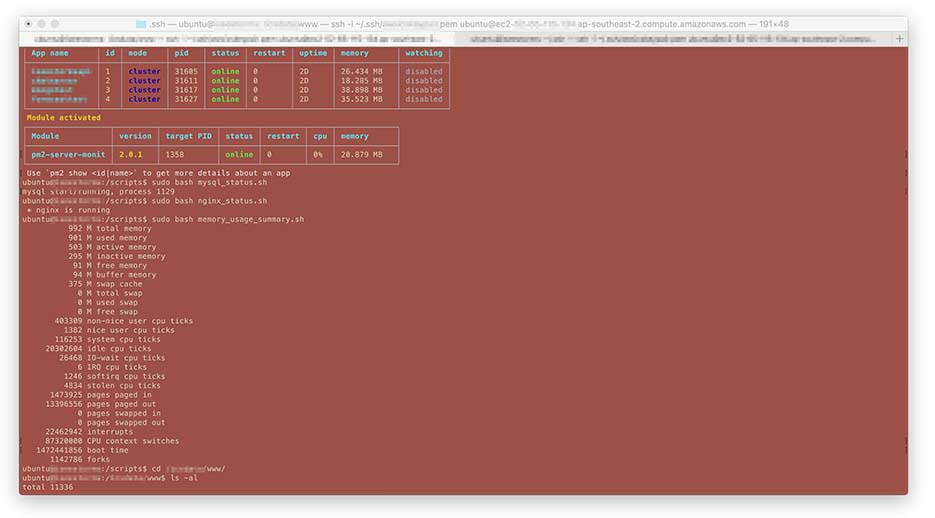
I enabled the Remote Monitoring status bar in MobaXterm. Now I can see system resources on my server without running CLI commands.
Upload Speed to Singapore from Australia
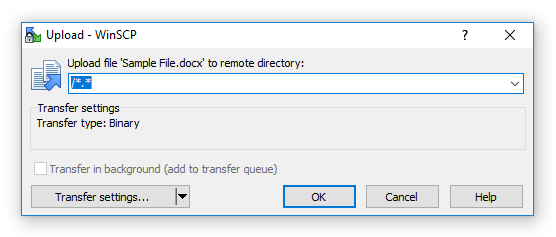
I uploaded a 1GB file with to the same server from WinSCP and MobaXterm to simulate a restore.
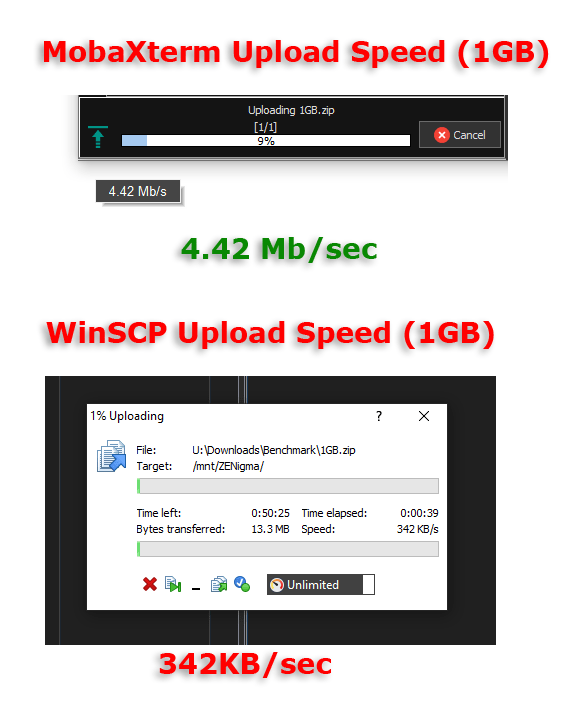
I was gobsmacked, WinSCP could only upload a file at 342KB/s, MobaXterm could upload at 4.42MB/s.
I was uploading a 1GB file from my house to a server in Singapore (within 5 minutes of each other). I did set “SCP (enhanced speed)” when Installing MobaXterm.
MobaXTerm is 12x faster than WinSCP at uploading for me. This is well worth upgrading to a Professional licence.
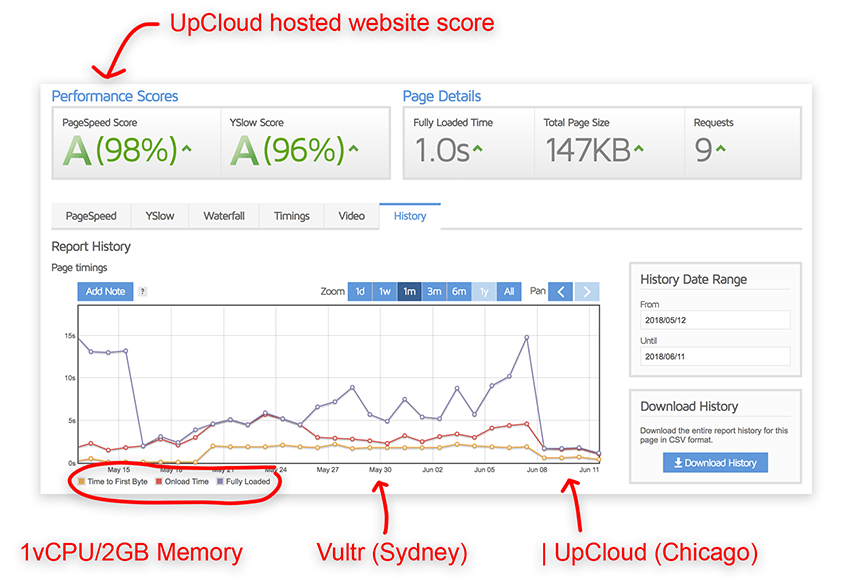
Download Speed (from USA/East Coast) to Australia
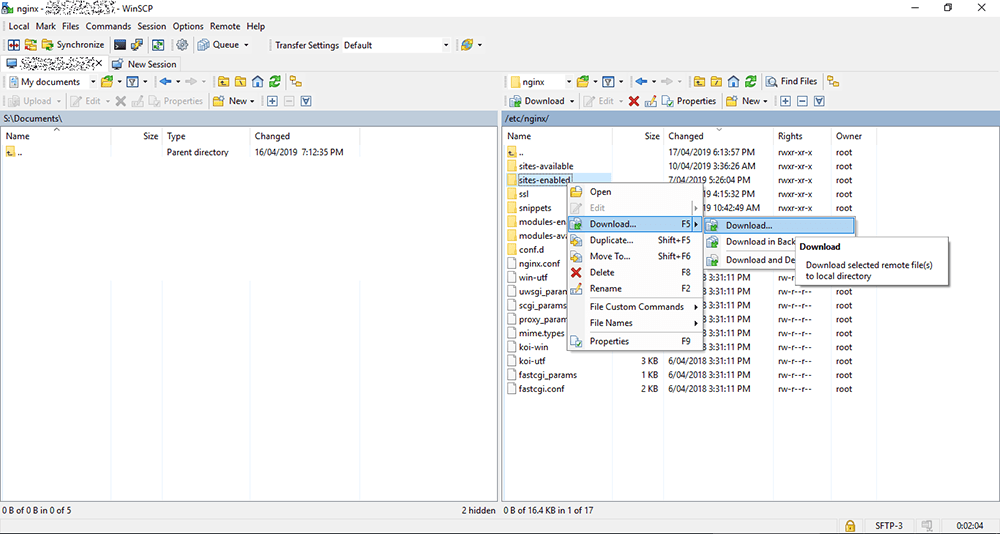
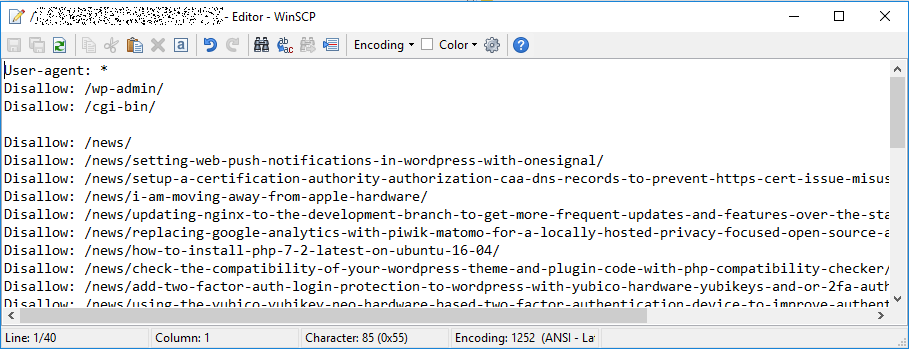
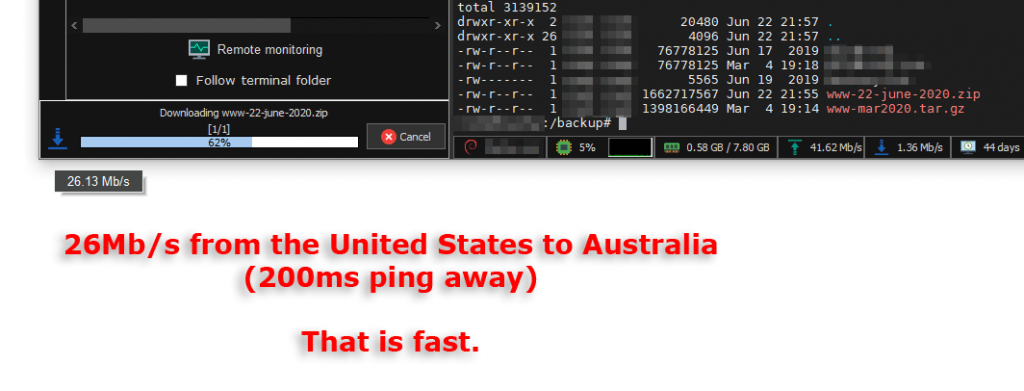
I ran a practical download test (this time from Chicago). In the right-hand side of MobaXterm I zipped up my entire website folder (1.66GB)
zip -r /temp/www-22-Jun-2020.zip /www-folderThen in the left-hand side of MobaXterm I downloaded the file, this is as simple as right-click then download.
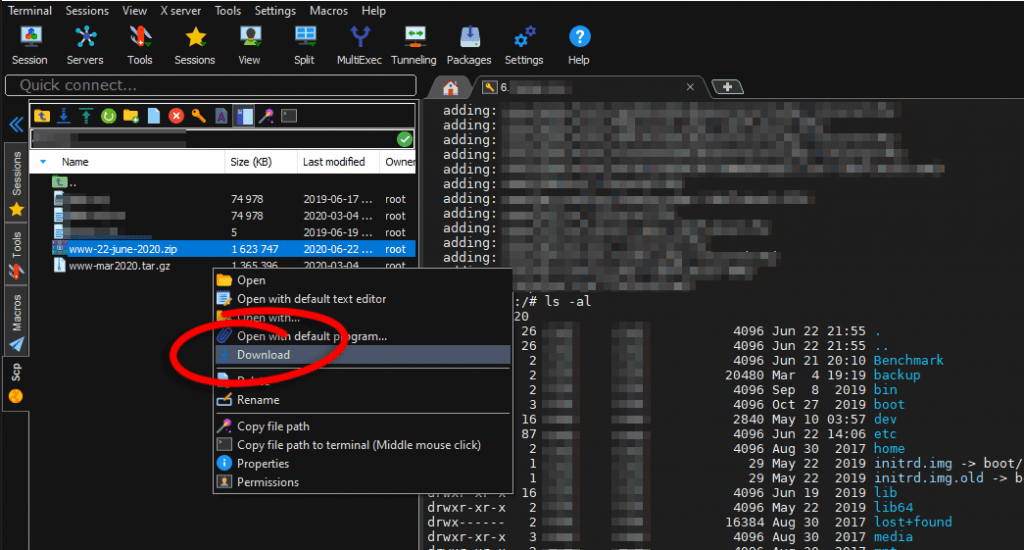
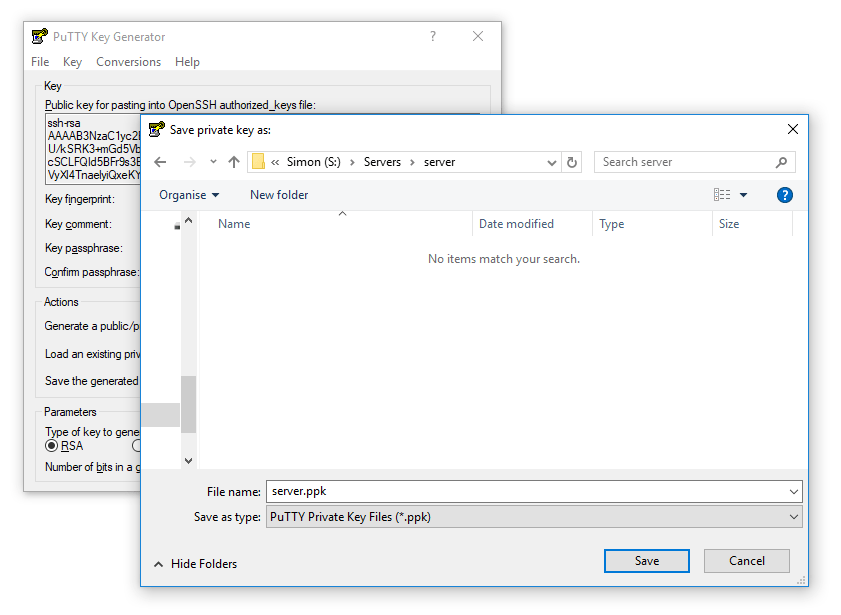
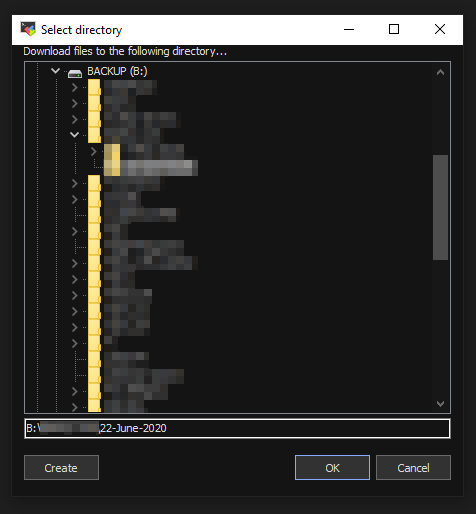
I was presented with a directory tree specify where to save the file to.
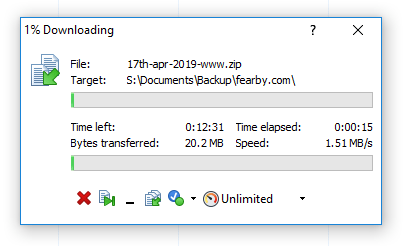
I noticed the file was downloading at 16Mbps then 18Mbps then 22Mbps within seconds.
The download speed settled down to 26Mbps after a few minutes.
This is amazing for a download from the other side of the world (200ms ping and on a VPN, 19 traceroute server hops away).
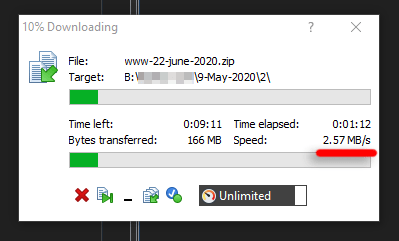
I downloaded the same file from the same server with WinSCP to compare and MobaXTerm was 10x faster at downloading. WinSCP could only manage 2.57/MB/s
Plugins
I will look into plugins soon: https://mobaxterm.mobatek.net/plugins.html
Local Terminal
I can also start a local terminal (documentation here)
I can run Linux commands on my Windows machine via Cygwin
“ls -al” on Windows anyone
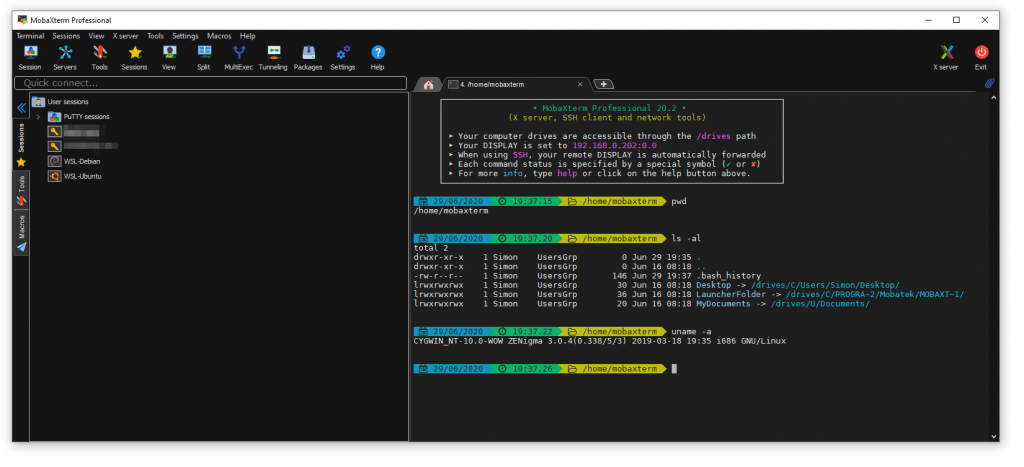
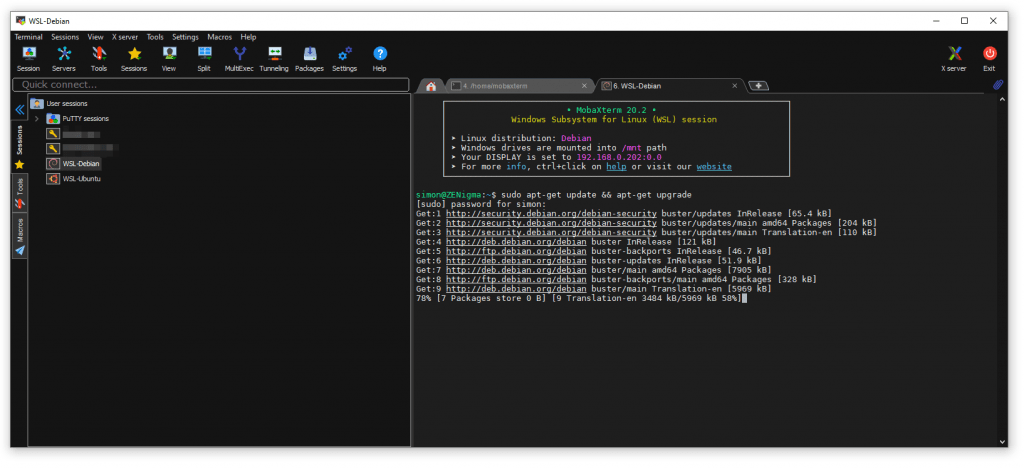
I noticed MobaXterm had found my WSL 2 Installation of Debian on my Windows 10 v2020.
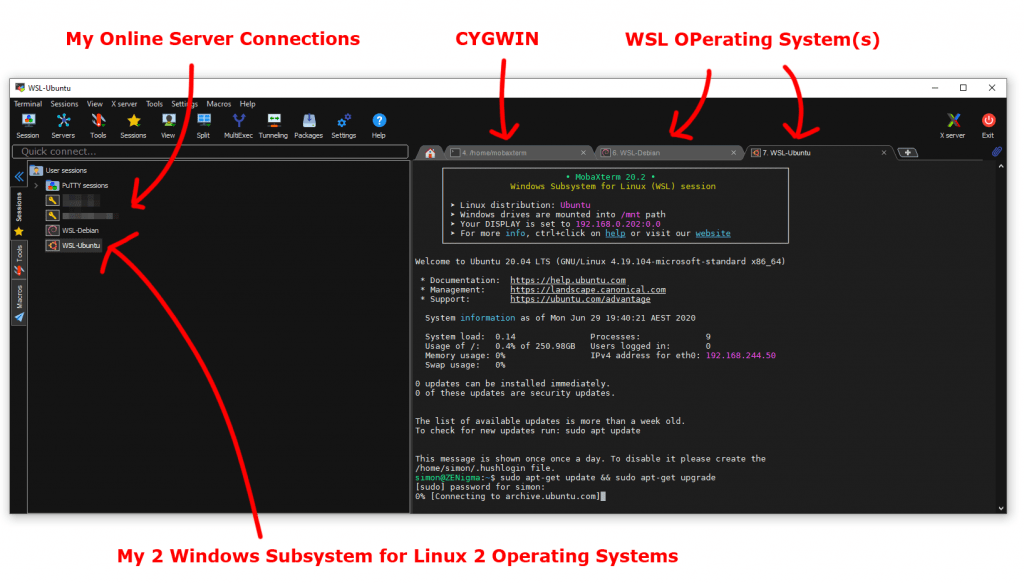
I can now use MobaXterm to open my WSL Linux installations.
MobaXterm can easily connect to my local and online Linux servers with ease.
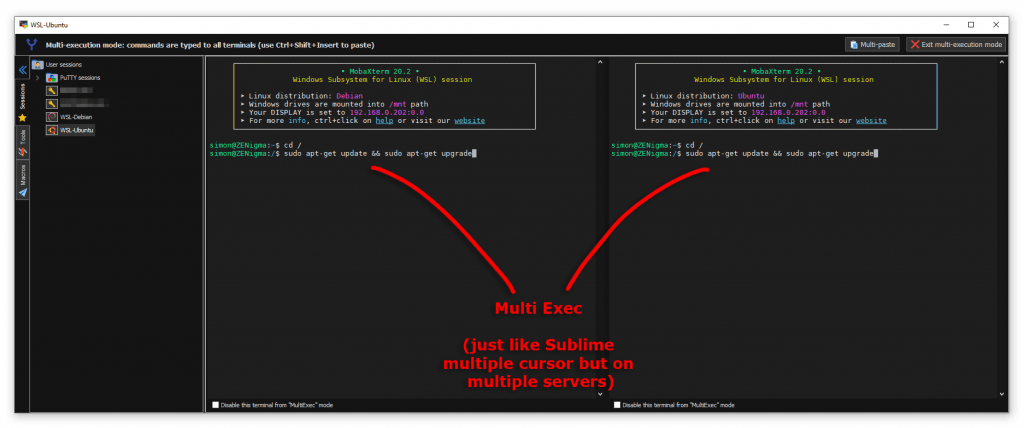
Multiple Exec
I used the Multiple Exec (similar to the multiple cursors in Sublime Text Editor) to control 2 serves at once and run identical commands.
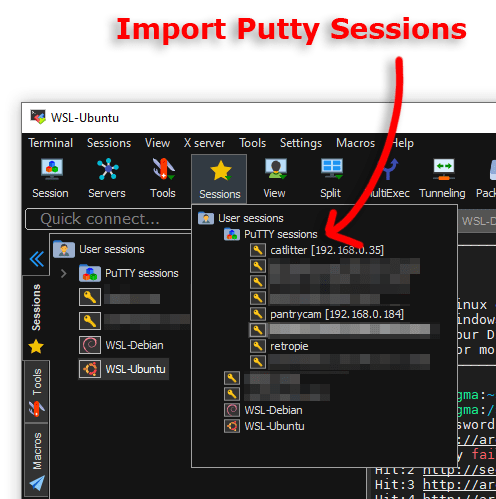
Import Putty Sessions
I did not notice until later but you can import existing Putty connections.
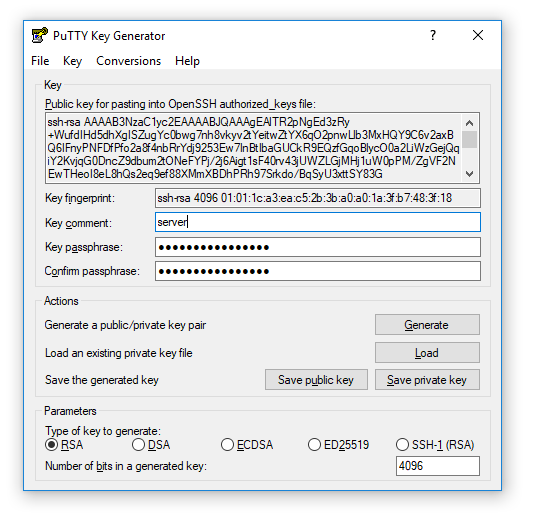
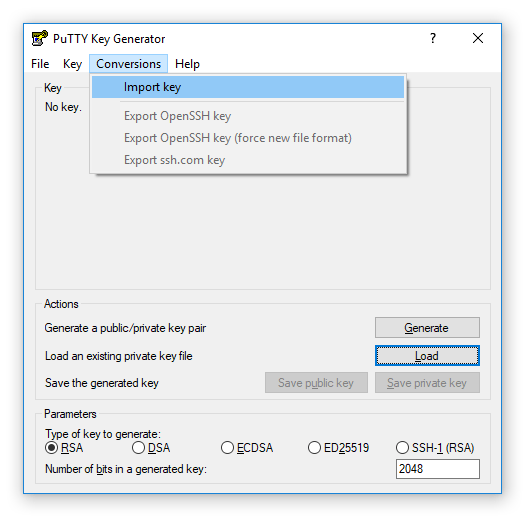
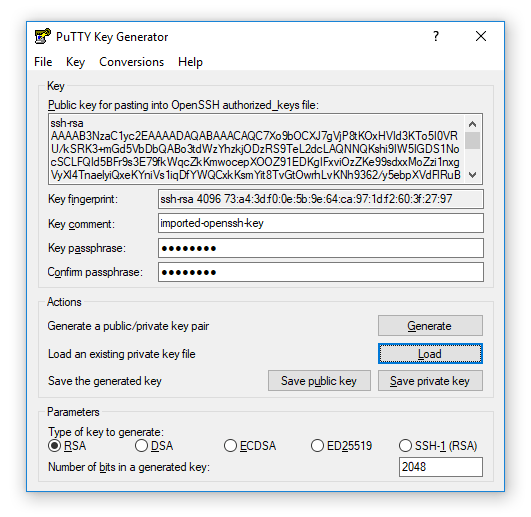
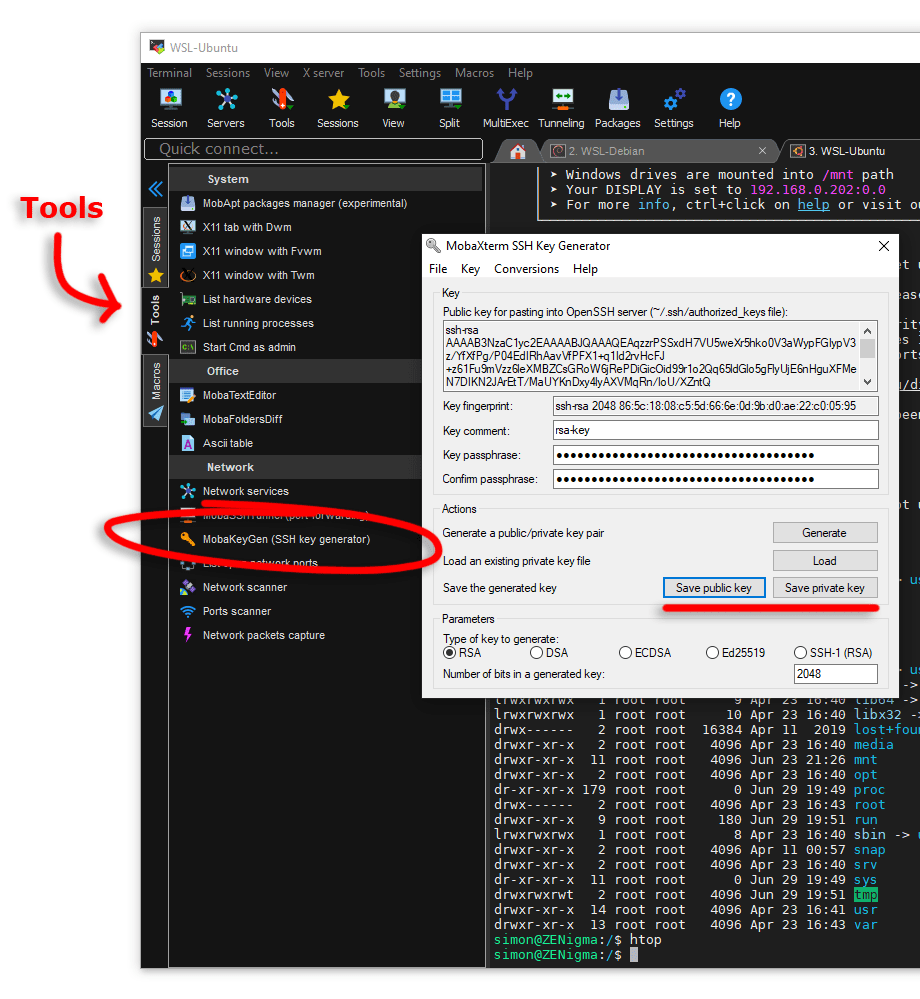
Generate Public/Private Keys
Also, you can generate SSH Public and Private Keys from the Tools menu or the left-hand side (tab).
Pros
- File/Folder and Terminal window side by site
- 13x faster file uploads over SSH
- 10x faster downloads over SSH
- Integration with WSL Linux Images
- Import Putty Settings
- Local Terminals/Cygwin
Cons
- It would be nice to only have to enter my 2FA OTP once when connecting to one of my serves.
- The user interface is full-on, I am still learning it
Conclusion
Honestly having faster uploads and downloads over SSH is a dream come true. I live in Australia and we have terrible latency and I have better things to do than to watch slow uploads/downloads.
I look forward to investigating MobaXterm plugins in the near future as I feel I I have just scratched the surface.
Links
MobaXterm Documentation: https://mobaxterm.mobatek.net/documentation.html
v.1.1 Plugin info fix