This guide assumes you are a beginner using Windows 10 and maybe have a default website configured on Windows 10 using the built in Information Server (IIS) along with PHP (e.g PHP 7.3.4 or greater).
If you are have never used Internet Information Server (IIS) then XAMPP is a great way (single install) to setup a web server, database server and PHP with little fuss.
In this case I will manually install MySQL Community Server to add alongside Internet Information Server (IIS) on Windows 10.
Downloading
MySQL Server (Community Edition)
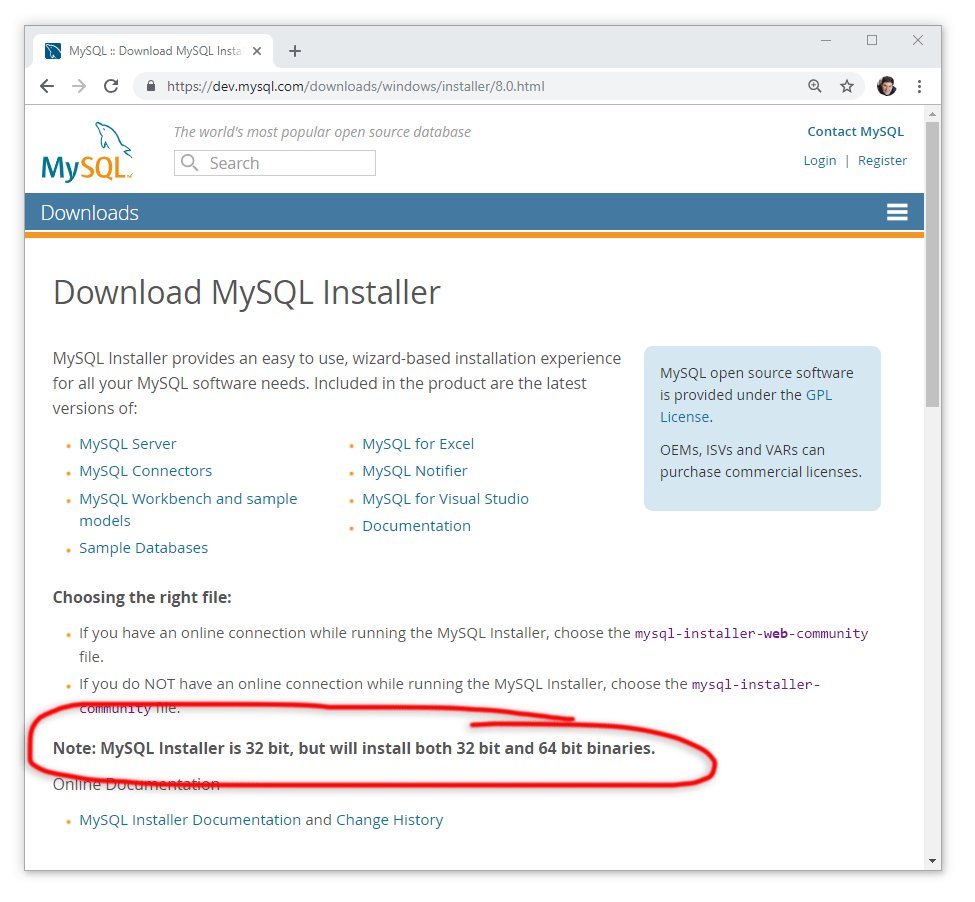
Go to here and click MySQL Installer for Windows.

Click MySQL Installer for Windows.
fyi: I sent myself on a goose chase as I could only see a 32 bit installer (I spent days trying to find a 64-bit installer or manual install binaries that were 64 bit). I should have read the bit that said “MySQL Installer is 32 bit, but will install both 32 bit and 64 bit binaries.“
You can read the installer documentation here if you wish.

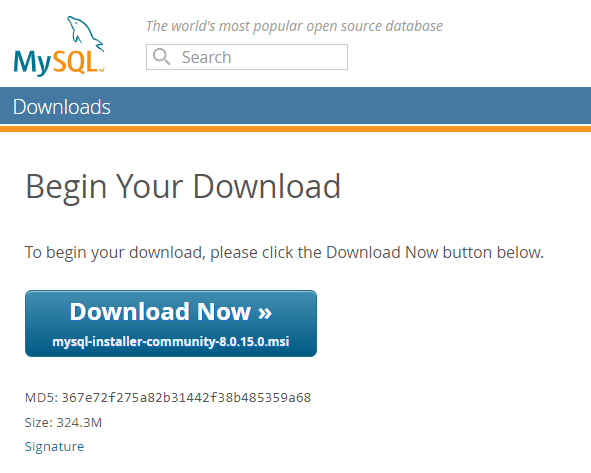
I downloaded the larger of the two available installers (one 16MB the other 300+ MB, same version etc.). I had to login with an Oracle ID to start the download.
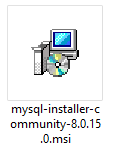
Install file downloaded
Installing MySQL Server (Community Edition)
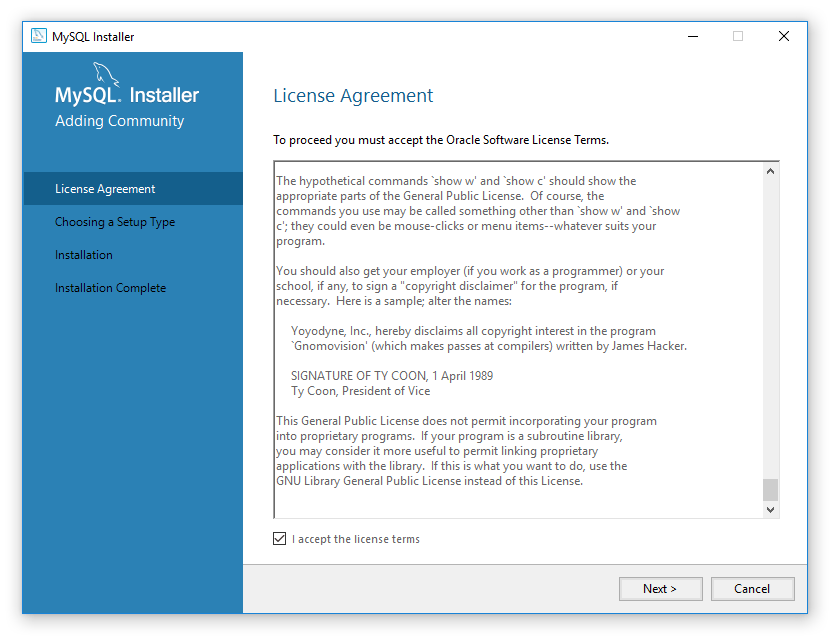
I started the installer (accepted the licence agreement)
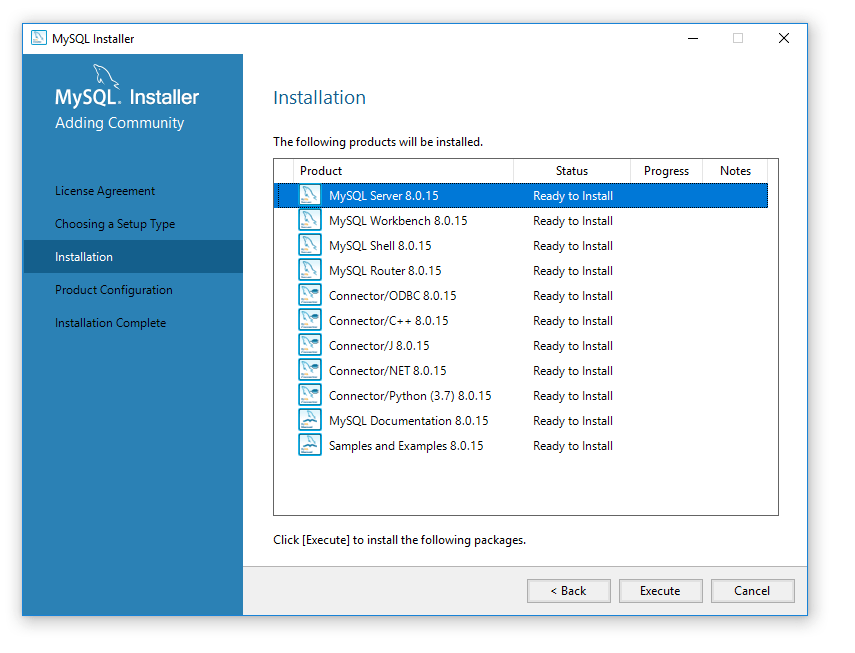
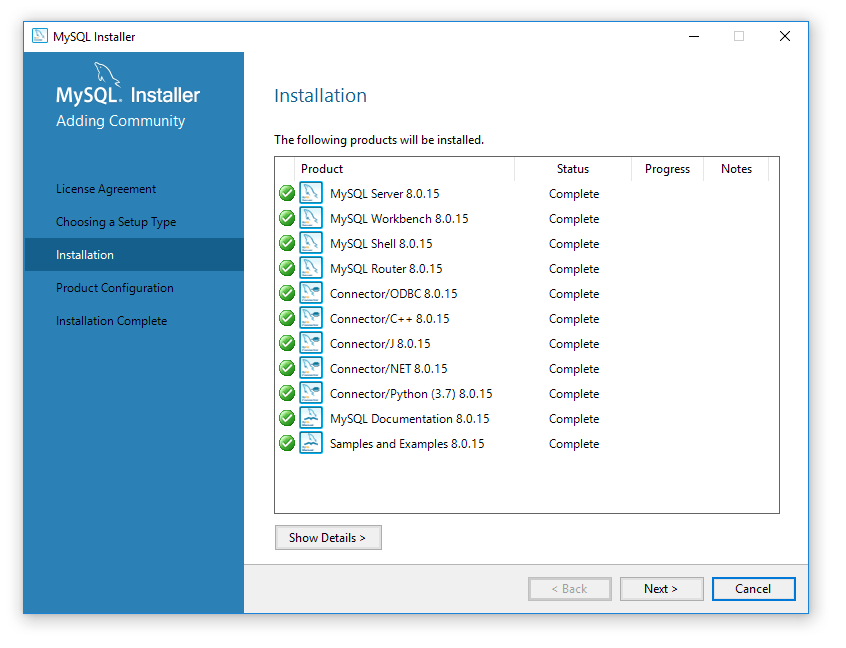
I selected “Full Install“
I could have selected server only or custom.

I downloaded and installed Python 3.7, Thanks MySQL Installer for adding a link to the Python download.

After Python was installed I clicked refresh in MySQL and now MySQL can see Python 3.7.
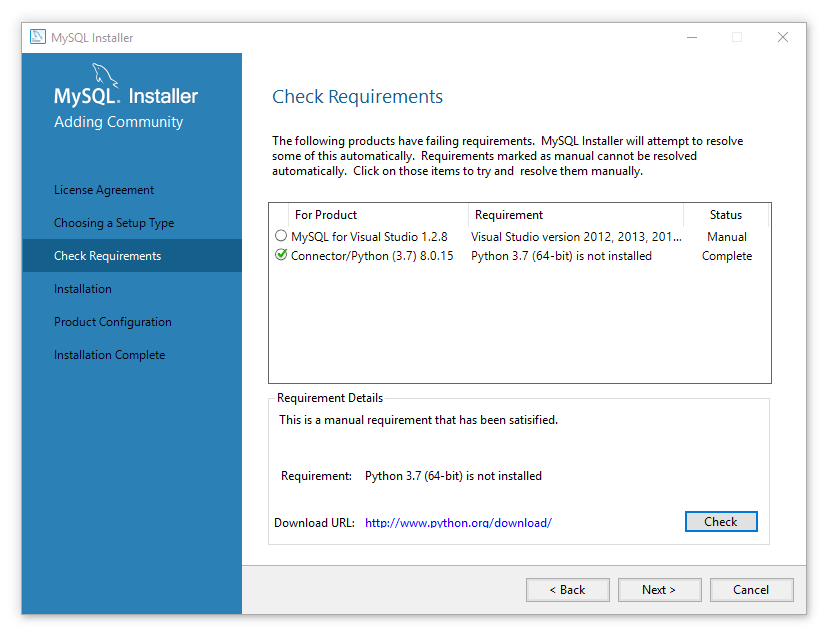
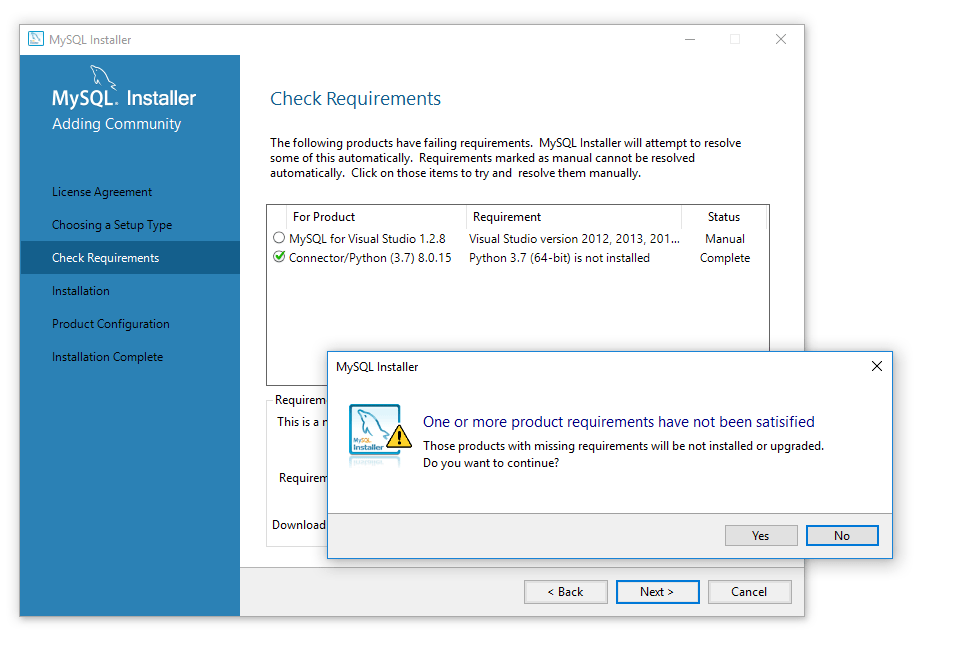
I had a Visual Studio plugin install error (because Visual Studio was not installed).
Full Install (all components selected) reported the items are ready for install.
Installation status complete.
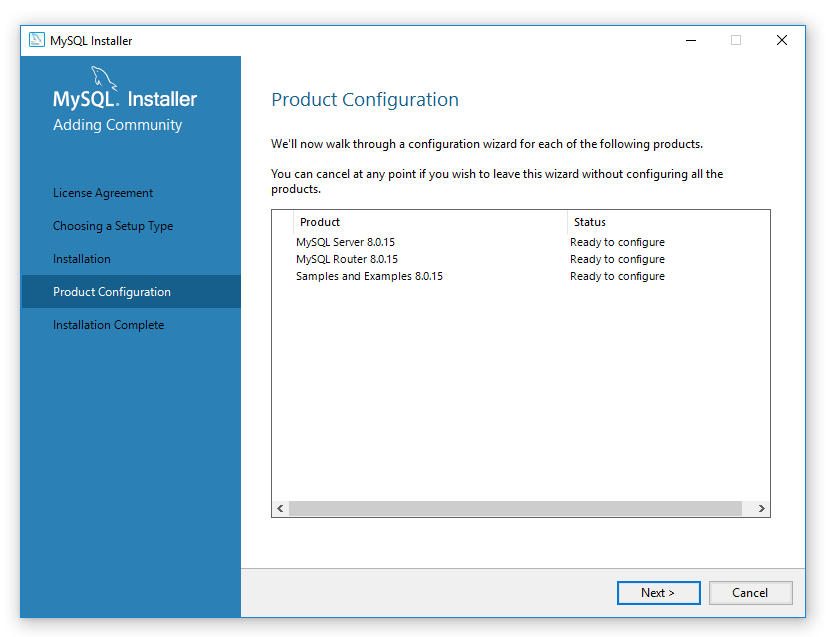
List of items to configure (post install)
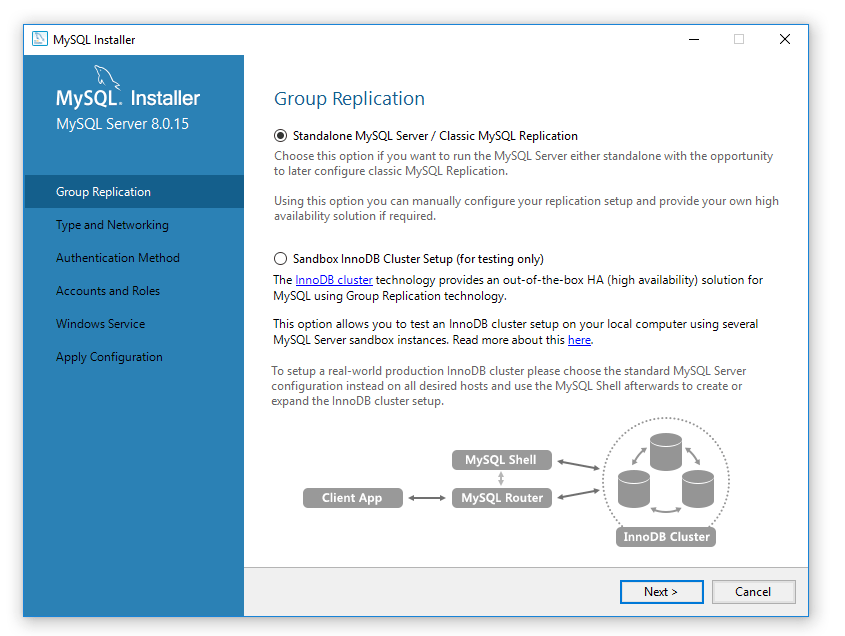
I setup a standard MySQL Server (not a Cluster)
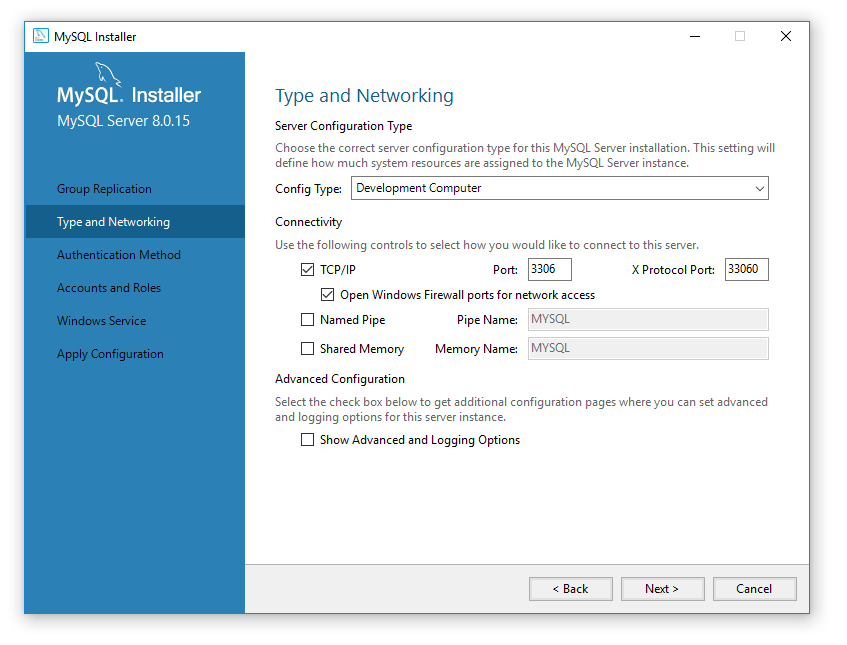
I setup MySQL as a standard Development computer on port 3306 over TCP/IP (no Named Pipe, Shared Memory etc).
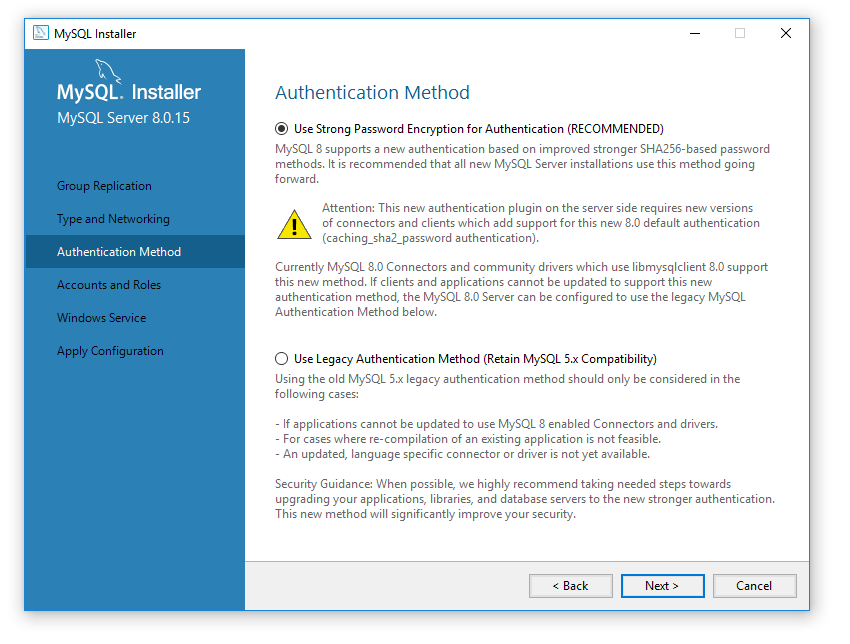
I enforced strong passwords.
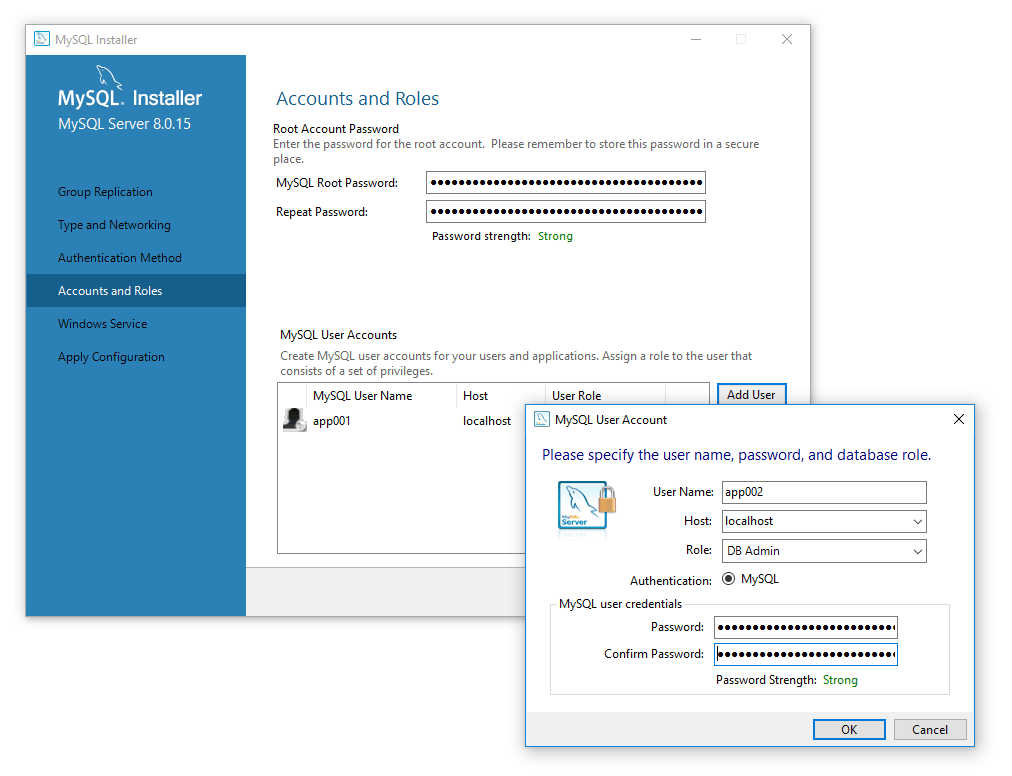
I set a root password and added few app usernames (with passwords).
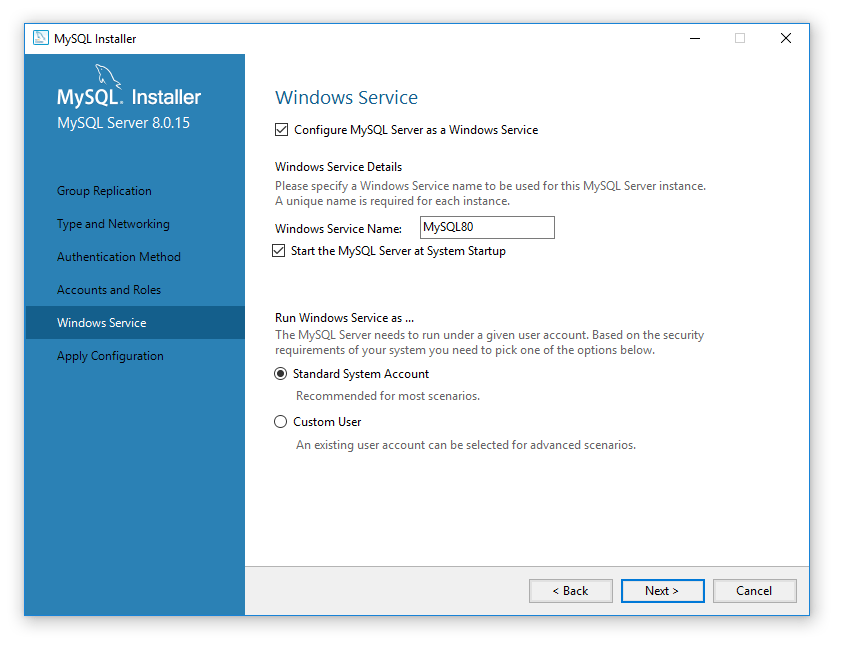
I named the MySQL Instance and set it to auto start when windows starts as a standard system account.
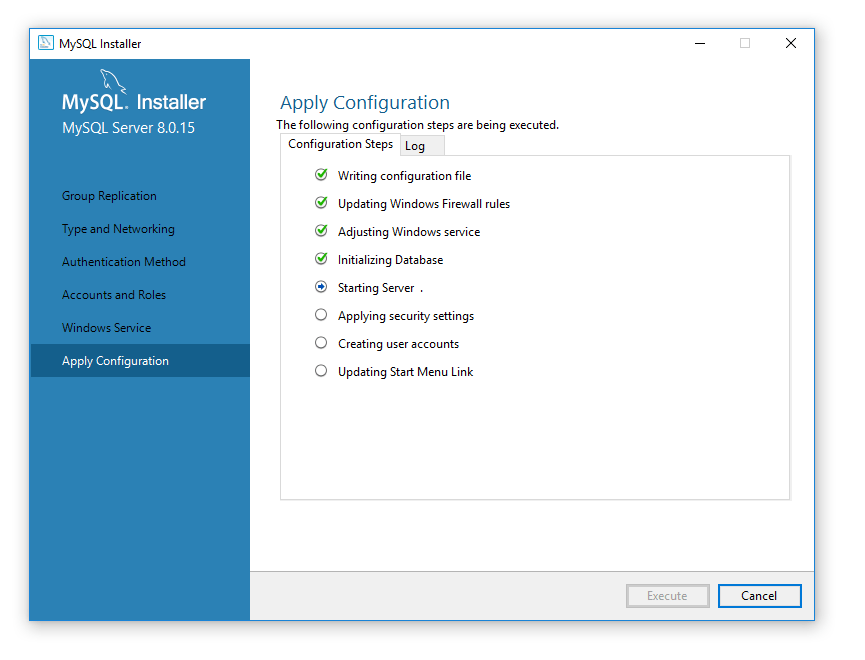
Post installation in progress.
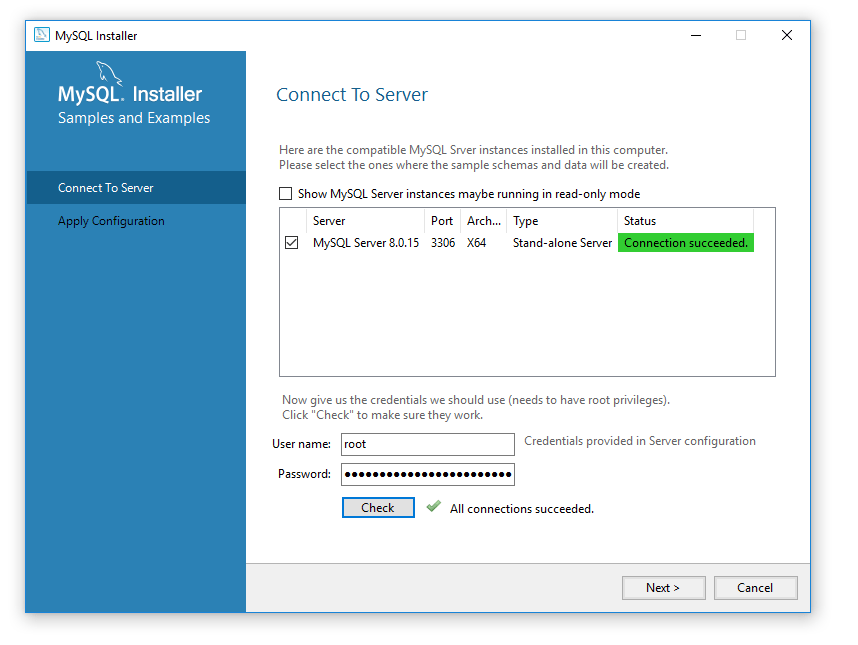
I accepted the defaults for the next screen (configuring routers). I tested the connection to MySQL Server.
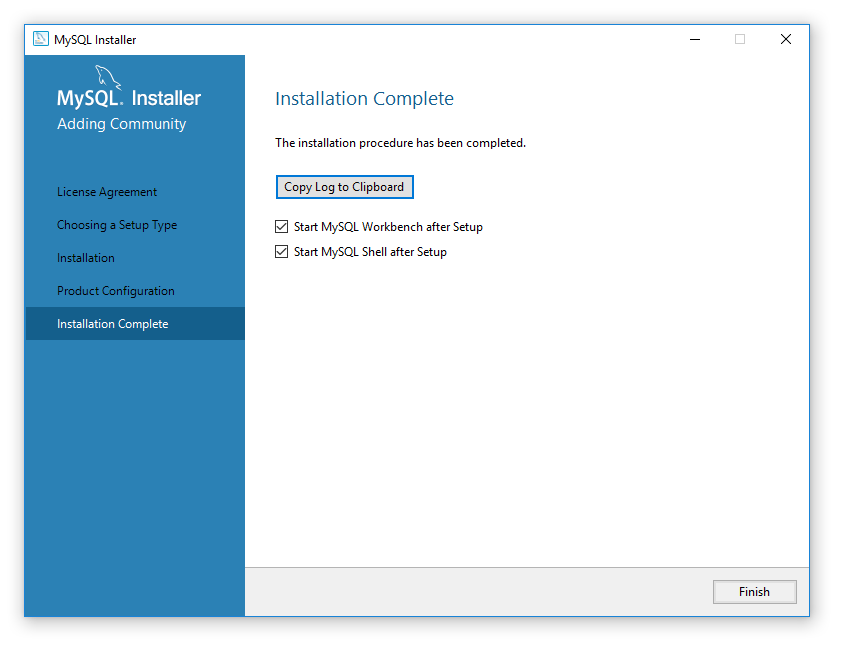
Installation complete.
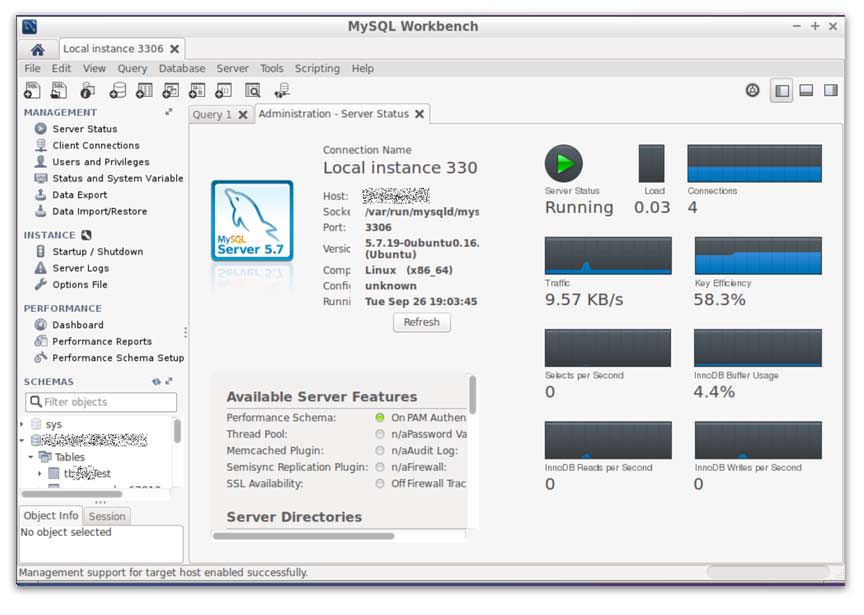
MySQL WorkBench
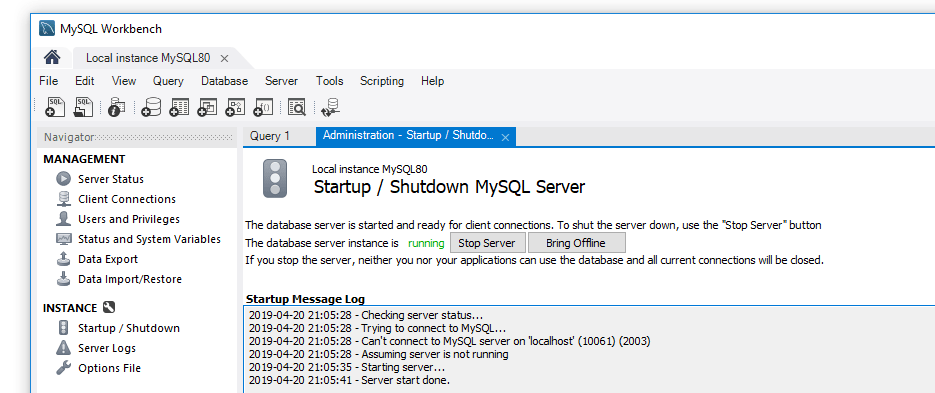
I opened the MySQL Workbench software and viewed the server instance information. Nice.

MySQL Workbench server performance graphs are nice.

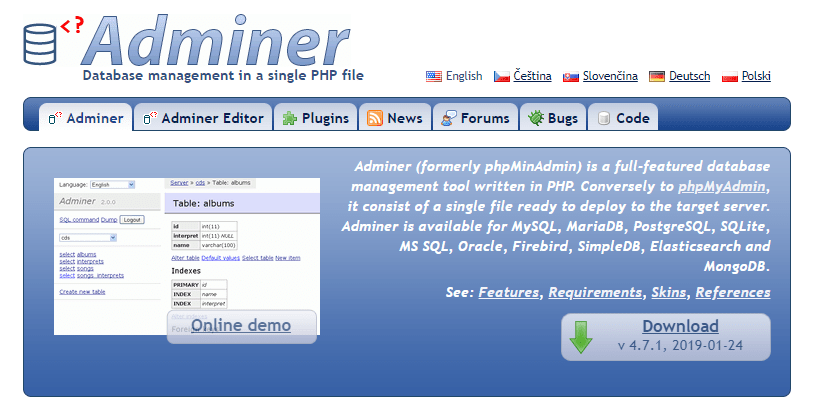
I am used to Adminer for managing MySQL on Linux so I install that now.
Install Adminer (formerly phpMinAdmin)
I prefer the PHP based Admirer database management tool from here.
I downloaded a single PHP file and placed it in my IIS website root folder (as /adminer.php).
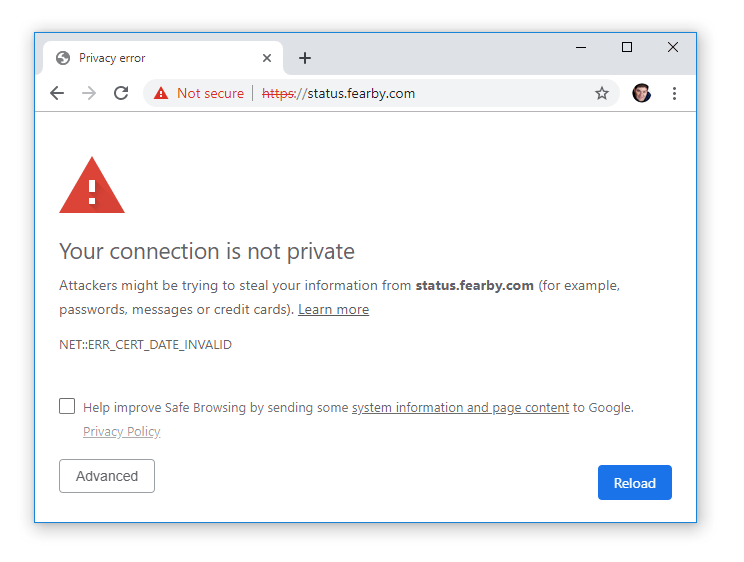
I tried to connect to my MySQL instance but received this error “The server requested authentication method unknown to the client”.

I googled and checked that I had a MySQL extension in php.ini (It did).
I opened MySQL Workbench and opened Manage Server Connections and located my my.ini file location (“C:\ProgramData\MySQL\MySQL Server 8.0\my.ini“). I opened my my.ini in a text editor and commented out the following line
#default_authentication_plugin=caching_sha2_passwordand added
default_authentication_plugin= mysql_native_passwordI saved the my.ini file, stopped and started the MySQL Service.
I opened the MySQL Workbench and ran a query (File then “New Query Tab“) to set/reset the password.
ALTER USER 'root'@'localhost' IDENTIFIED WITH mysql_native_password
BY 'your_password_goes_here';
Screenshot

I then tested logging in to MySQL with Adminer.

Success, I can now created databases and tables.

I hope this helps someone.