fyi: My Past YubiKey Reviews
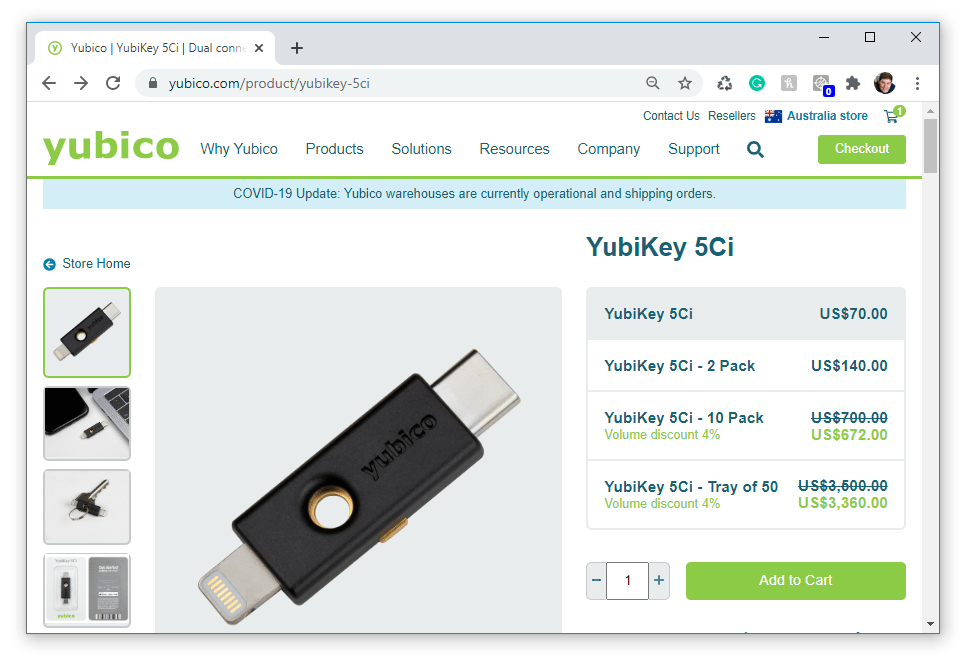
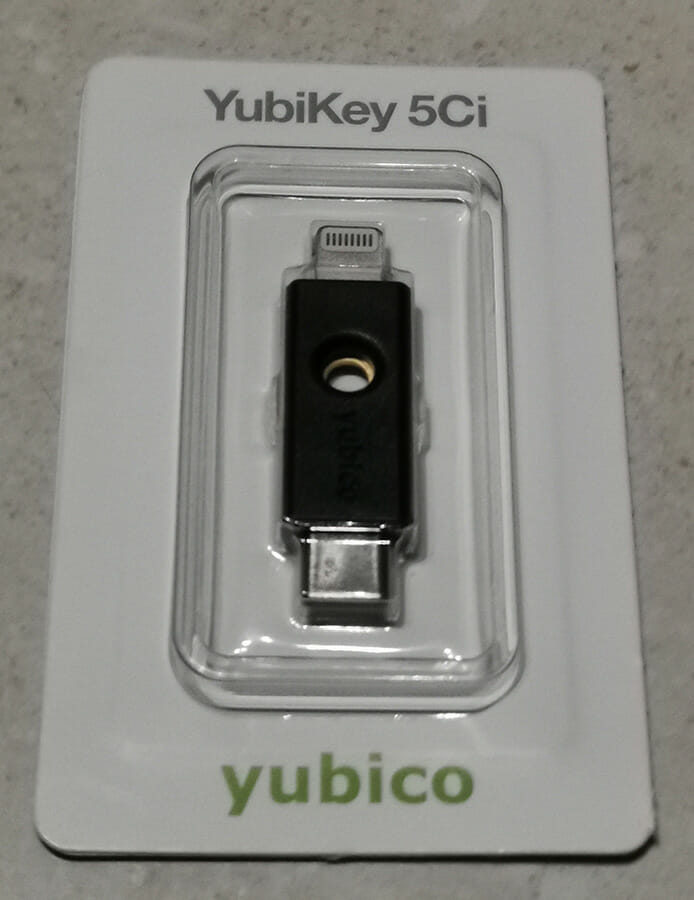
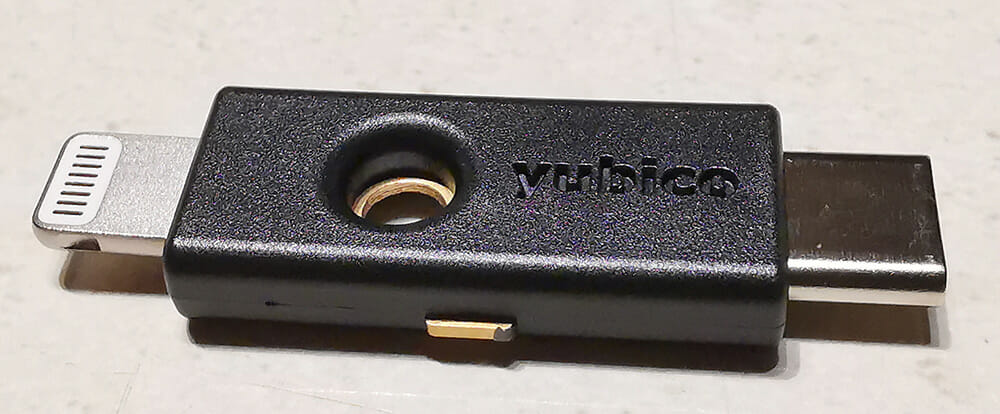
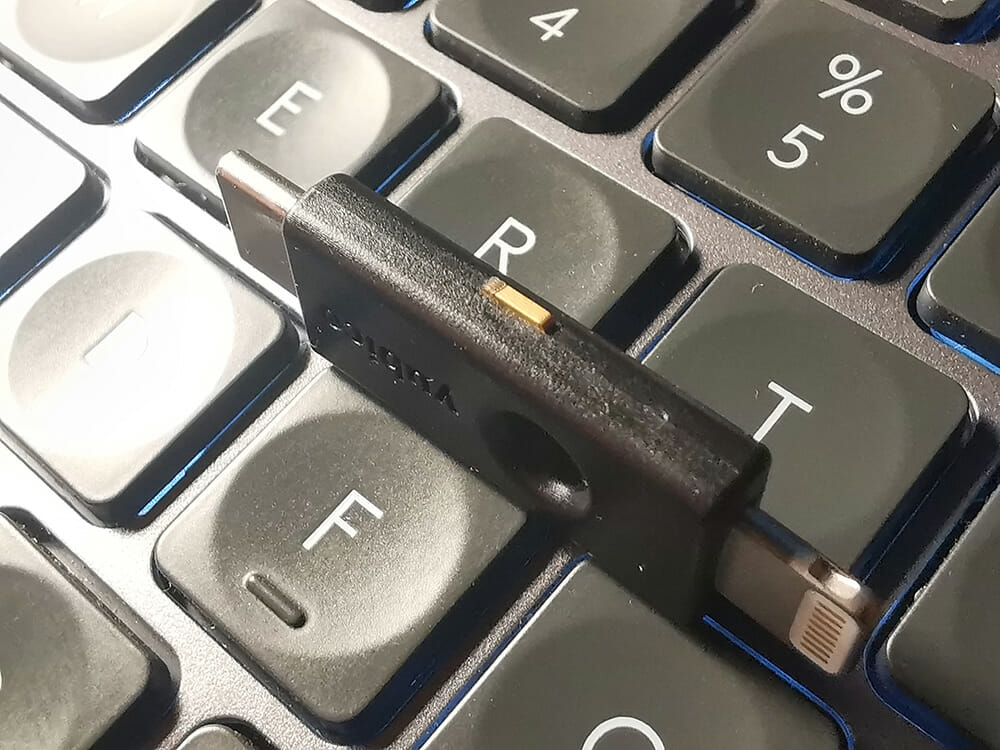
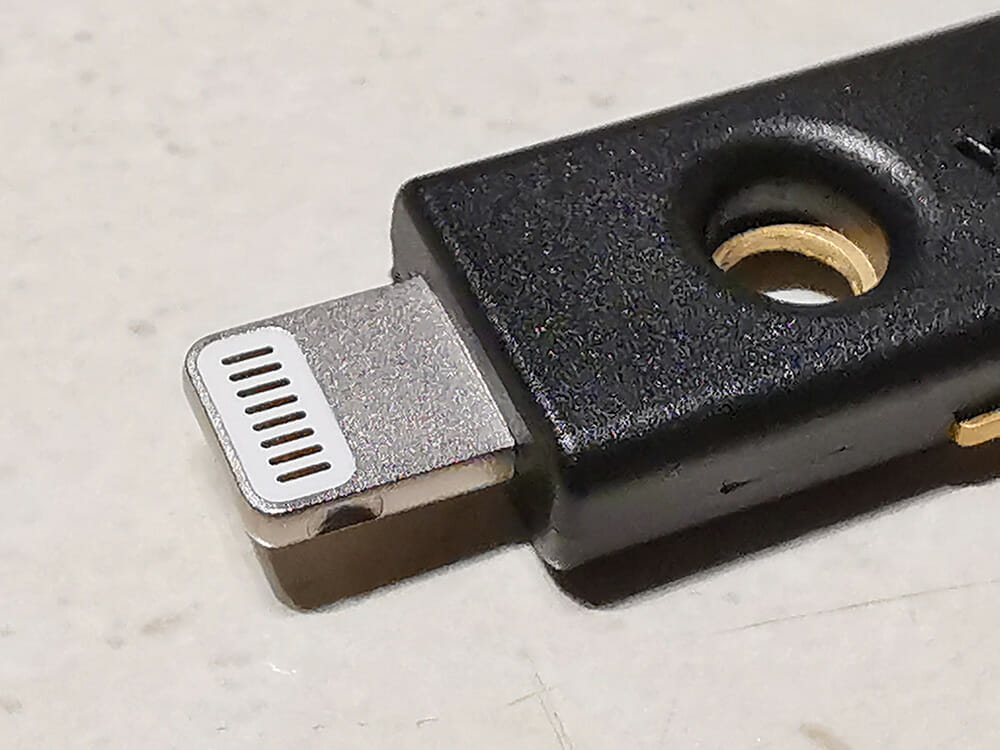
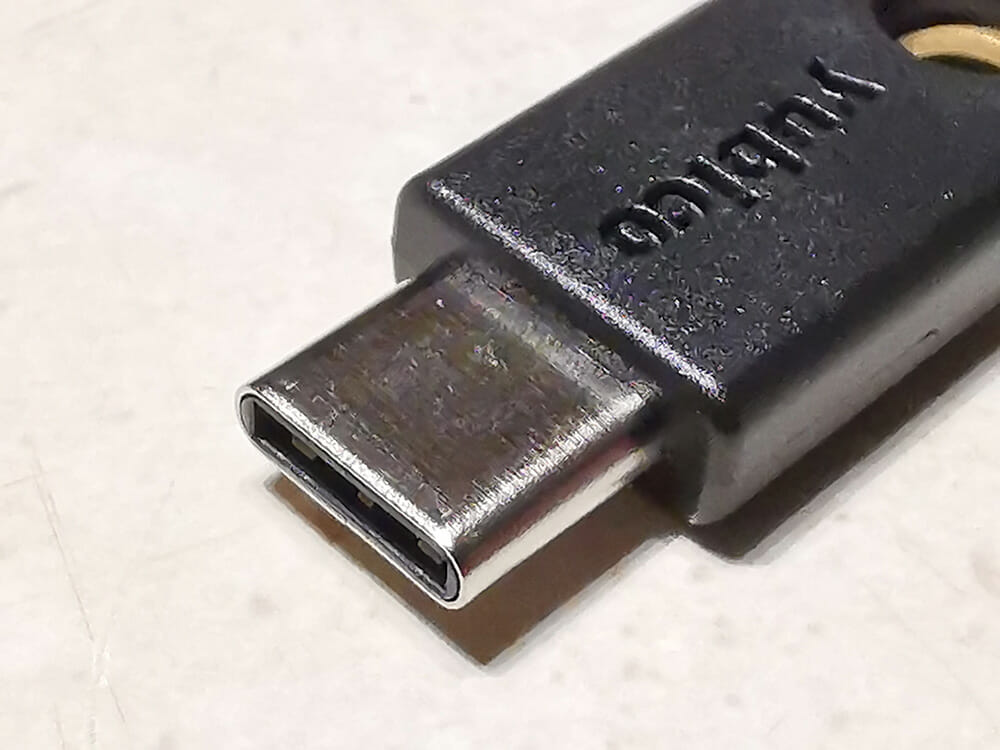
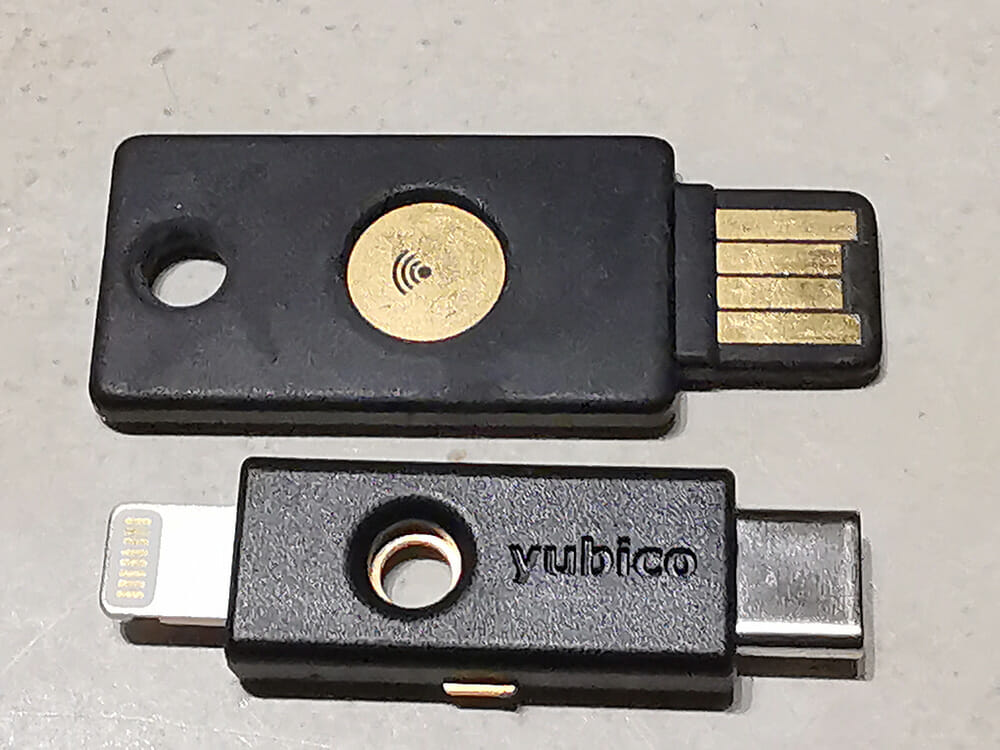
Yubico YubiKey 5Ci with USB-C and Lightning connector for mobile devices
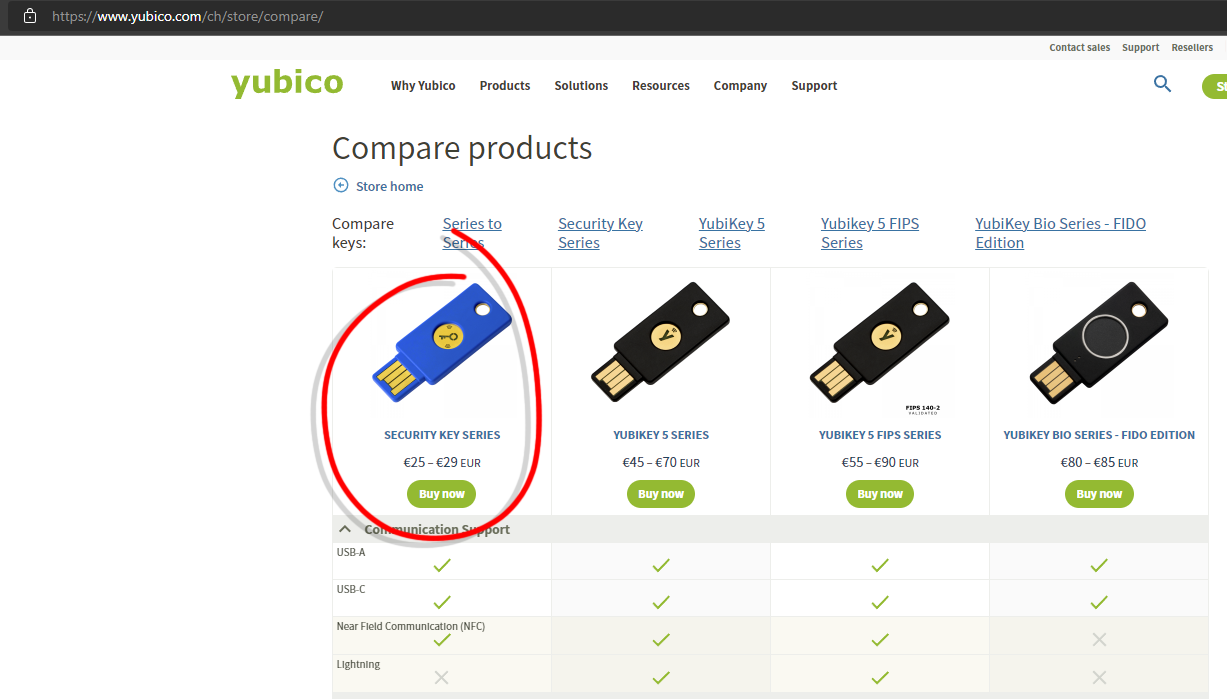
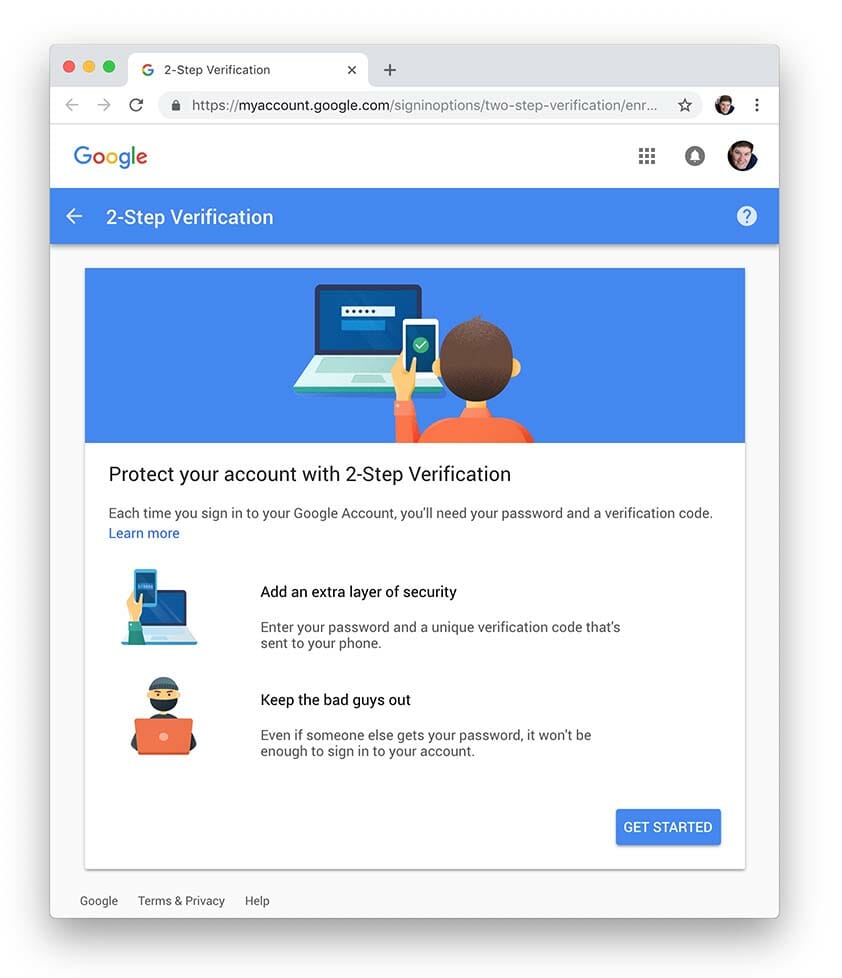
Security Key Series
Introducing the Security Key NFC by Yubico simplified tap and go security key that works on Windows 10 (I tested on Windows 11), iOS and Android devices.
Looking at the Yubico Compare Products Page I can see the Security Key series is half the price of the Standard YubiKey 5/YubiKey 5 FIPS and YubiKey BIO keys.
The Yubico Security Key NFC does have some missing features like
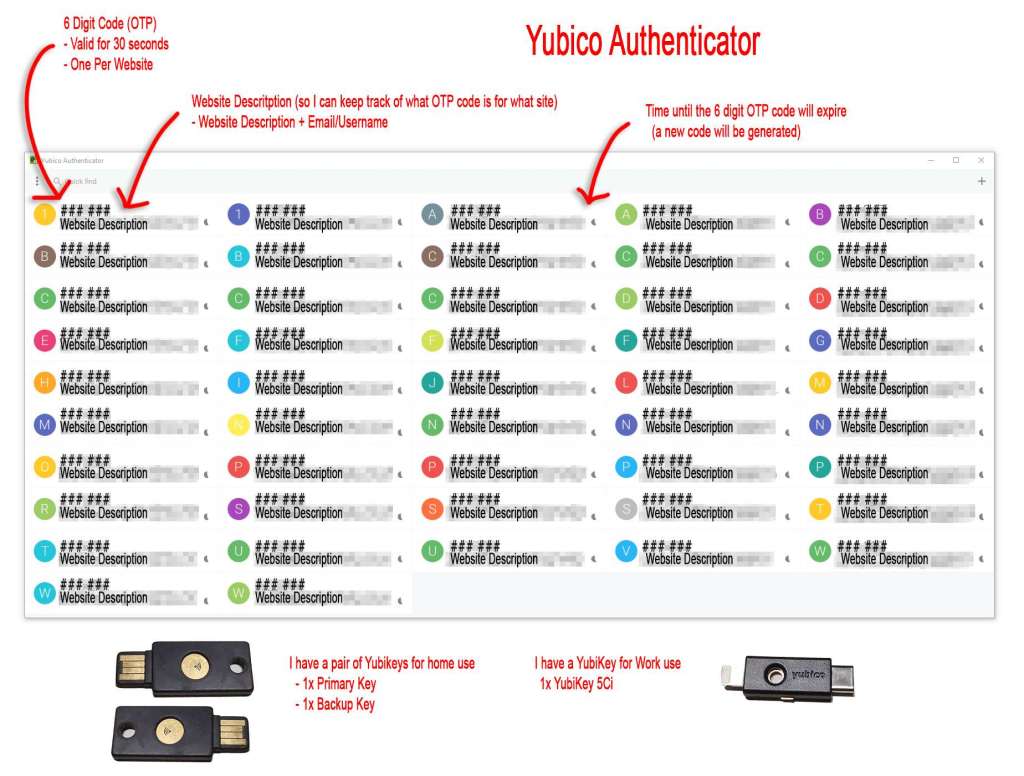
- Yubico OTP
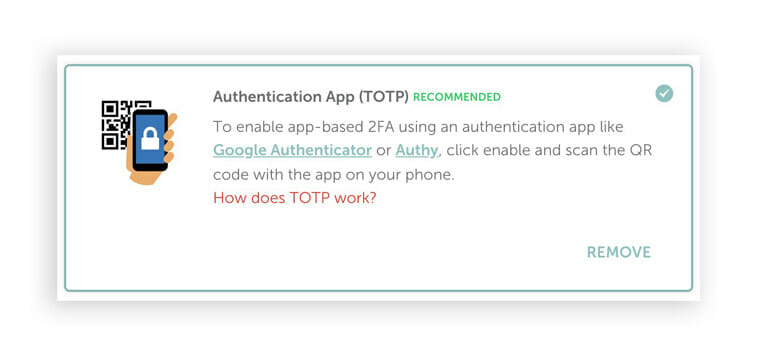
- OATH – HOTP (Event)
- OATH – TOTP (Time)
- OpenPGP
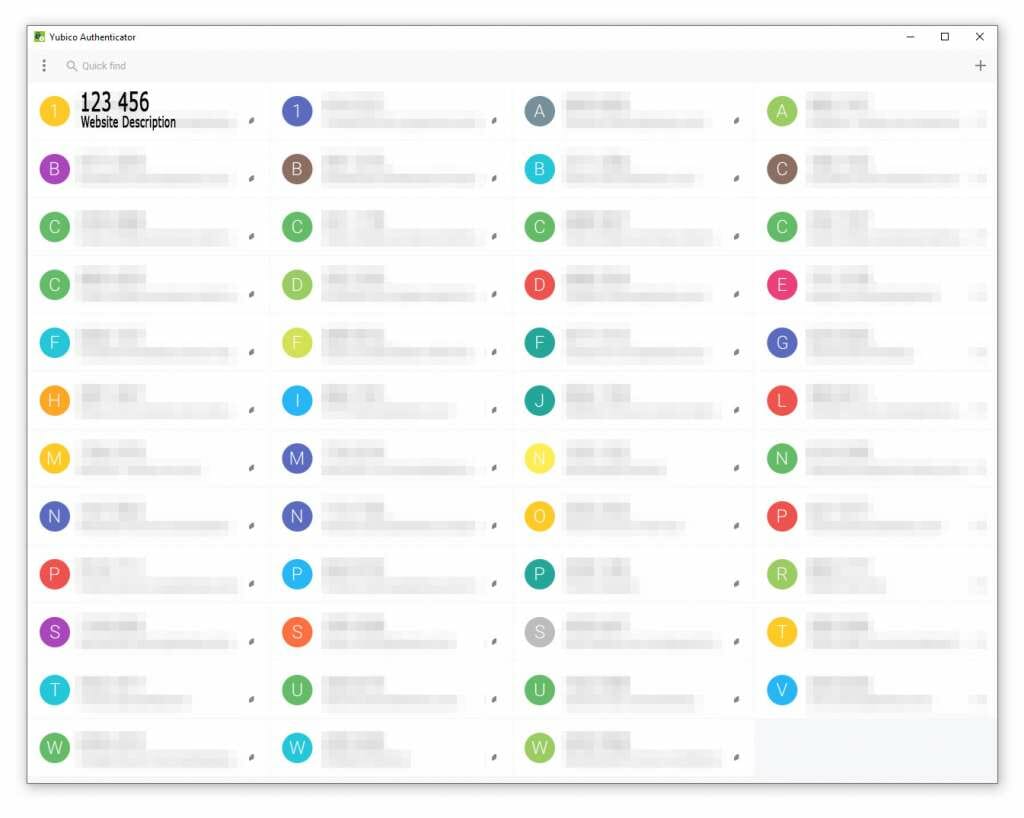
- Yubico Authenticator OTP Storage
- No Computer Login (Windows, Mac or Linux)
- etc
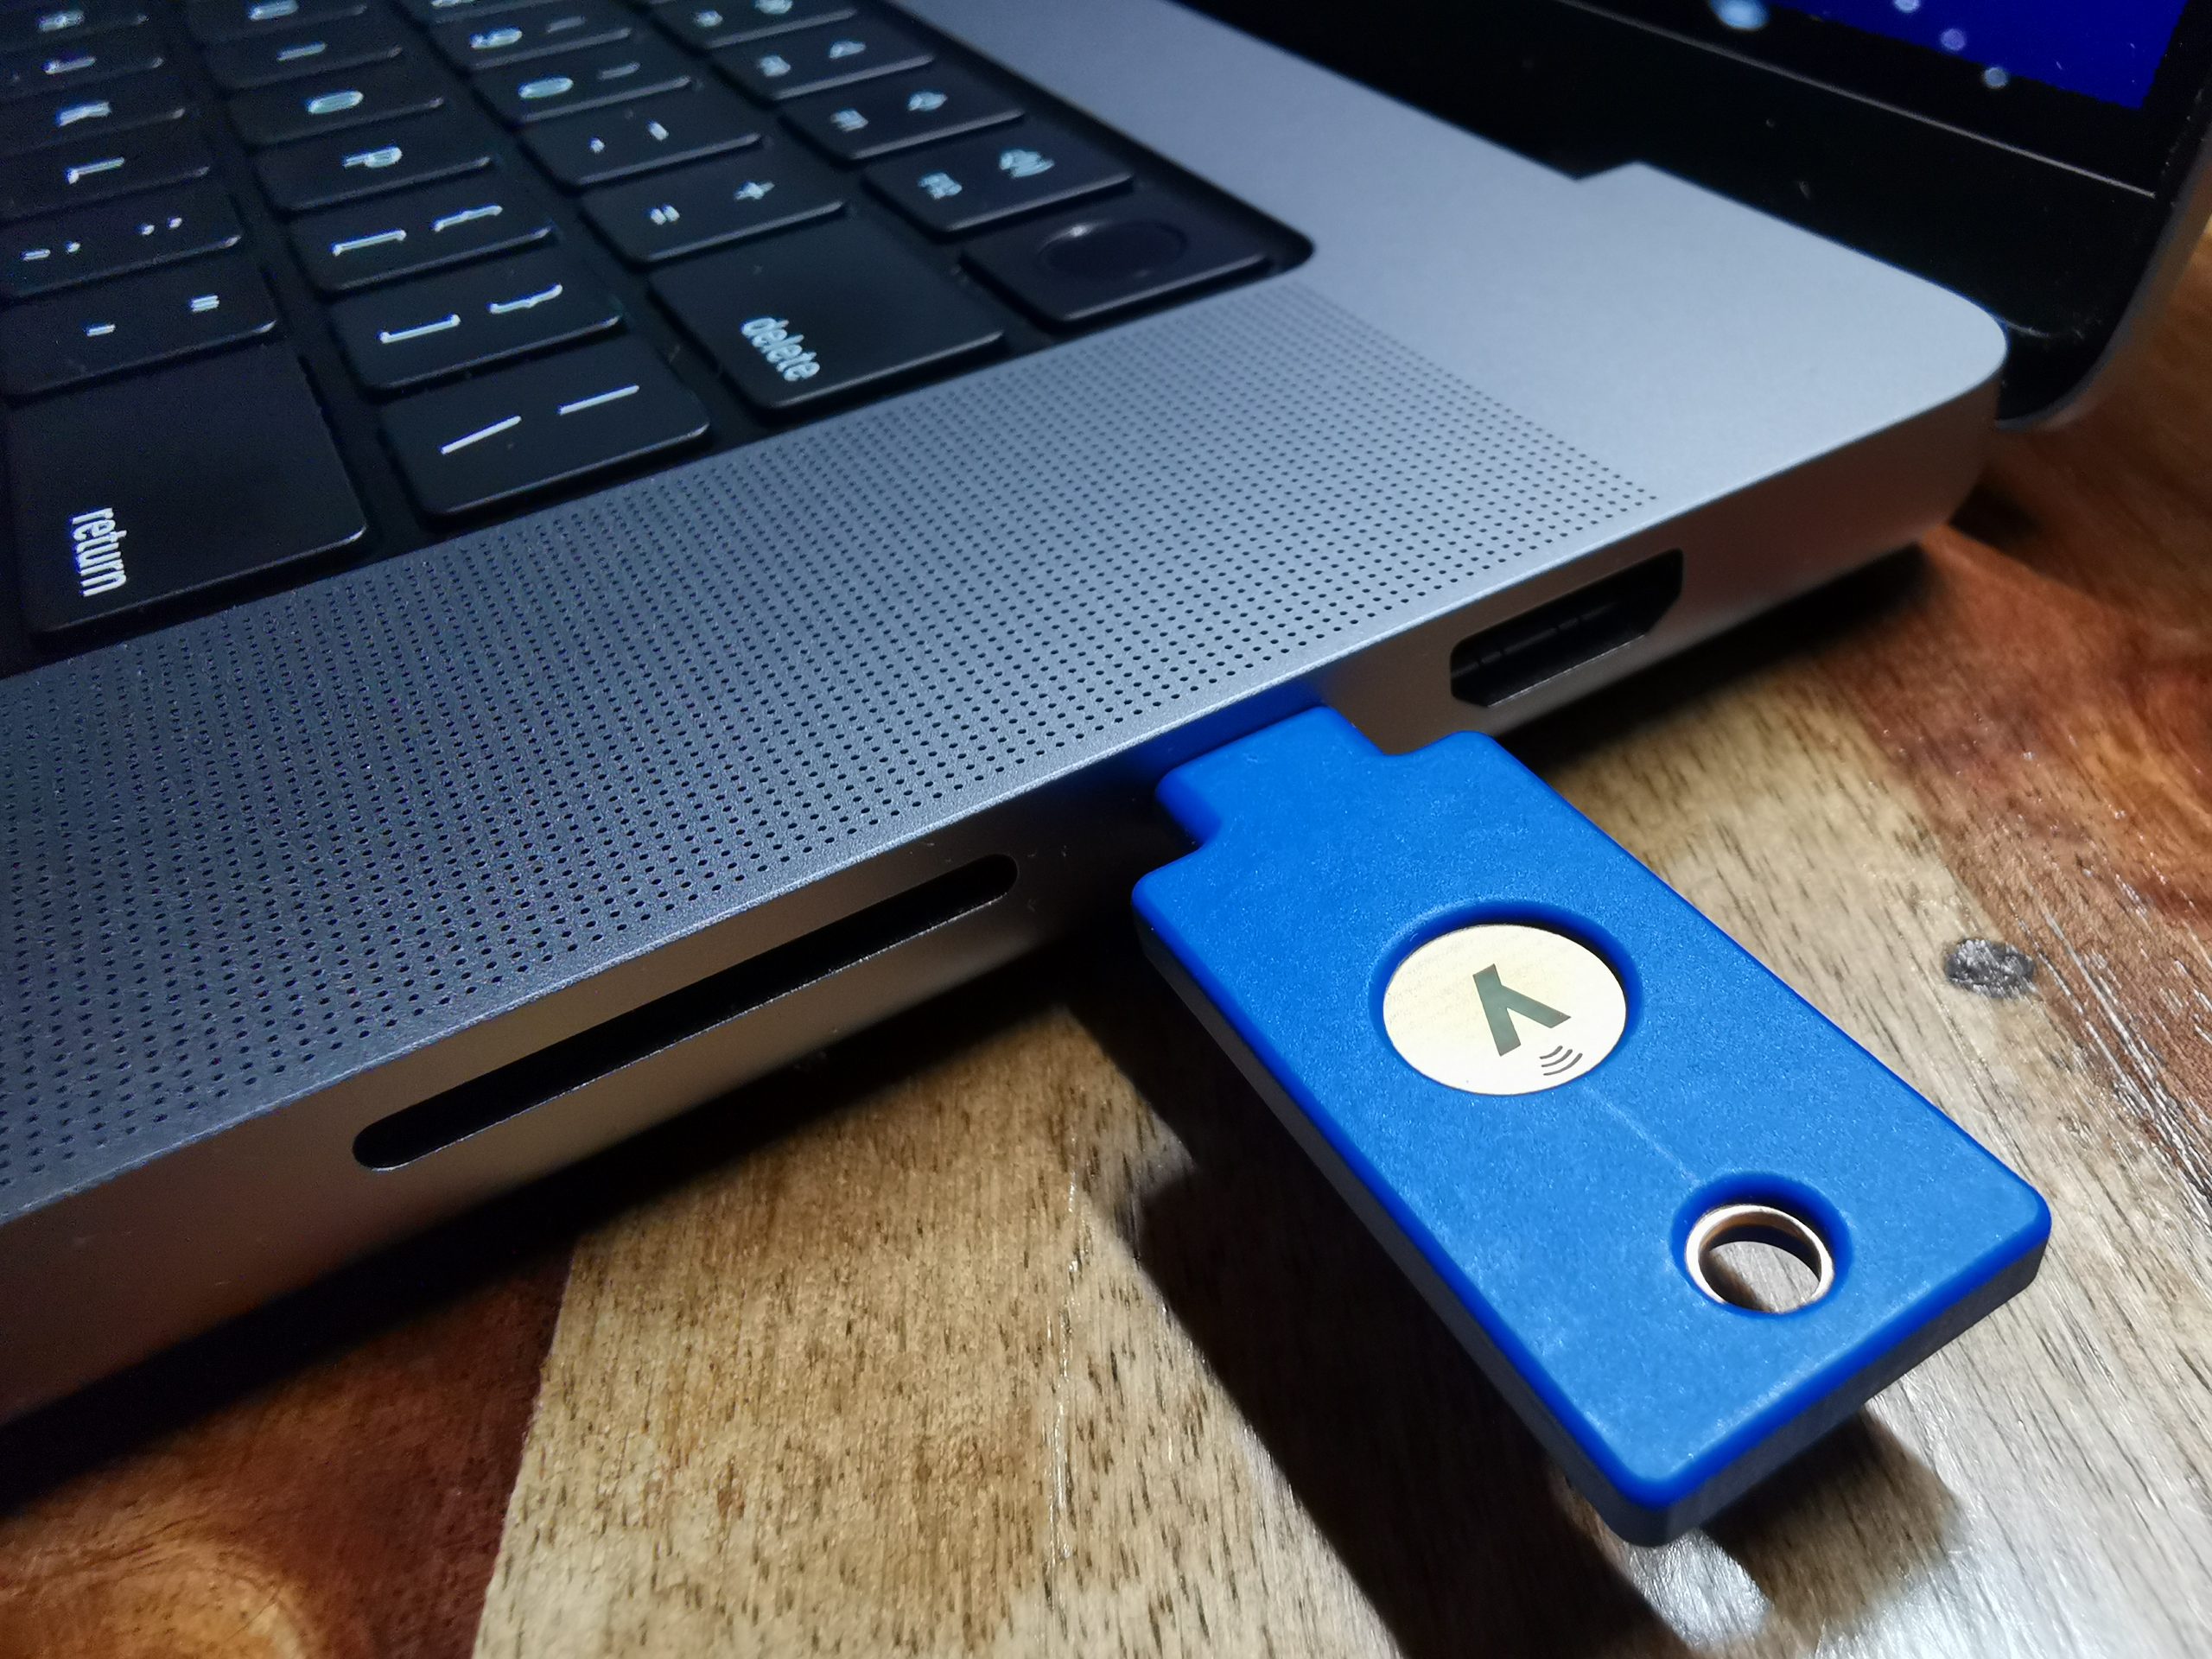
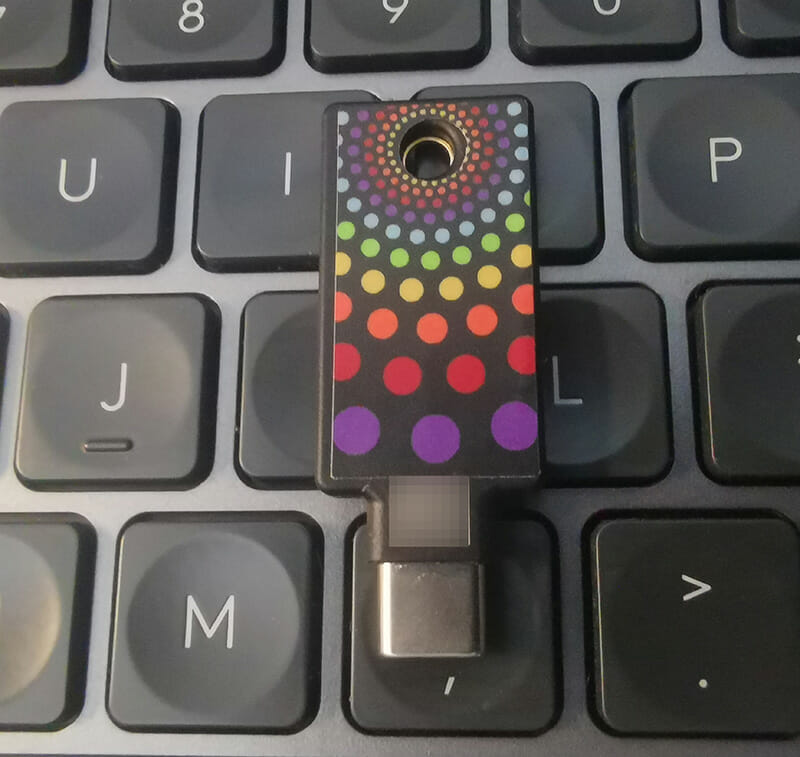
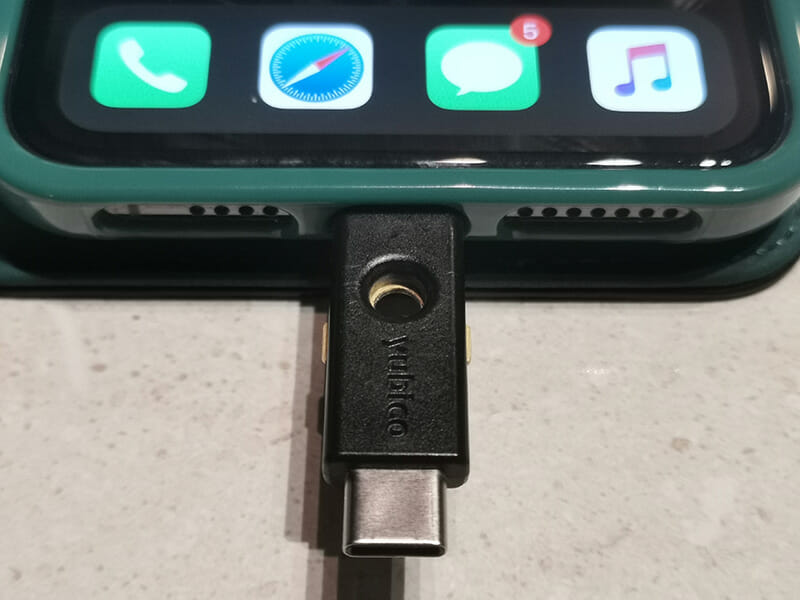
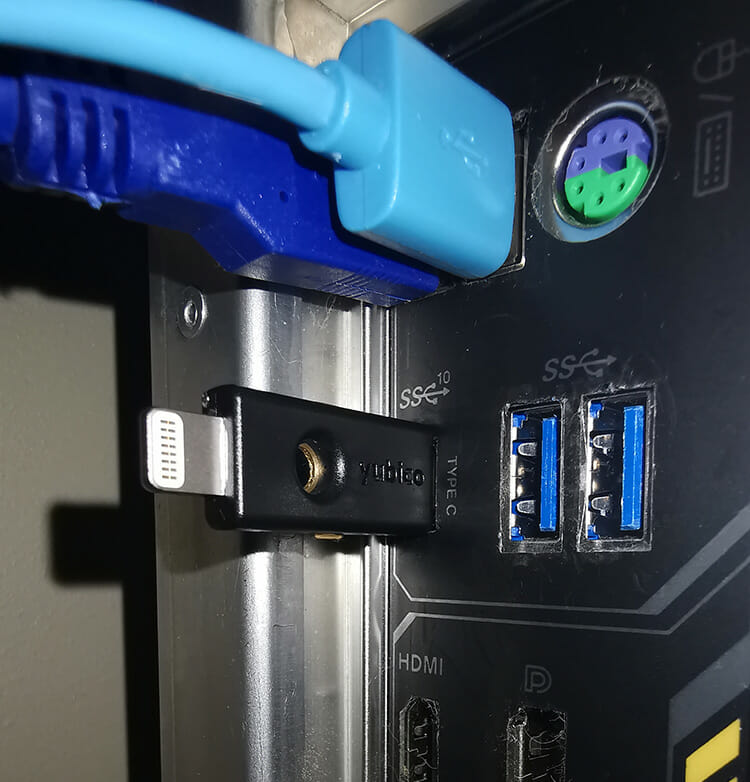
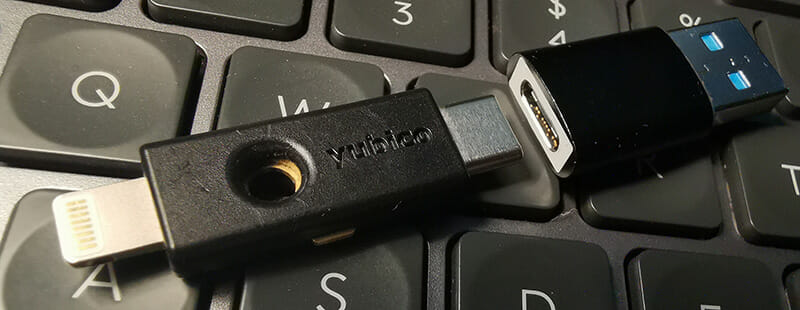
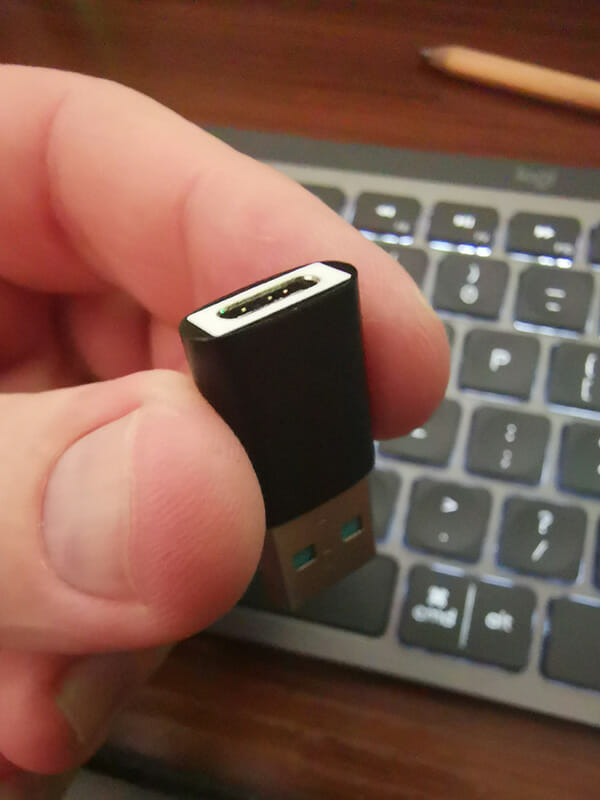
I like the USB-C format over USB-A as my desktop, Mac and phone all have USB-C plugs.
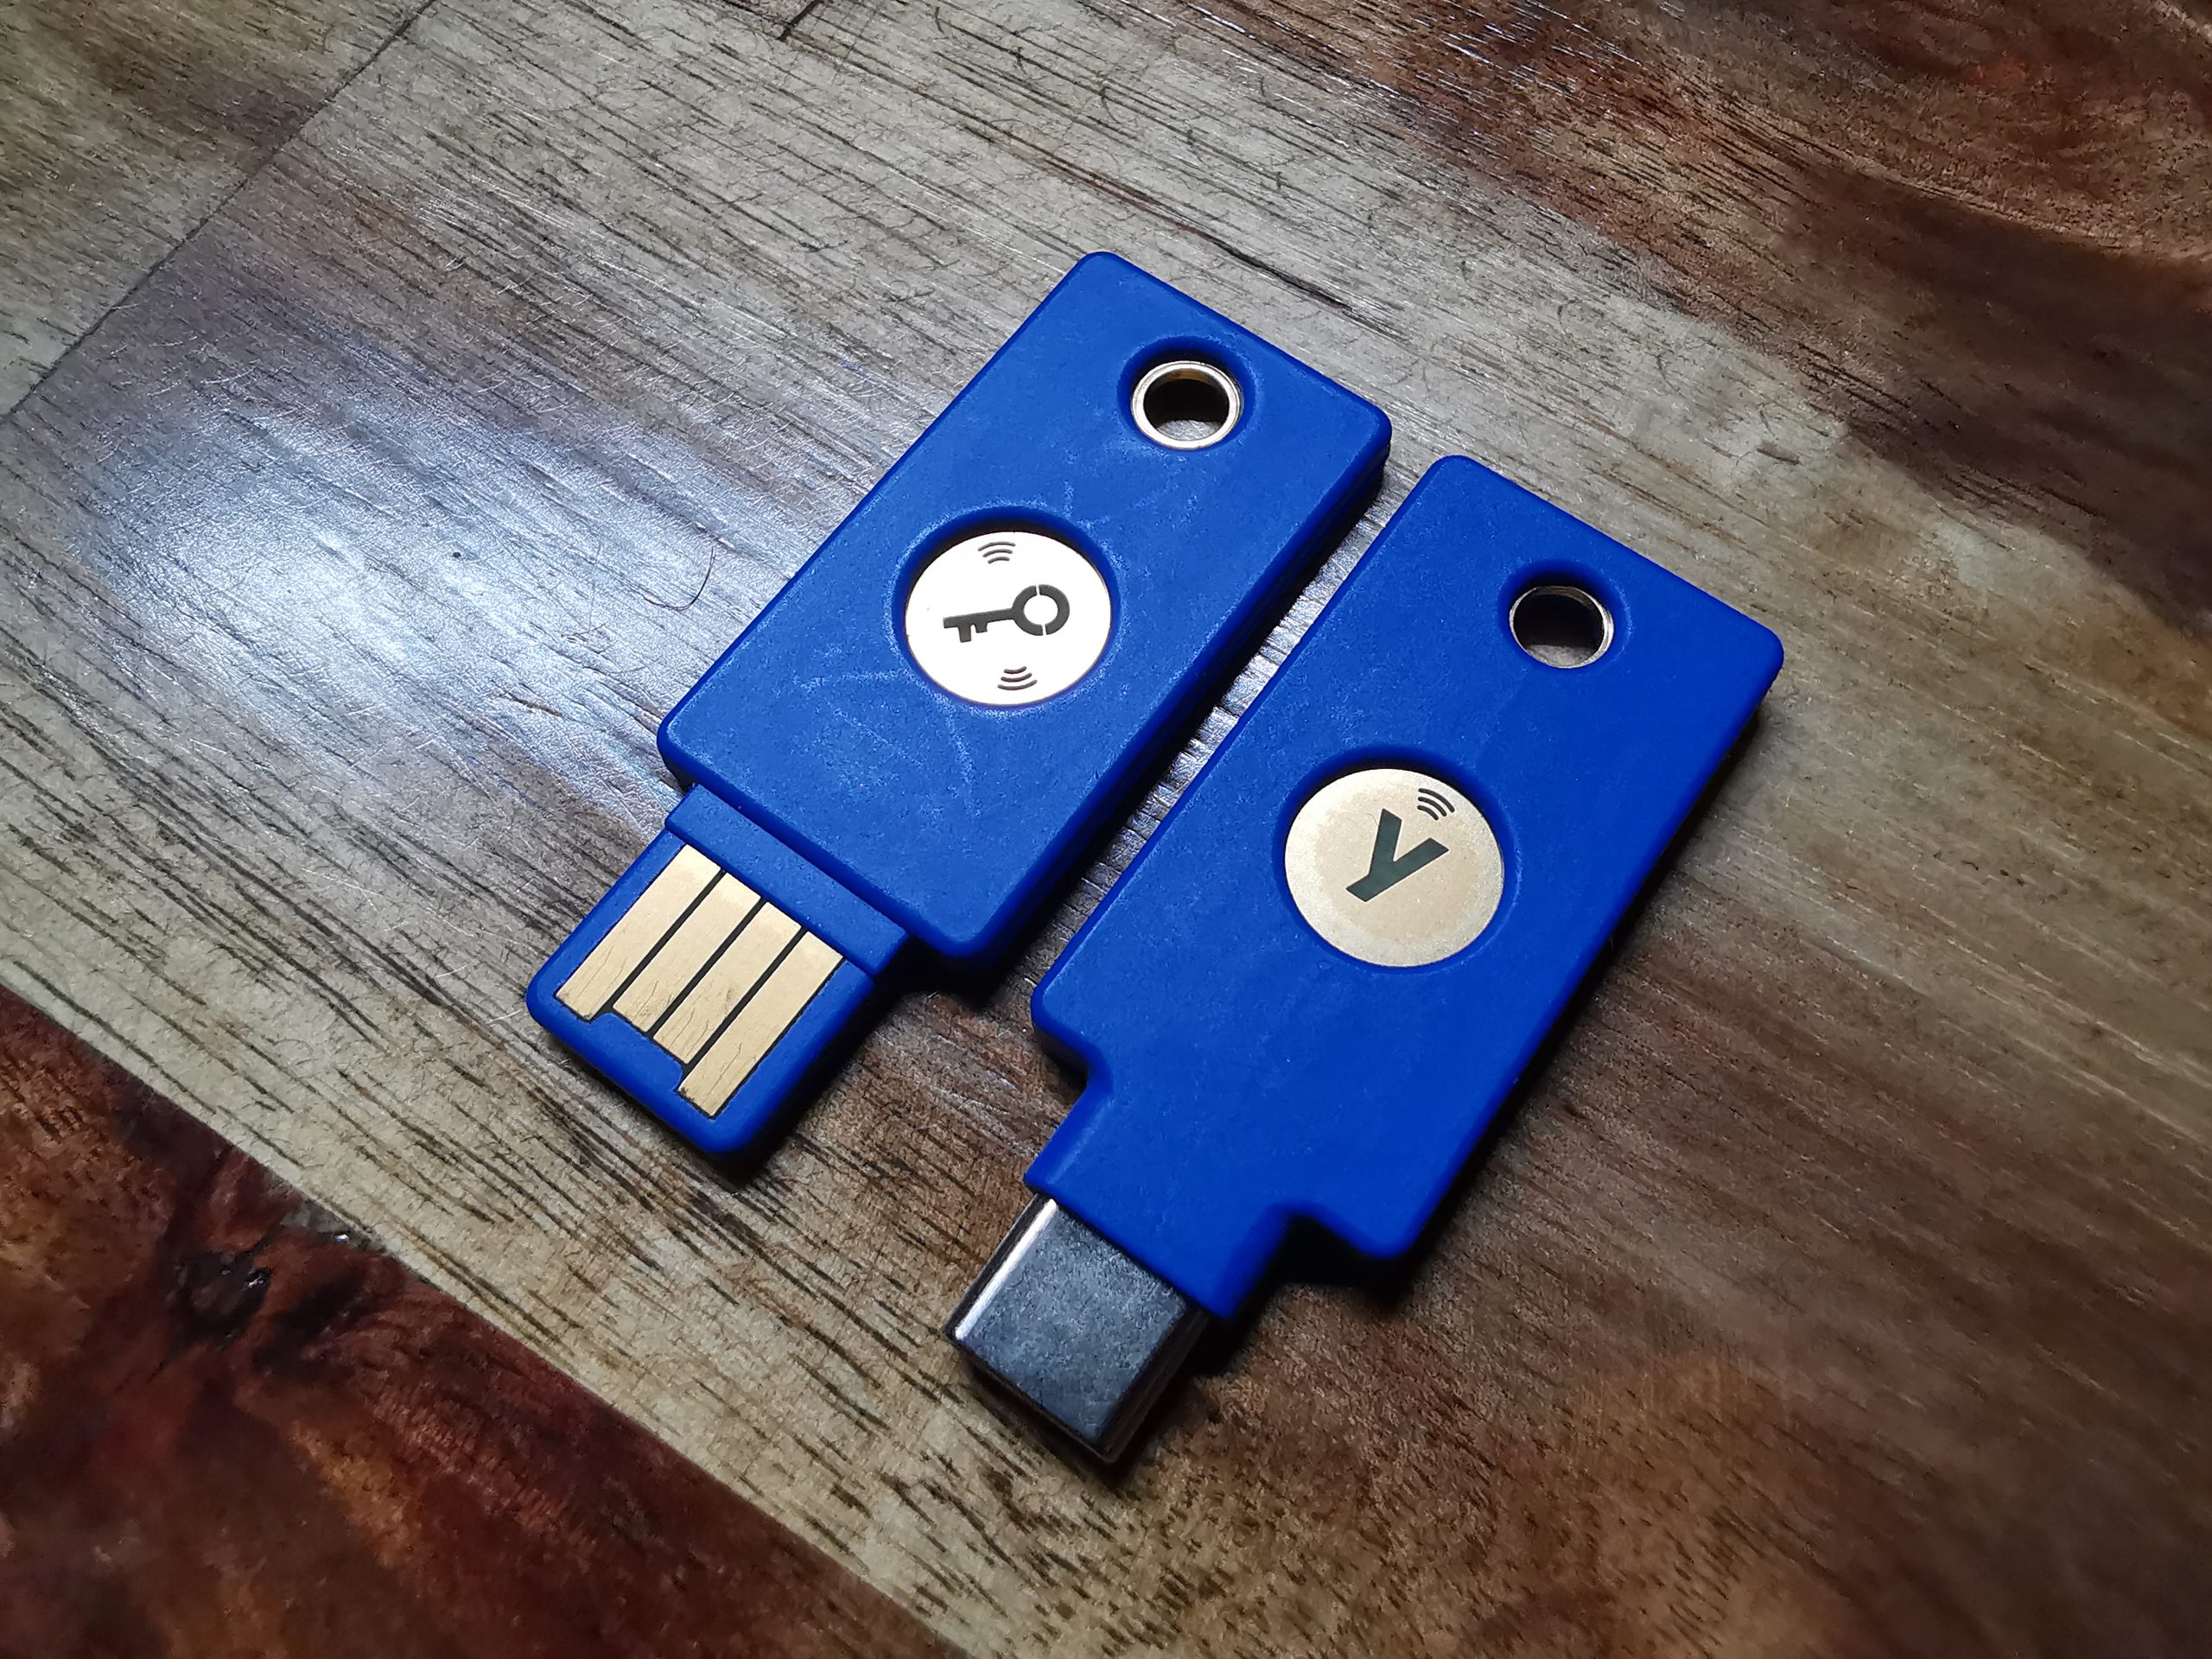
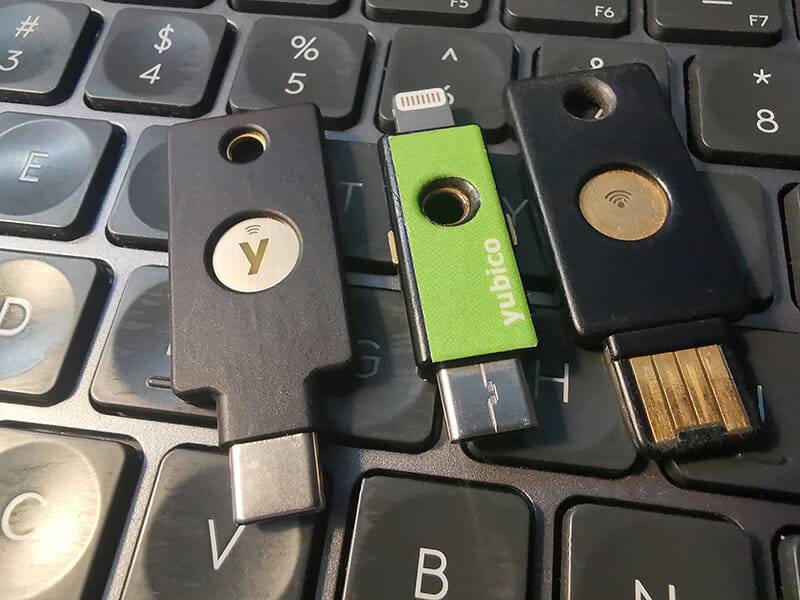
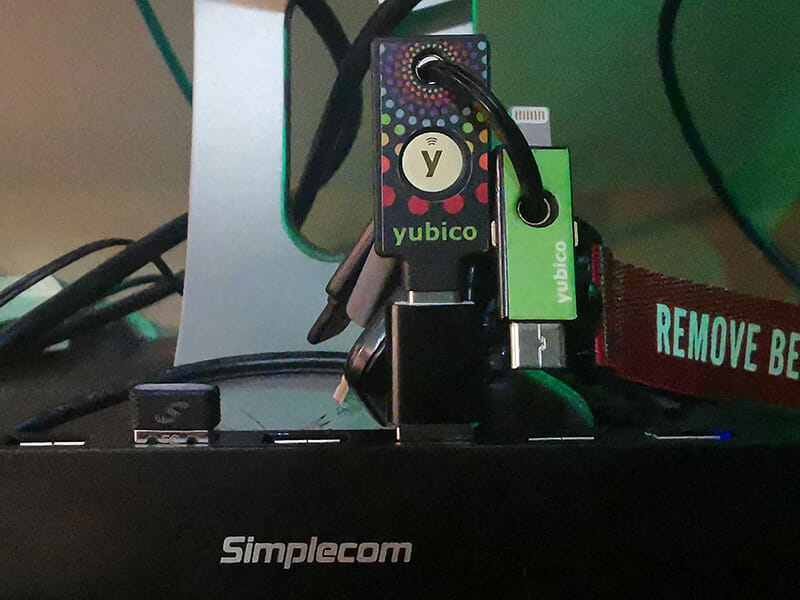
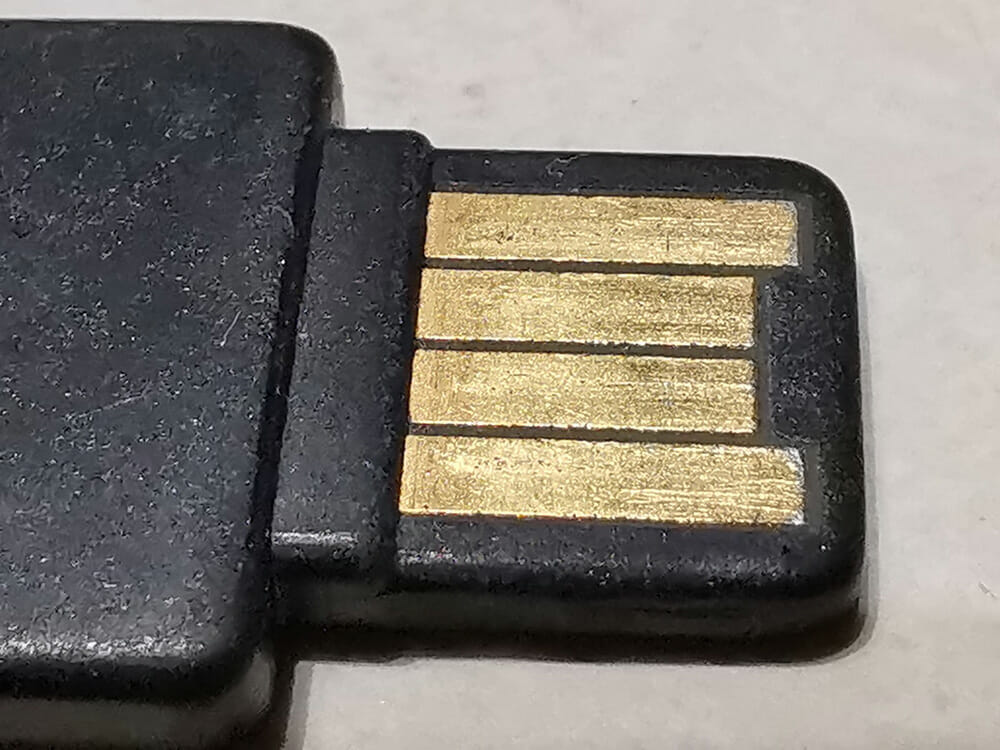
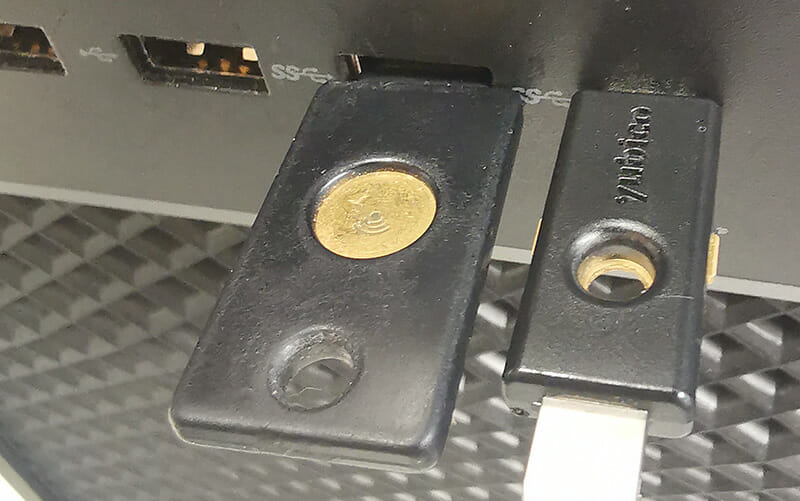
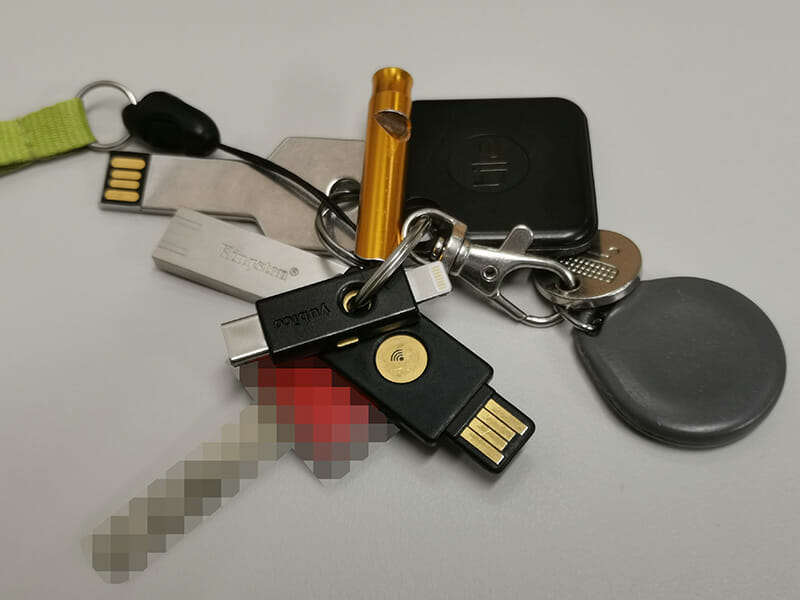
My growing YubiKey Collection.
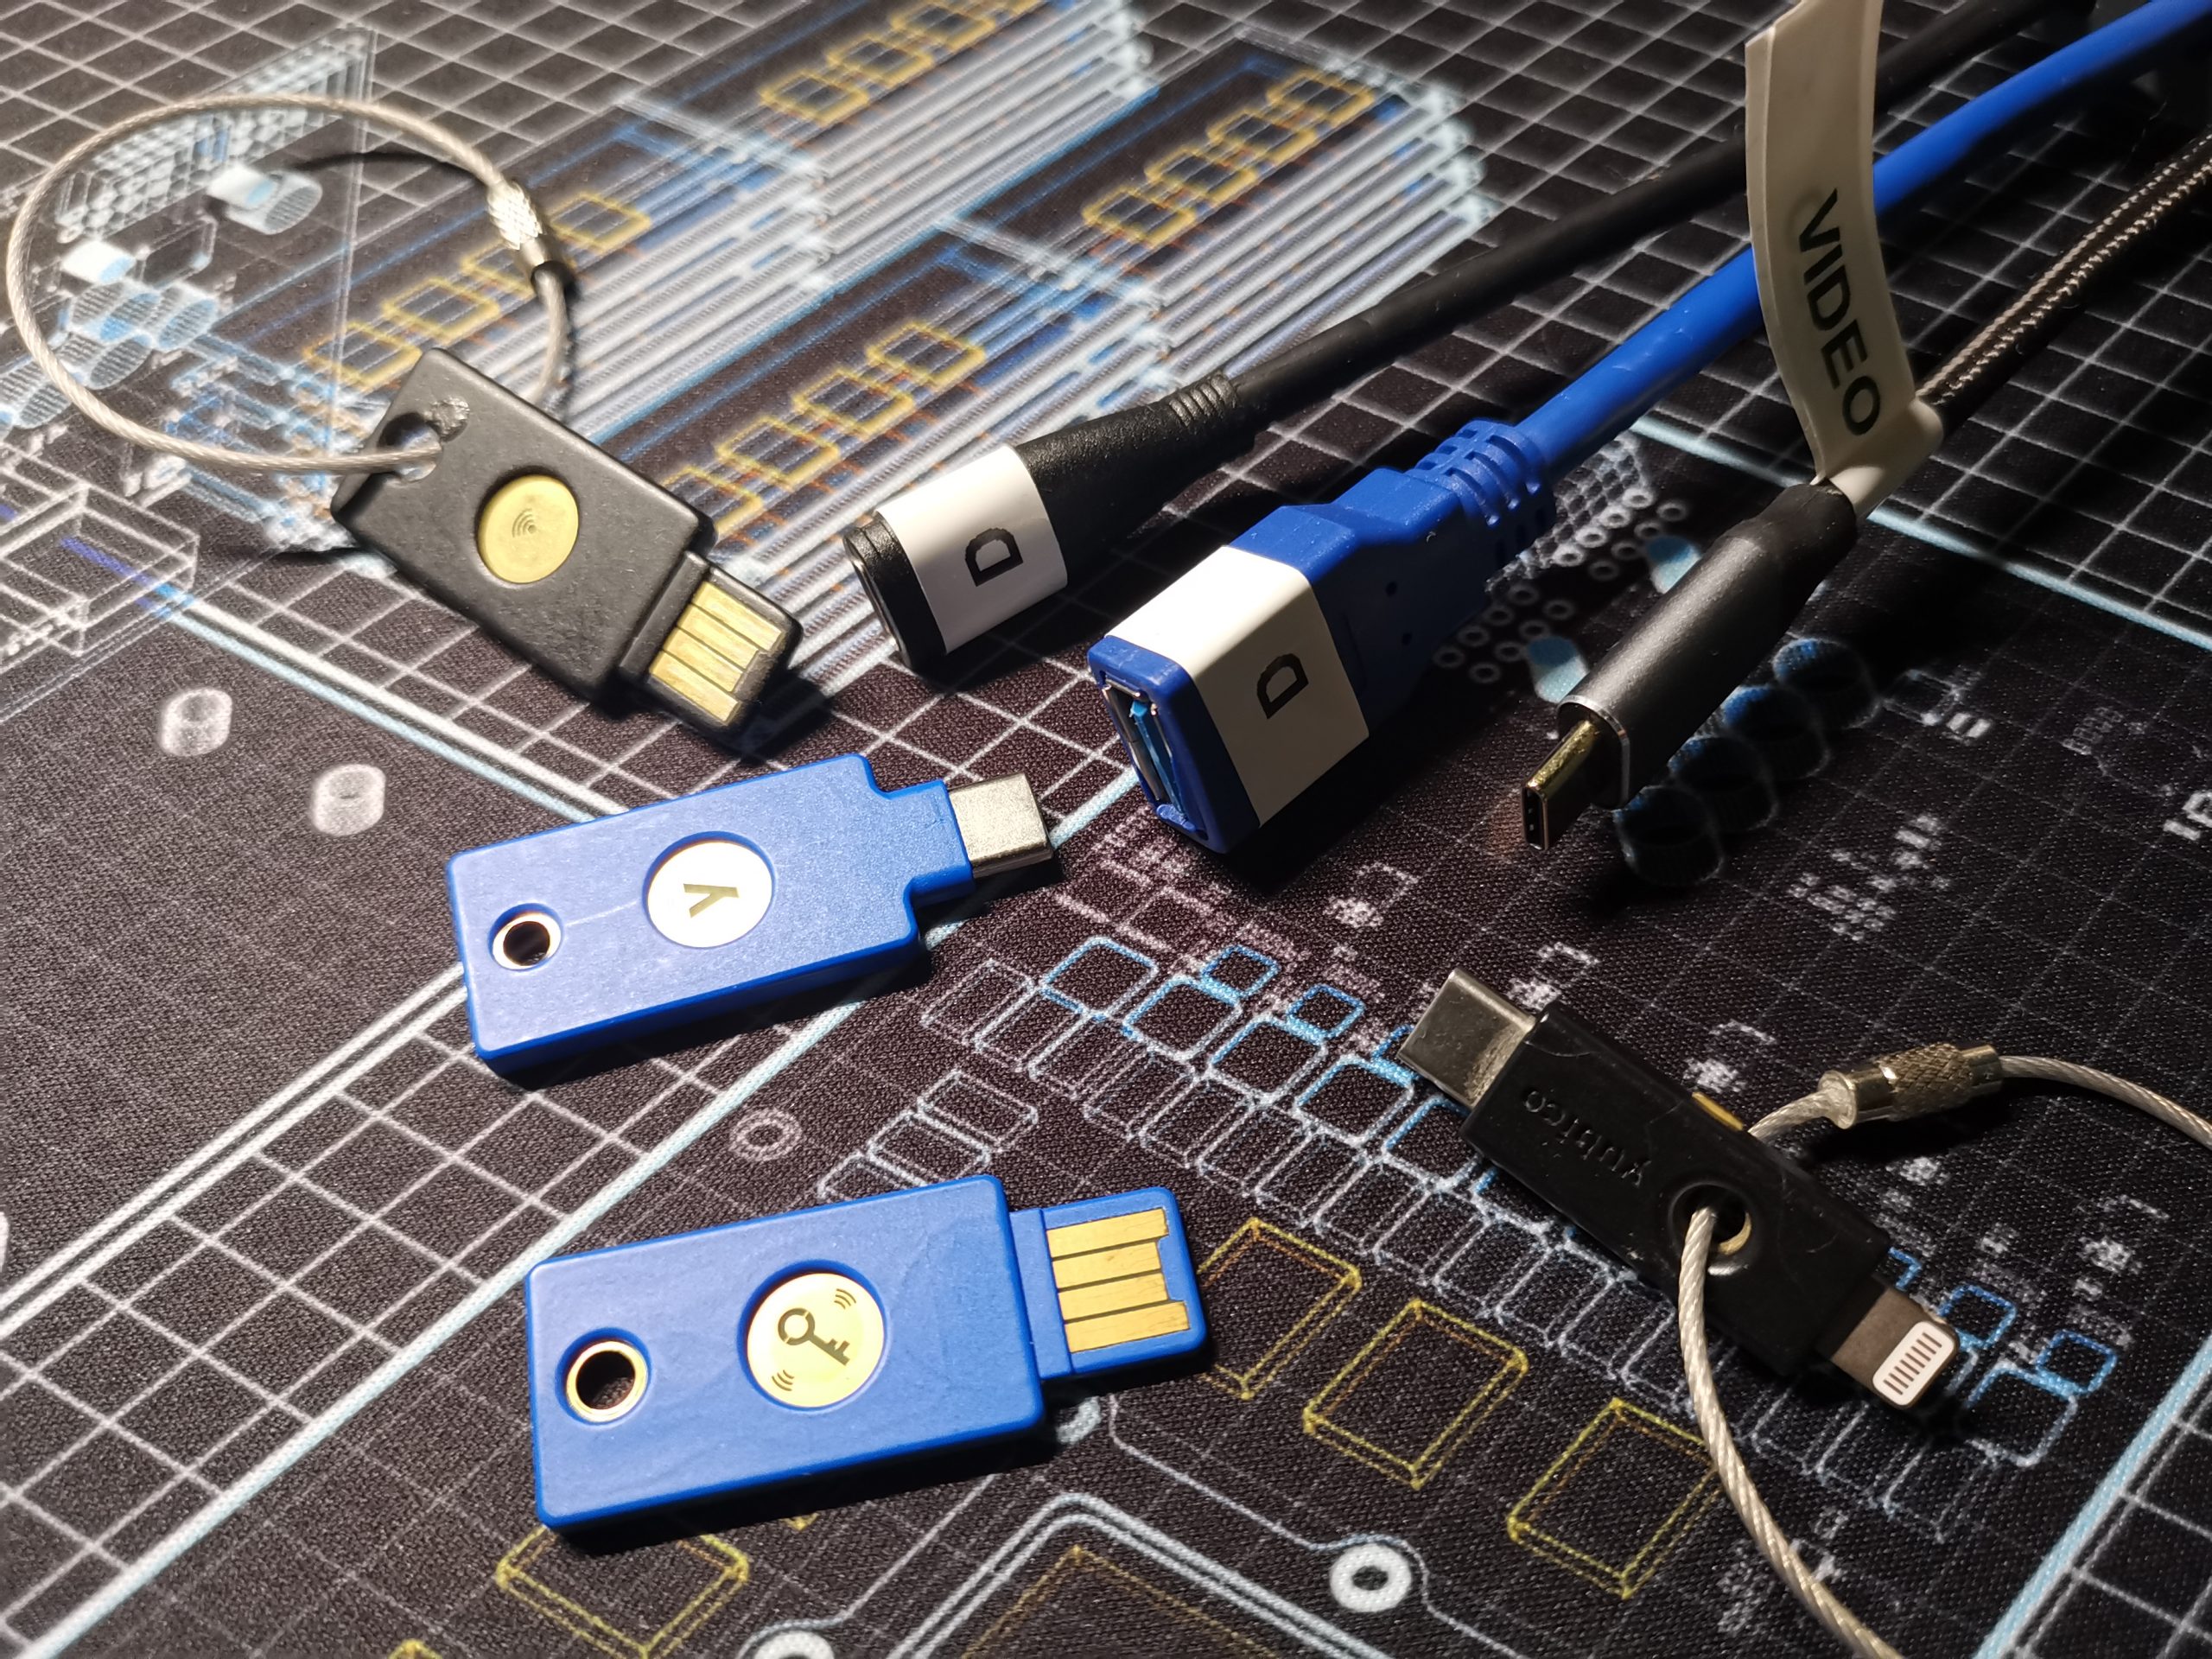
A) YubiKey 4 NEO
B) YubiKey 5Ci
C) YubiKey Security Key C NFC
D) YubiKey Security Key NFC
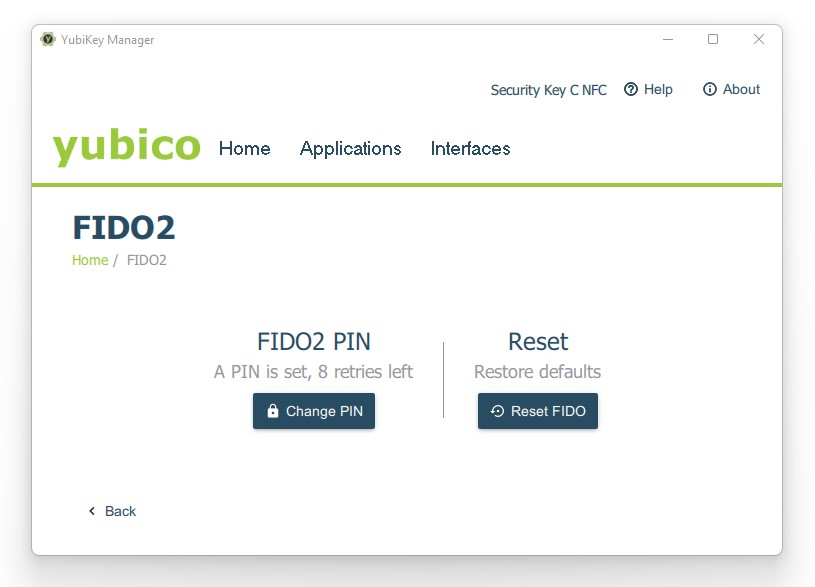
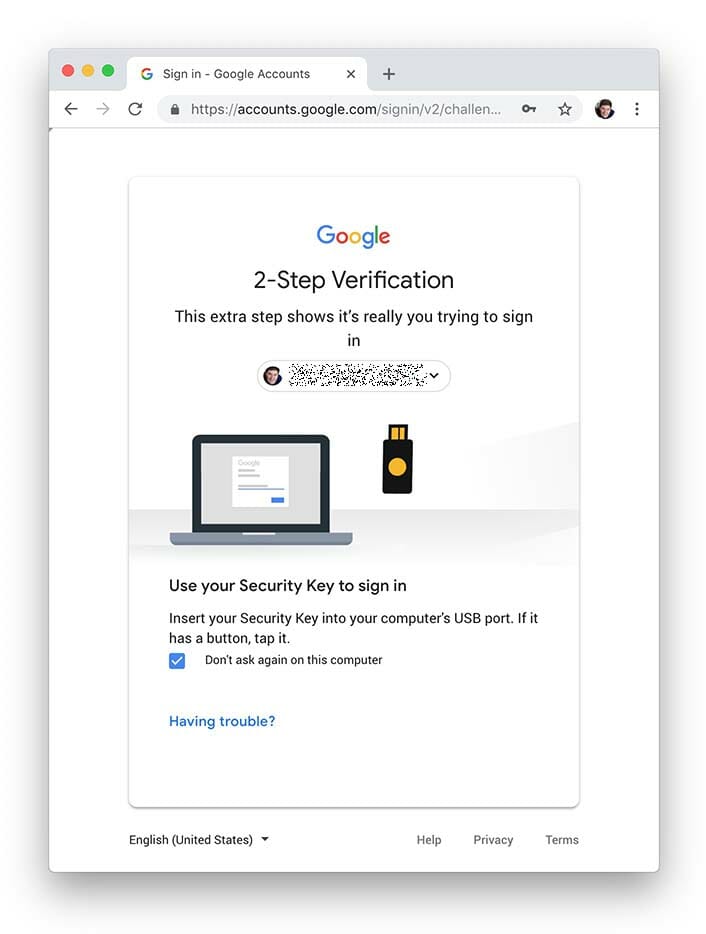
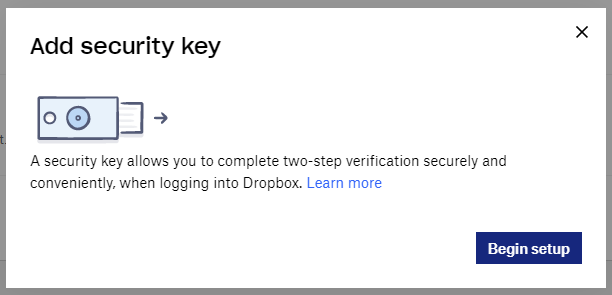
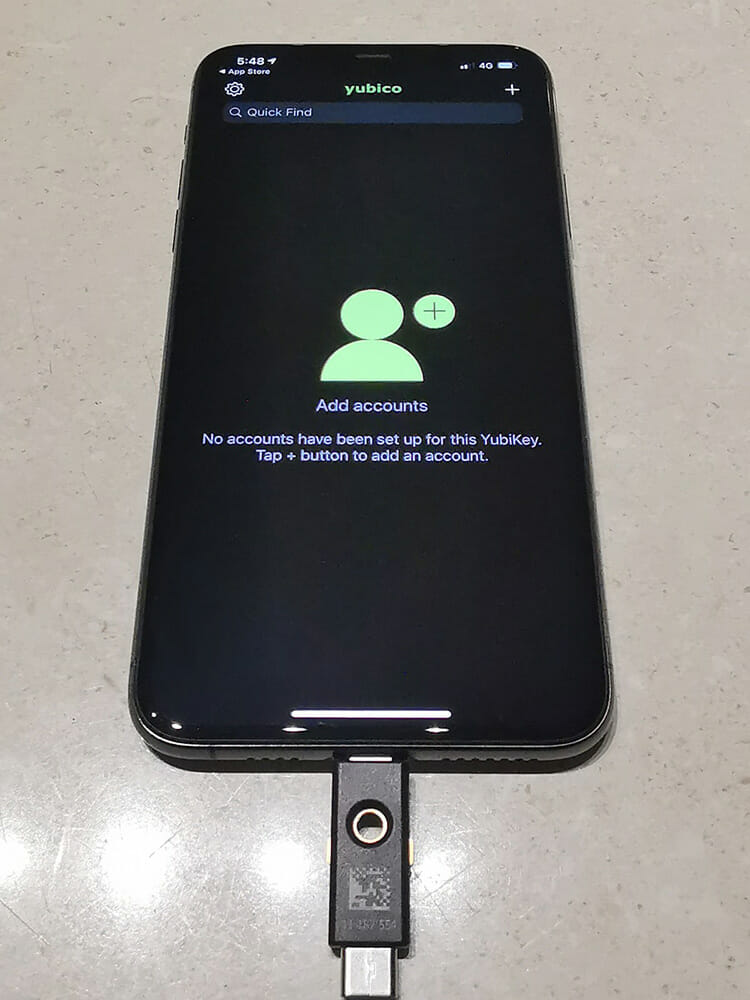
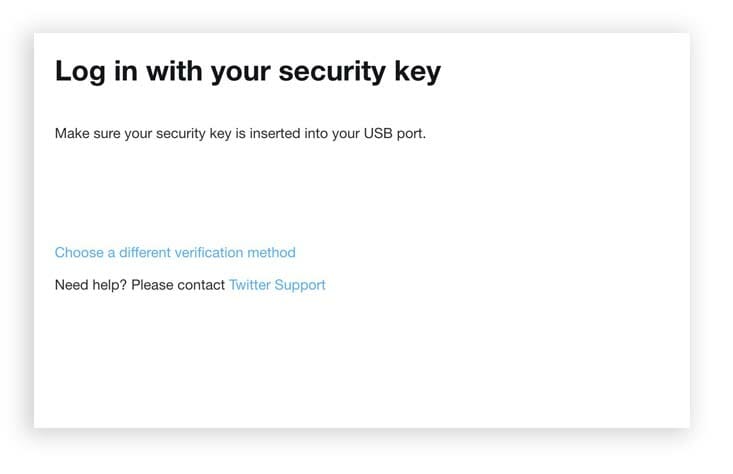
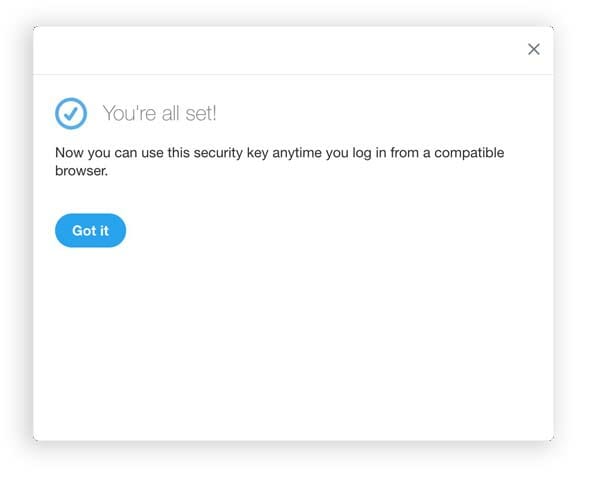
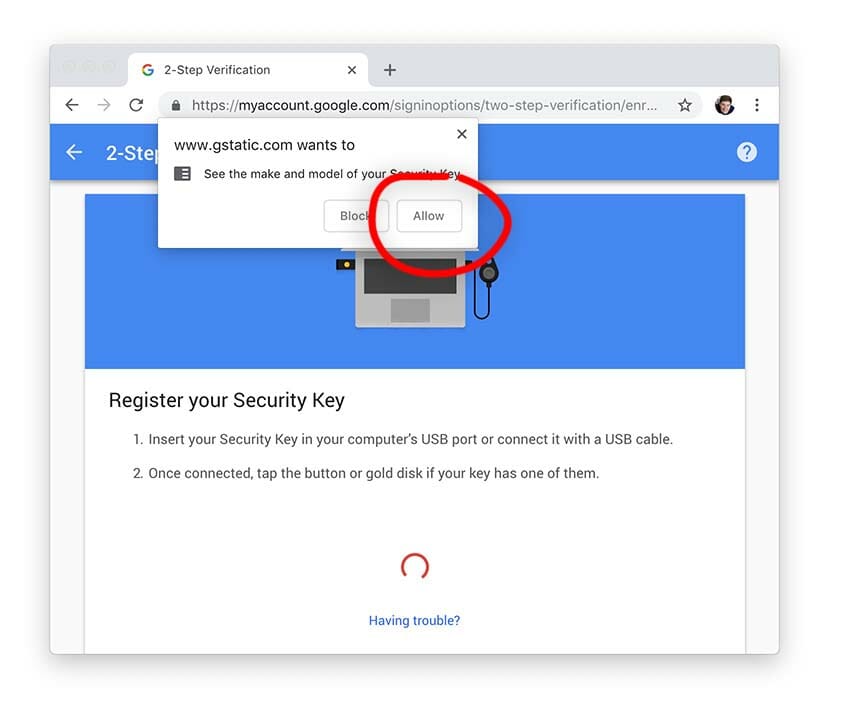
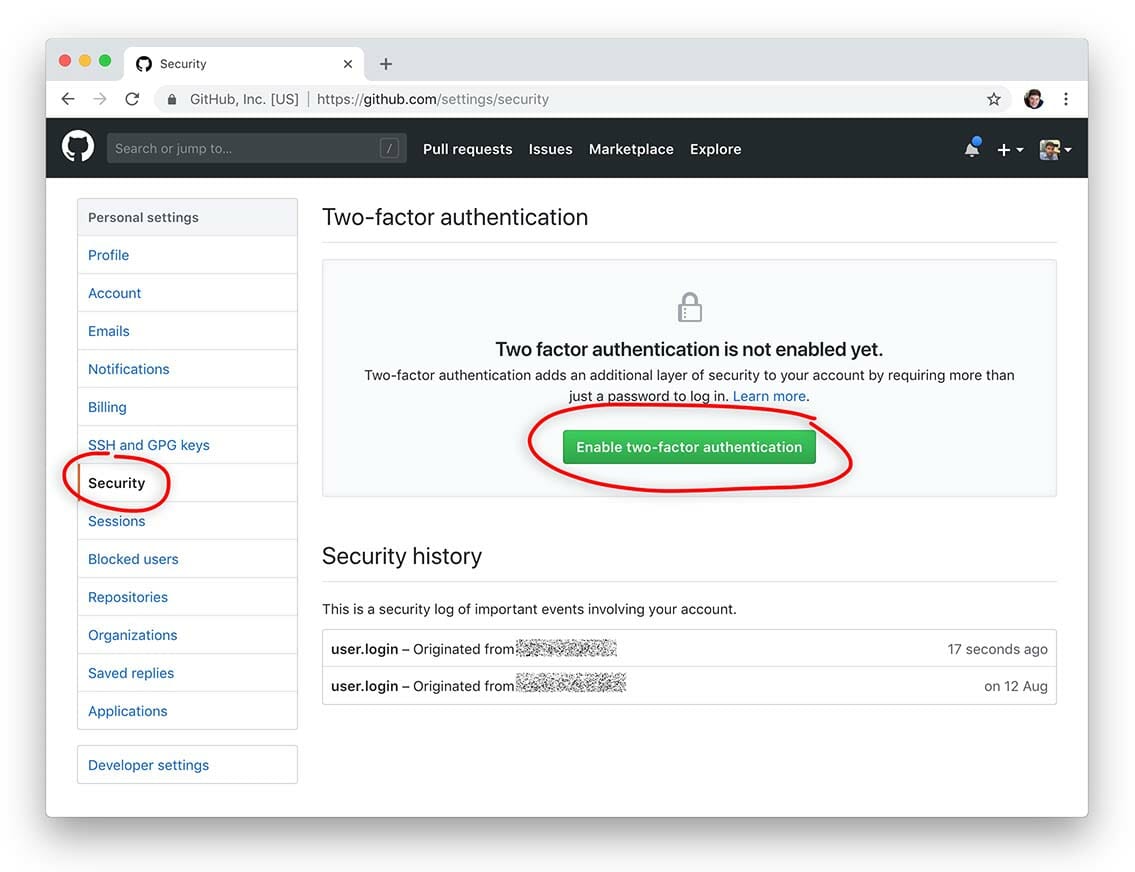
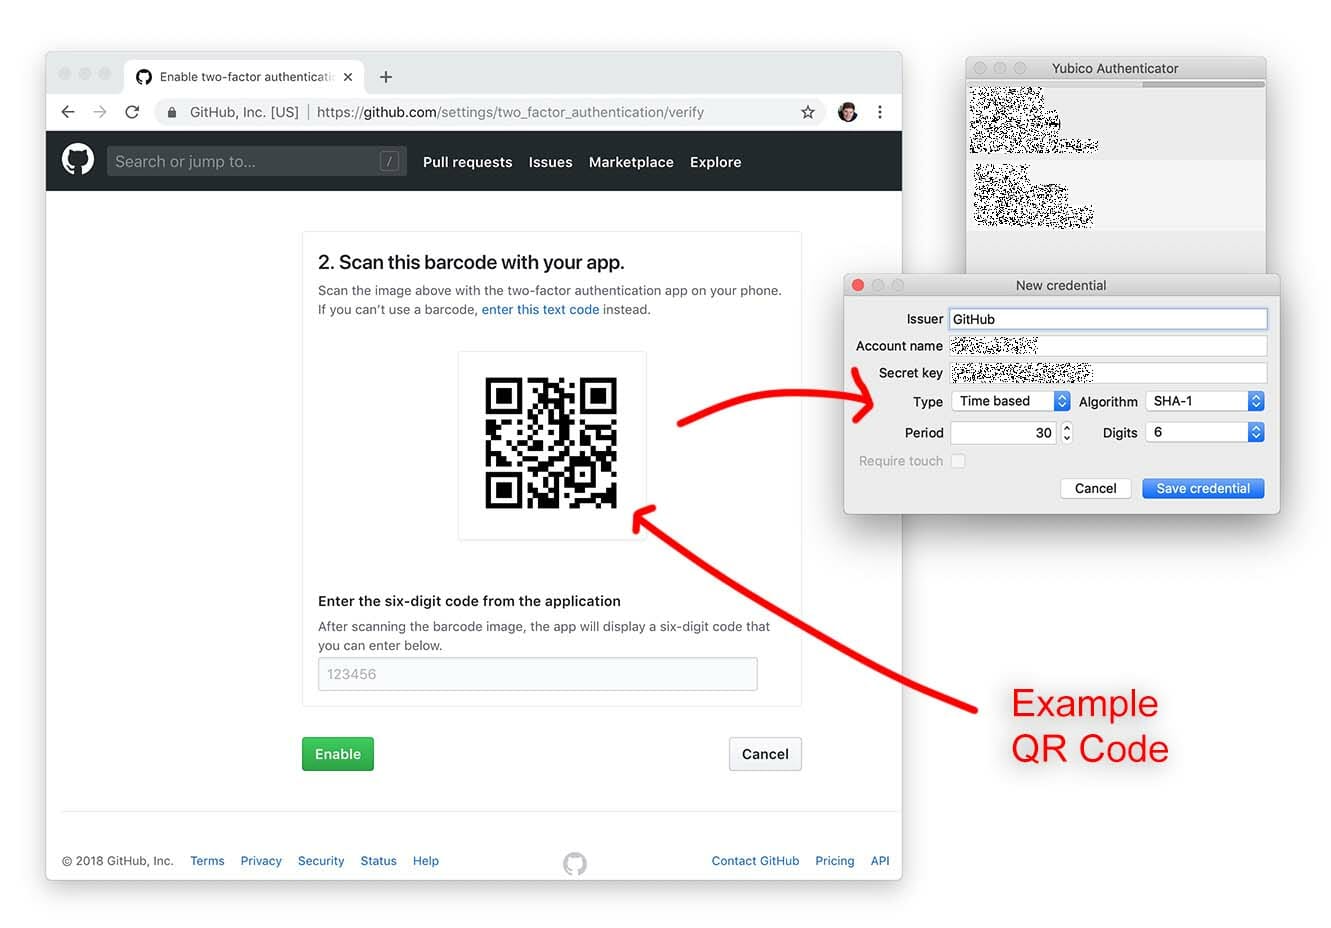
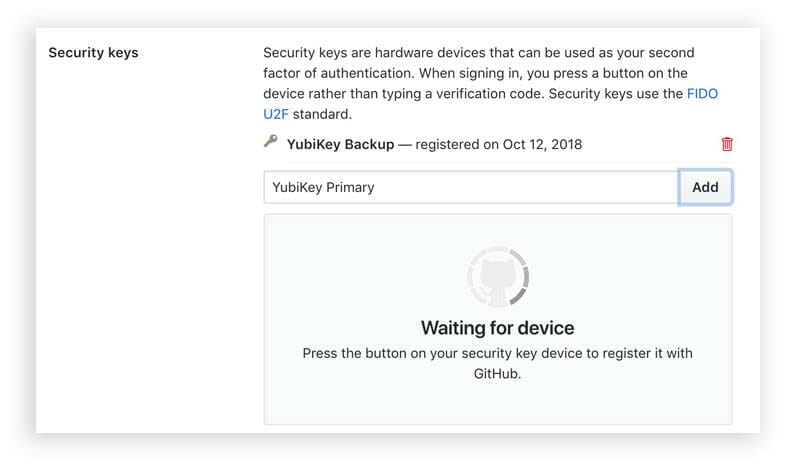
Seting up the Security Keys
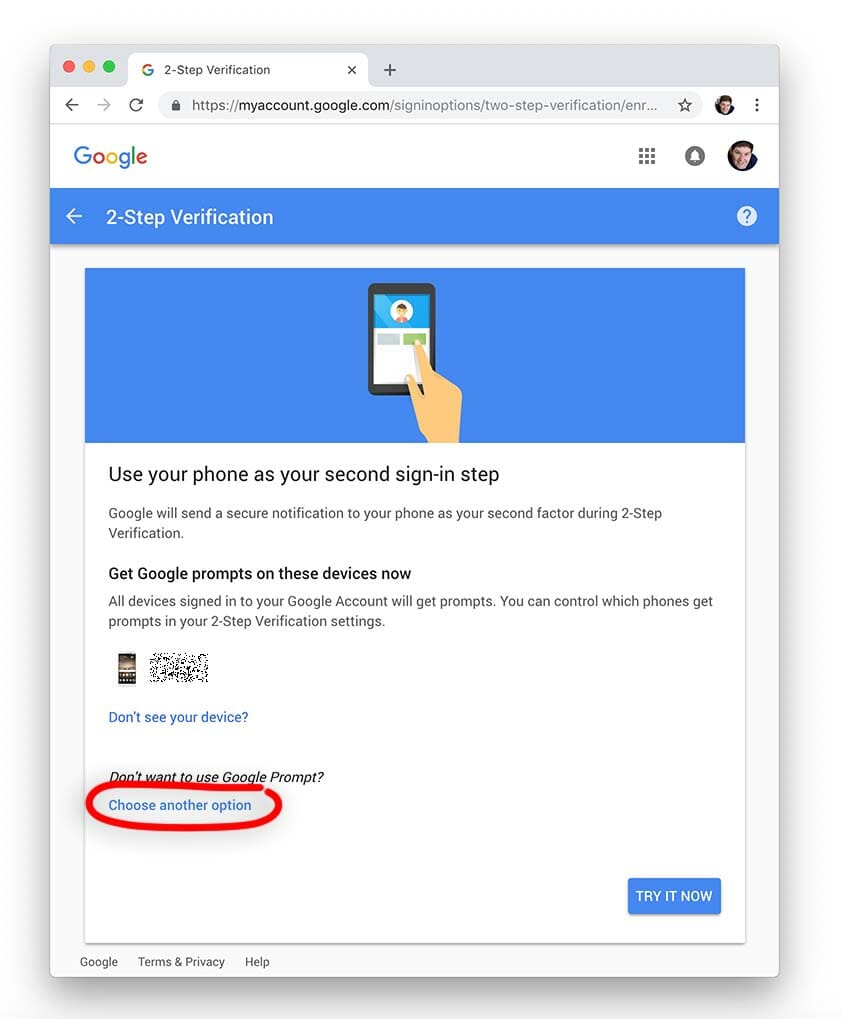
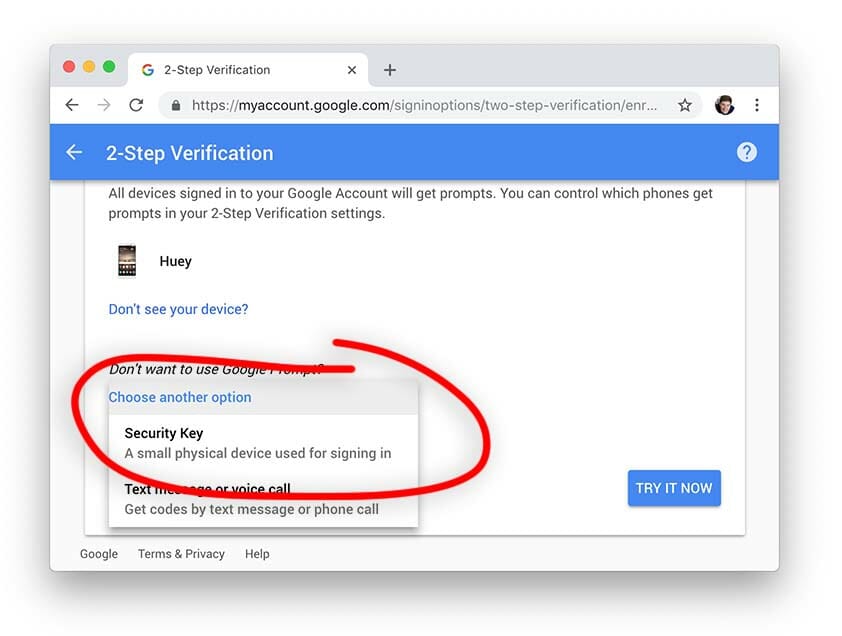
YubiKey do have a setup guide here Let’s get started with your YubiKey (yubico.com)
YubiCo’s wizard allows you to select what services to setup and they provide a video or text based setup guide.

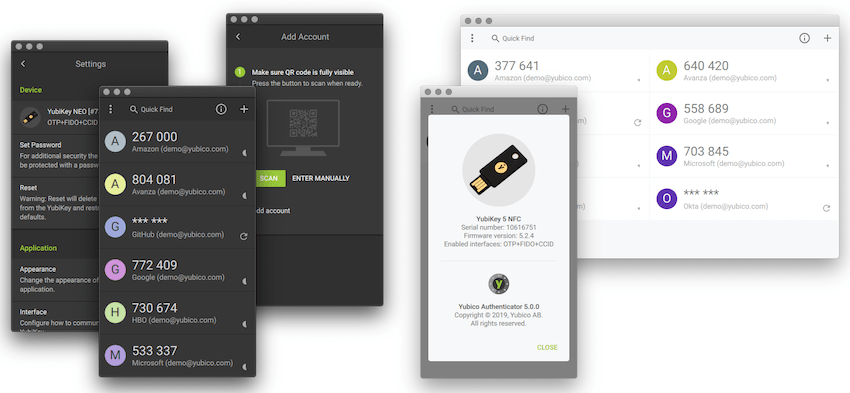
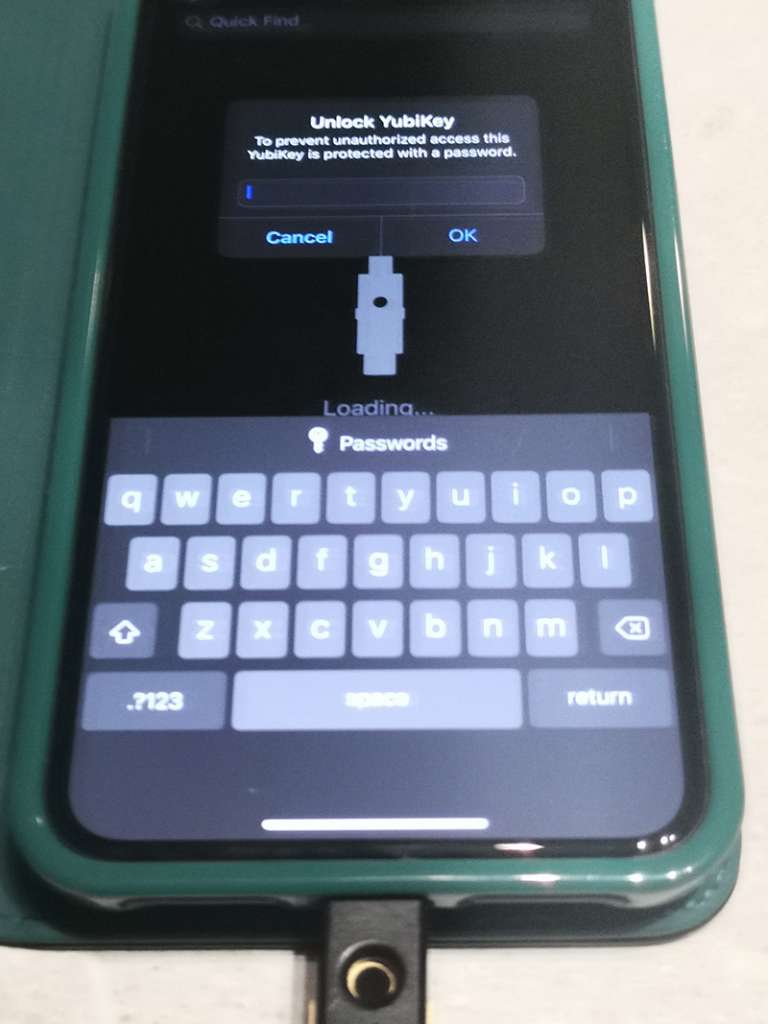
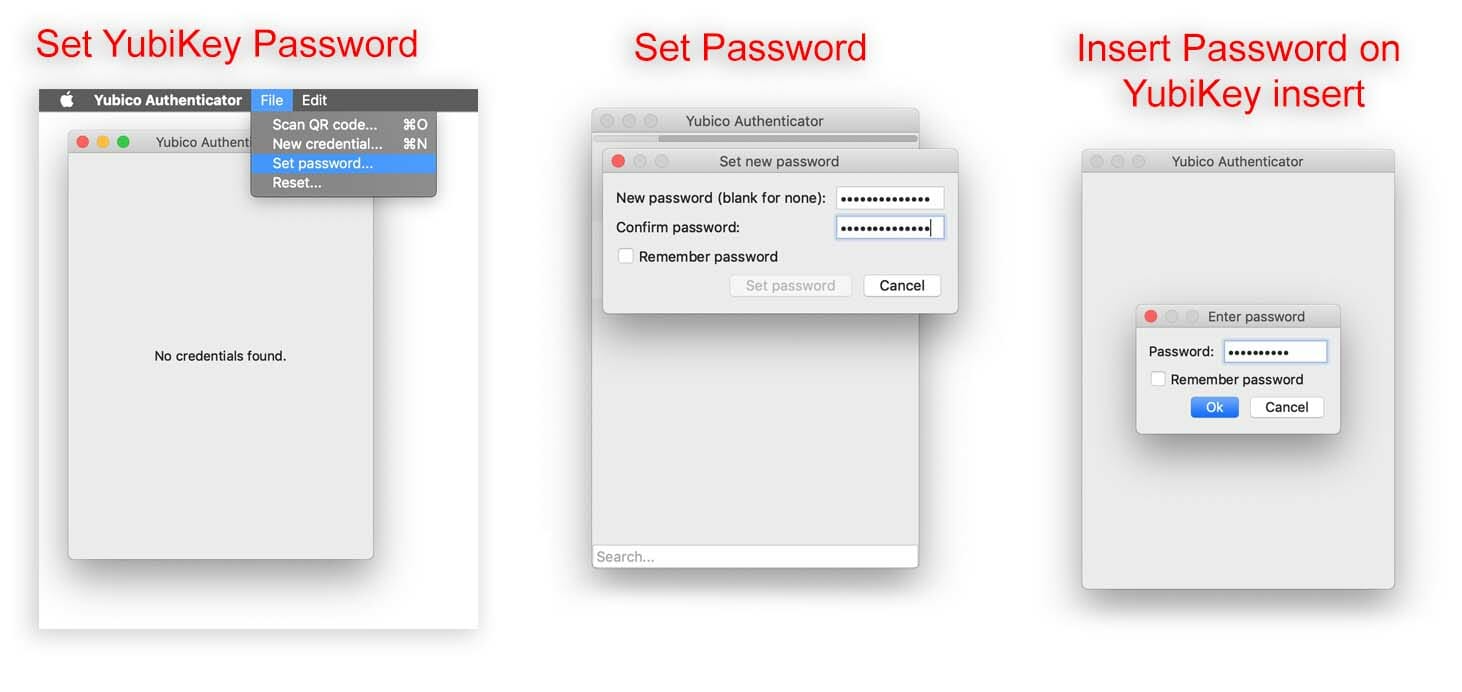
I also set a Key pin with the YubiKey Manager software
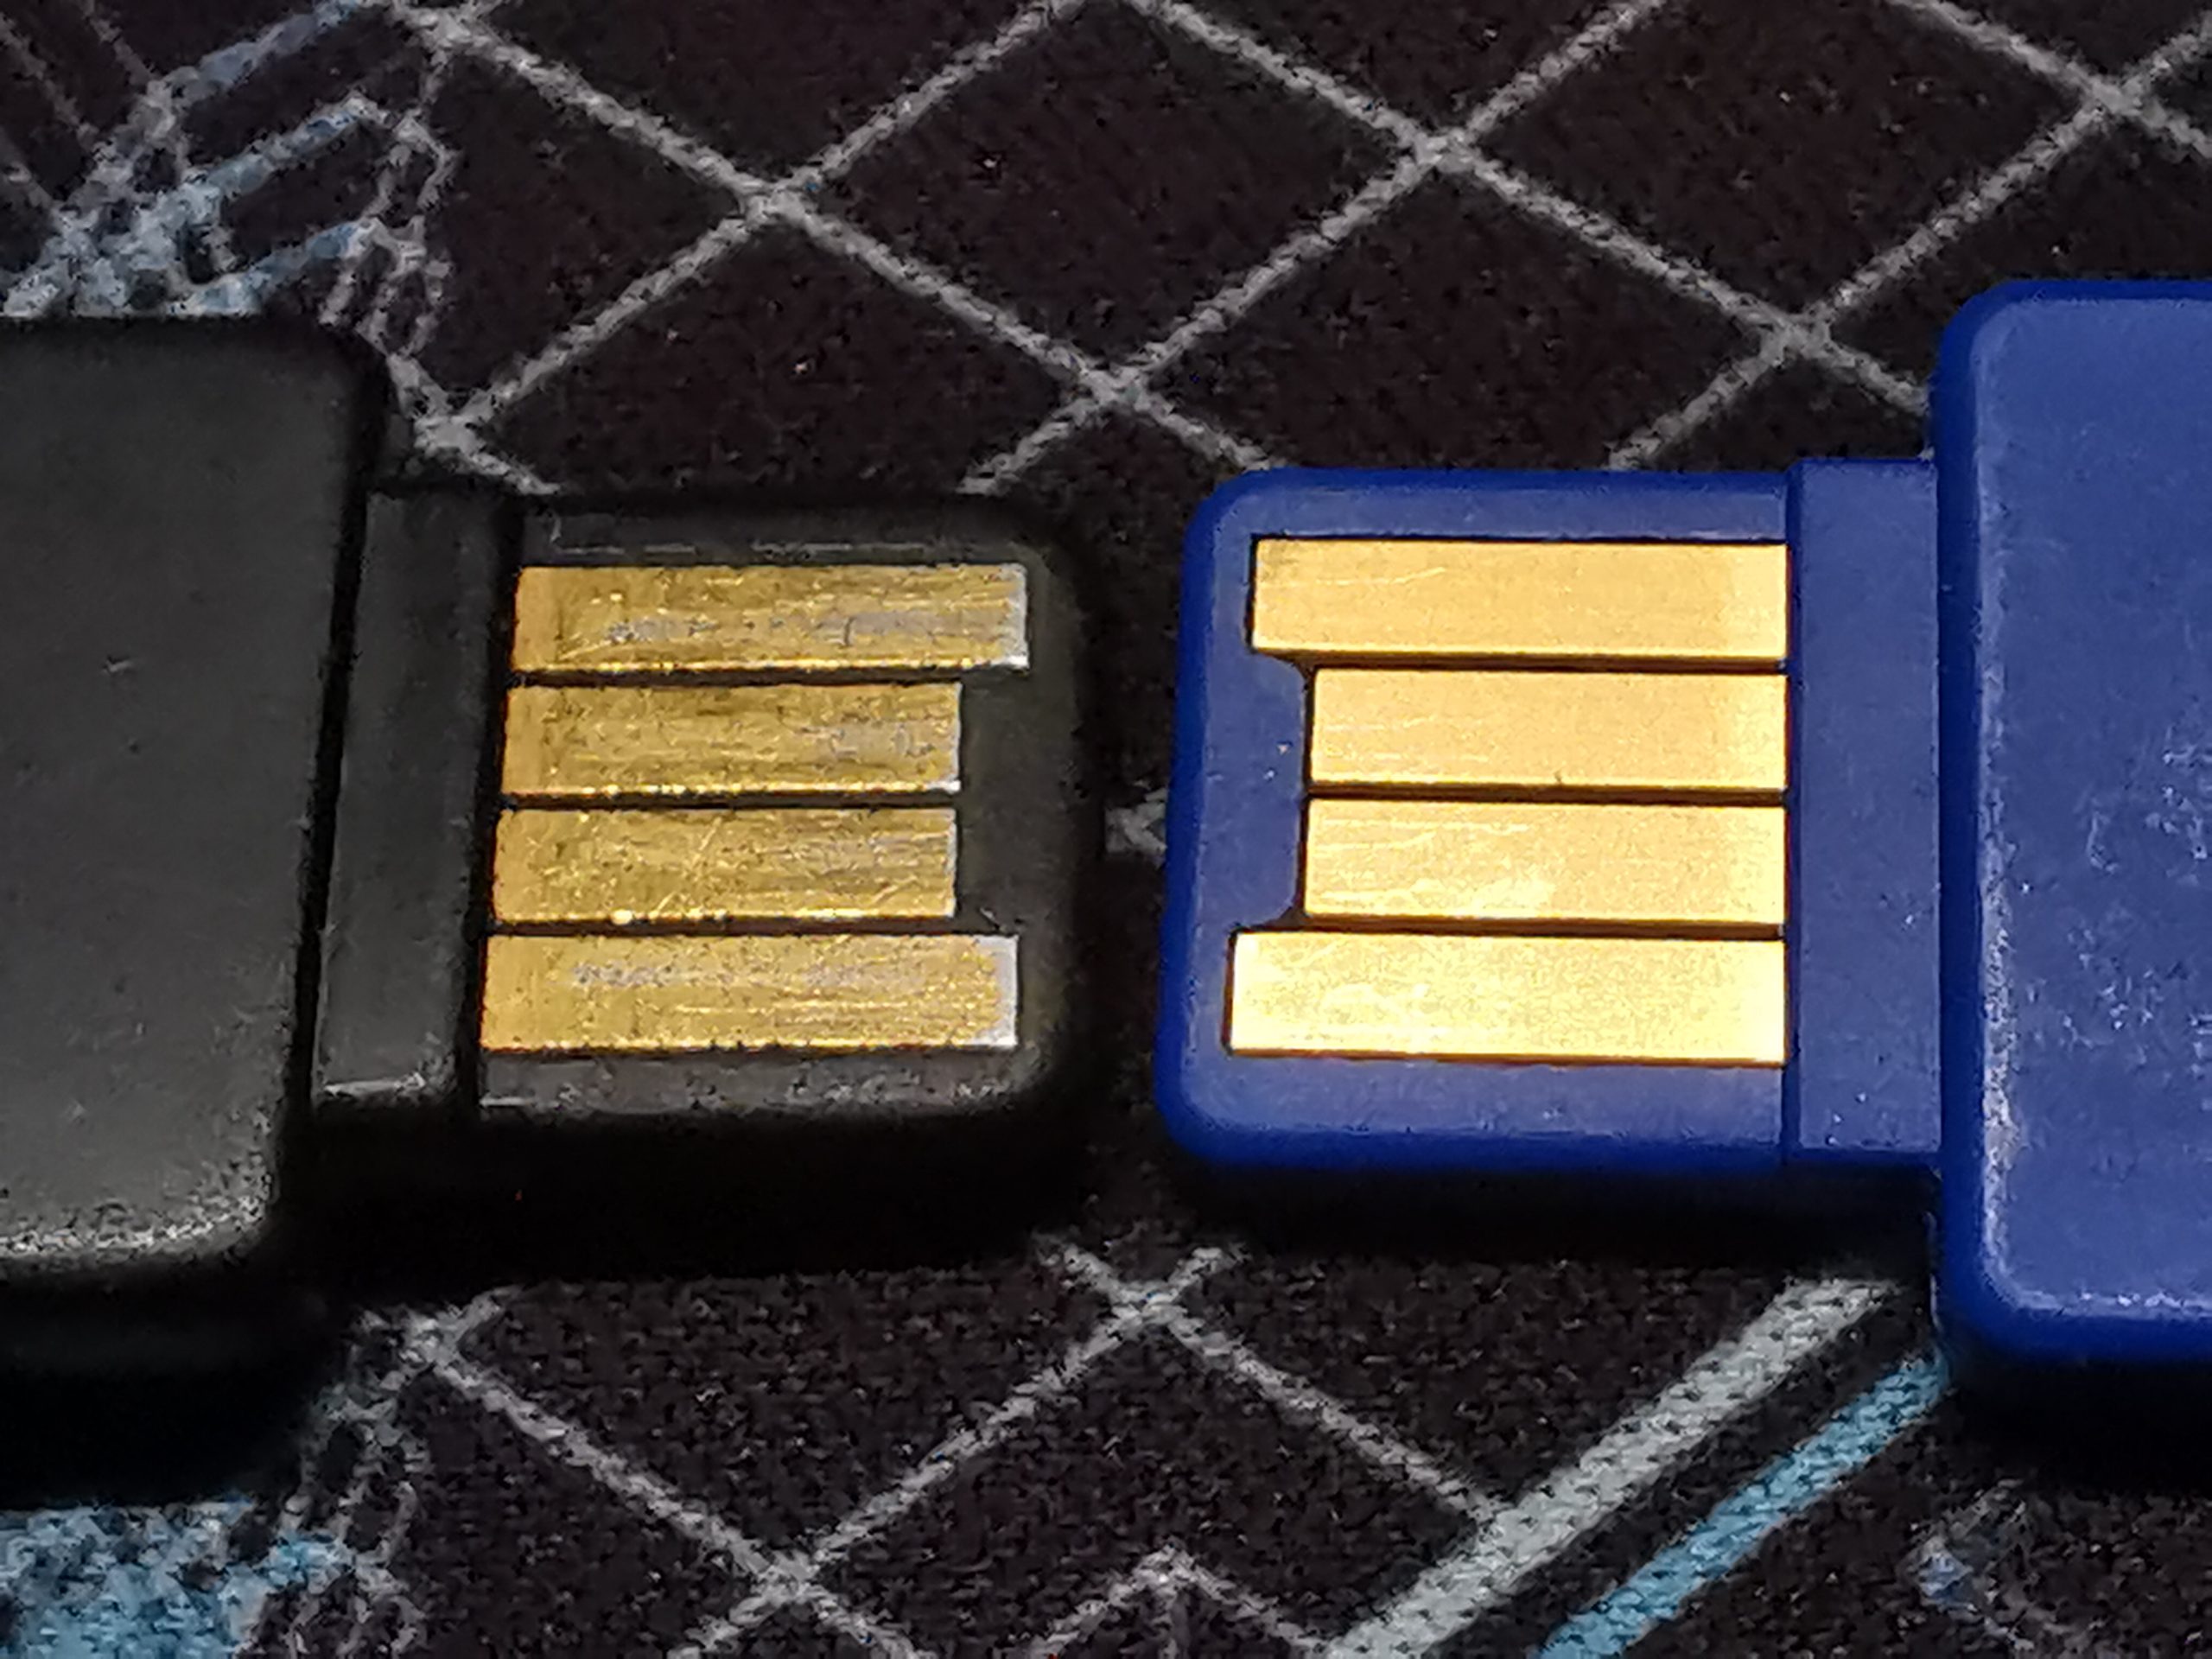
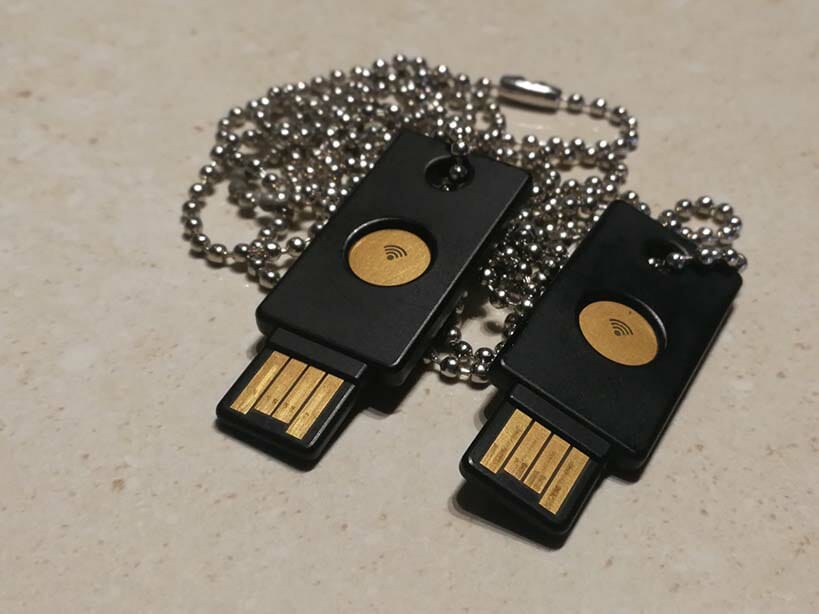
Heavy Use (Time To Replace)
My YubiKey 4 NEO (left) has been inserted into my USB A port about 1/2 a million times
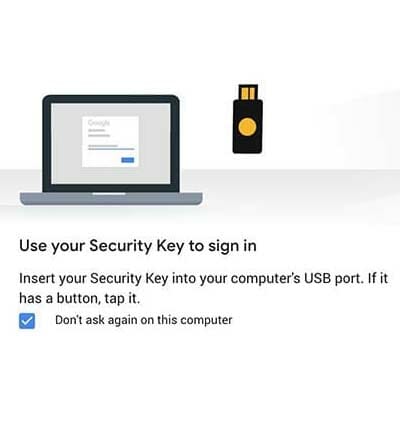
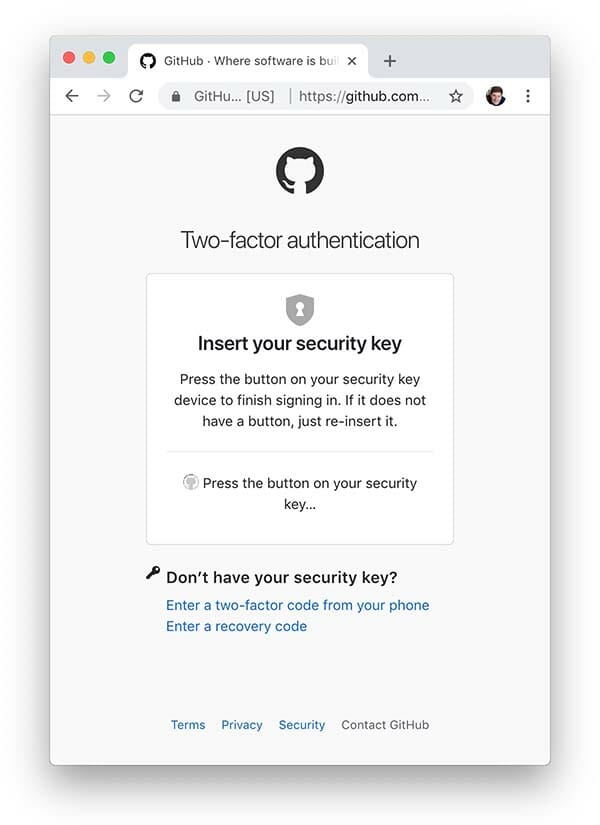
Where to Use the New Key
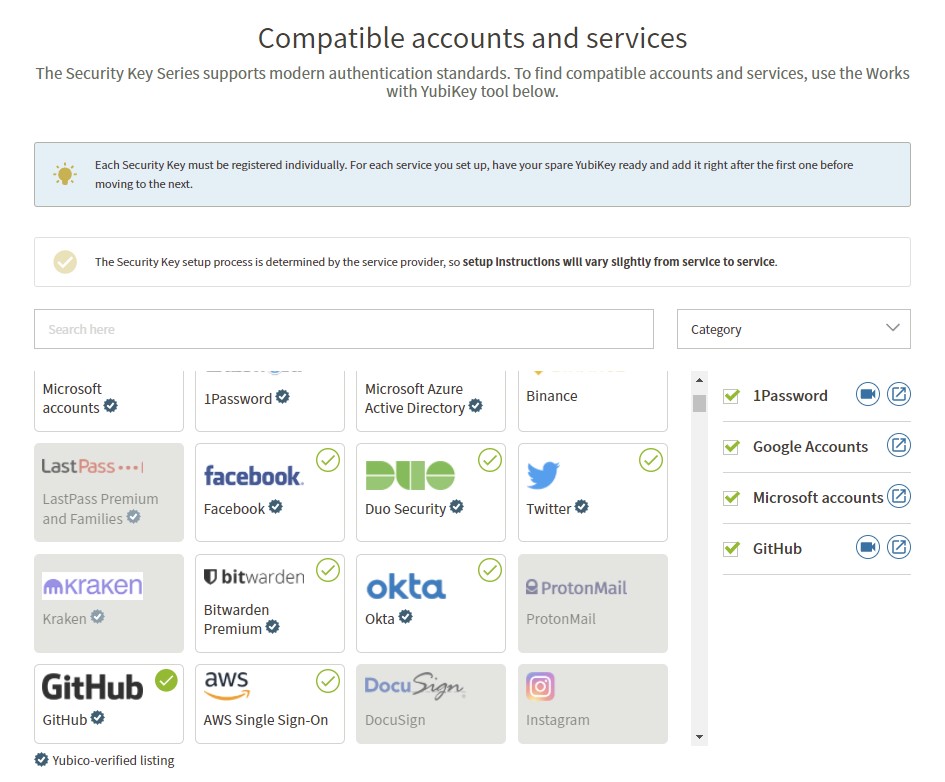
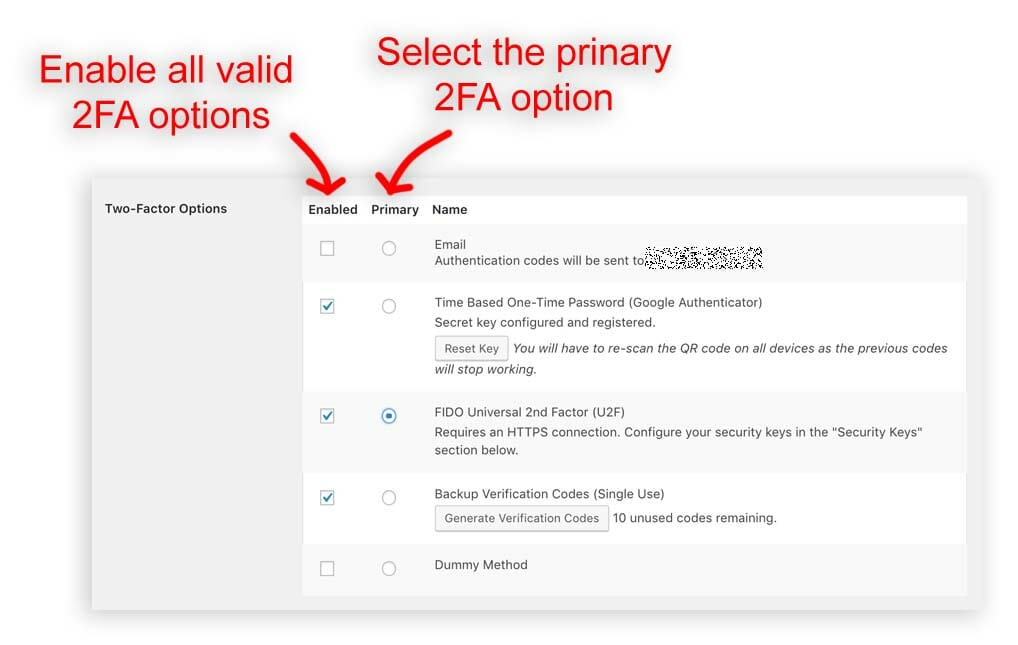
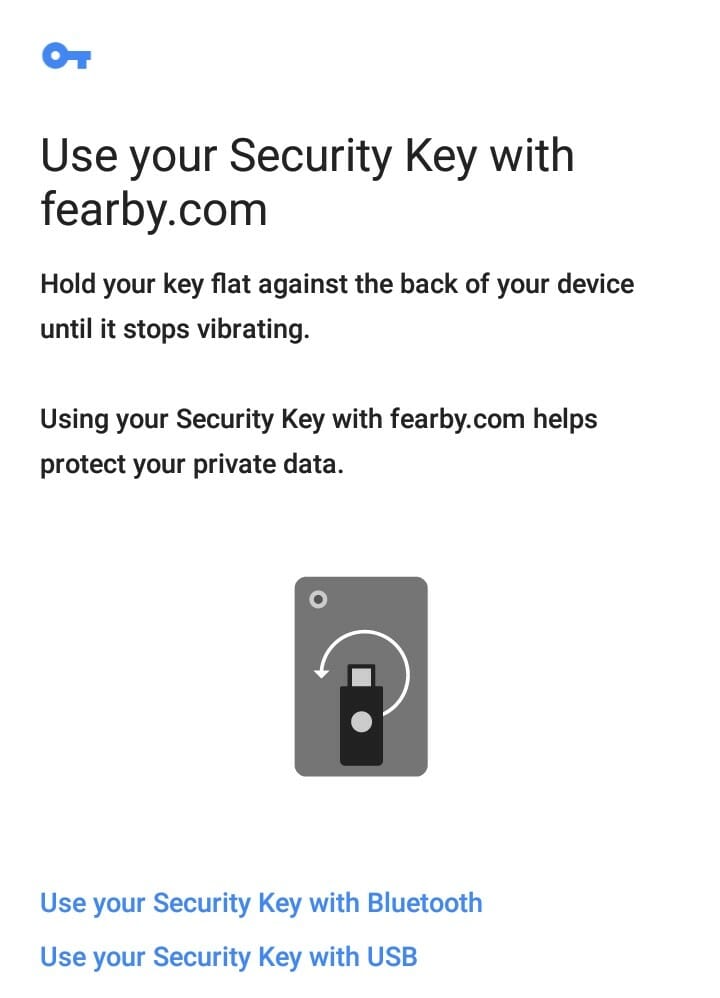
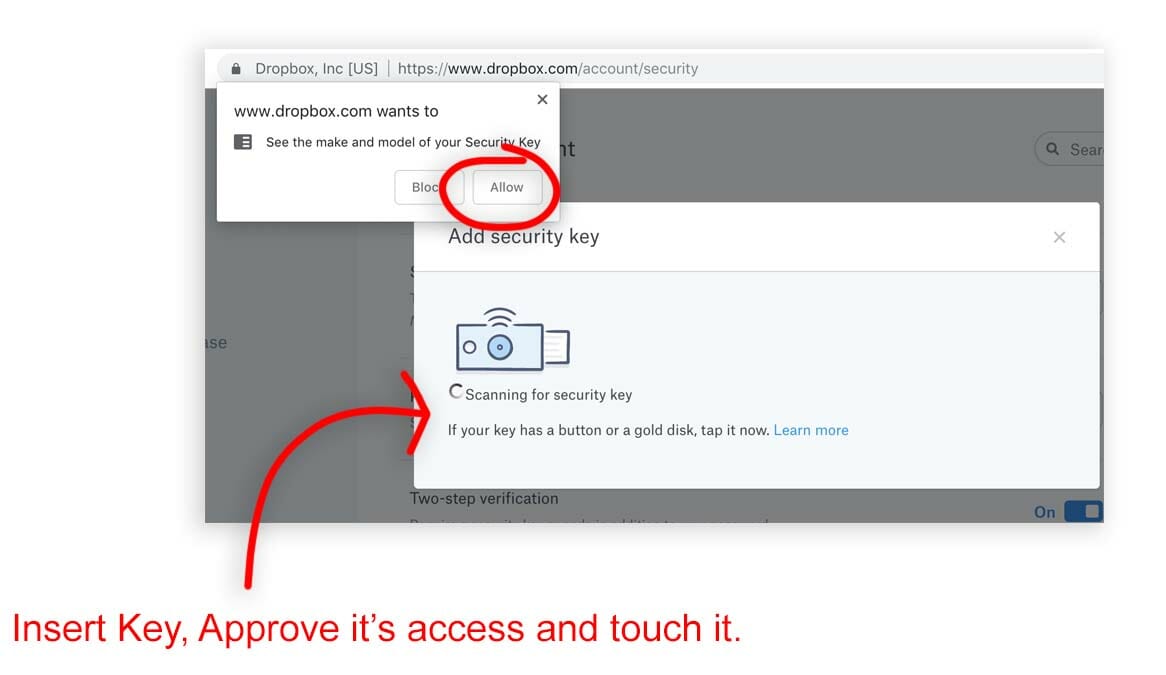
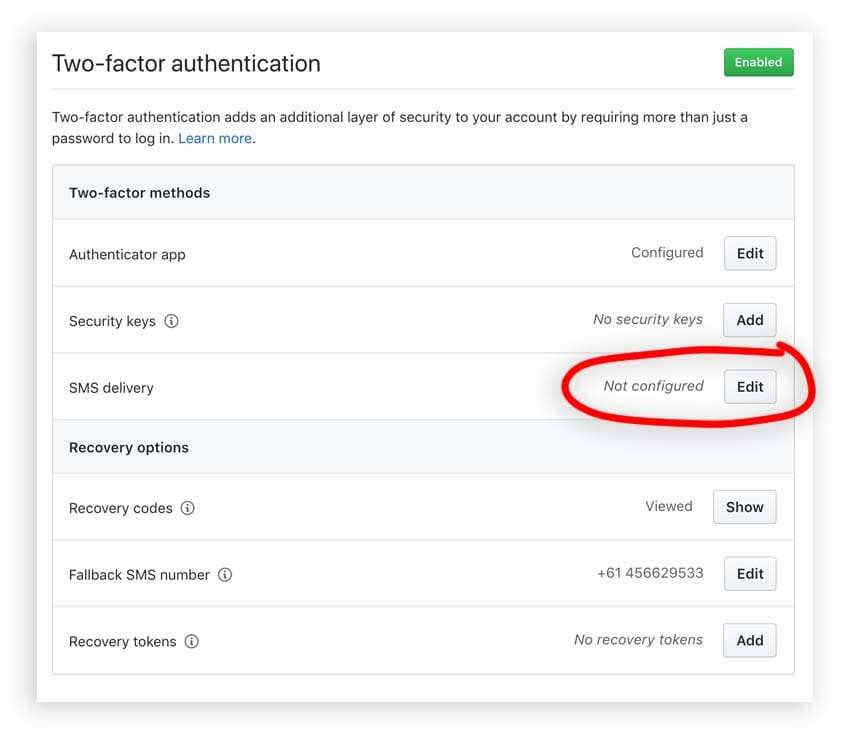
I will use the key wherever I can insert and tap the key. I have immediately added these keys to th efollowiung apps and sites
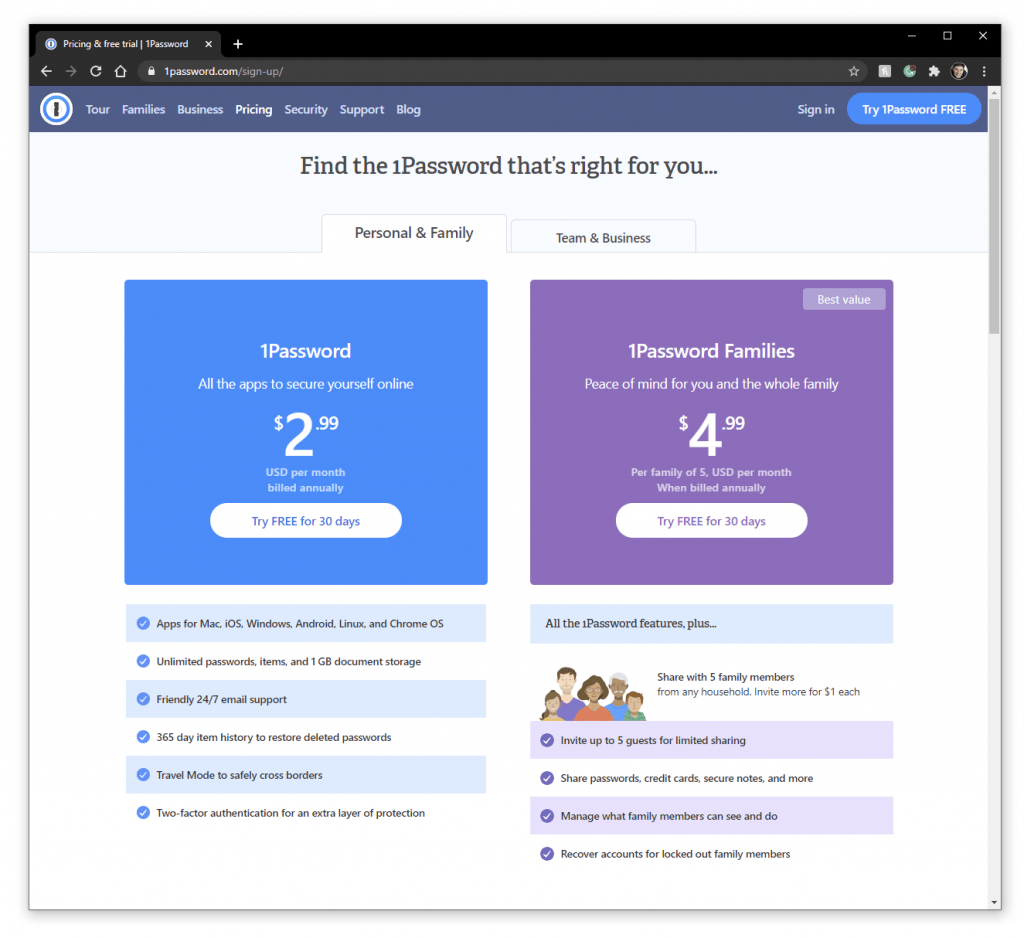
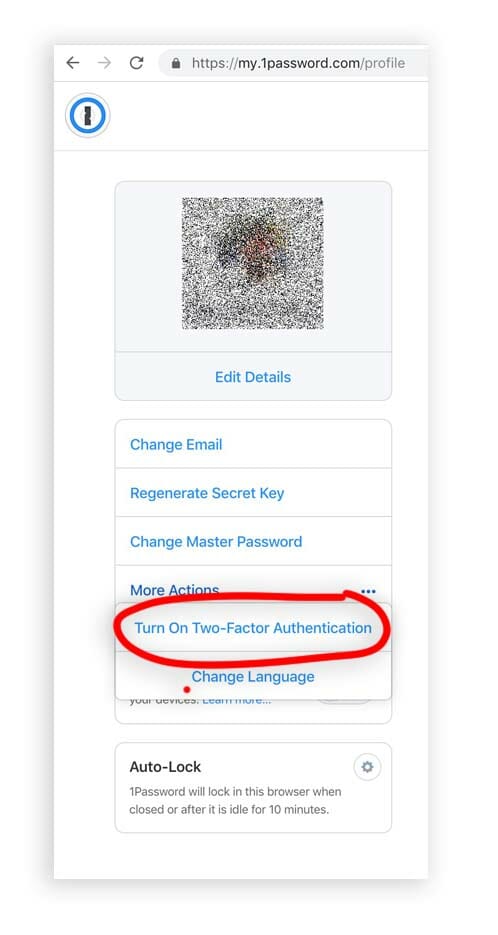
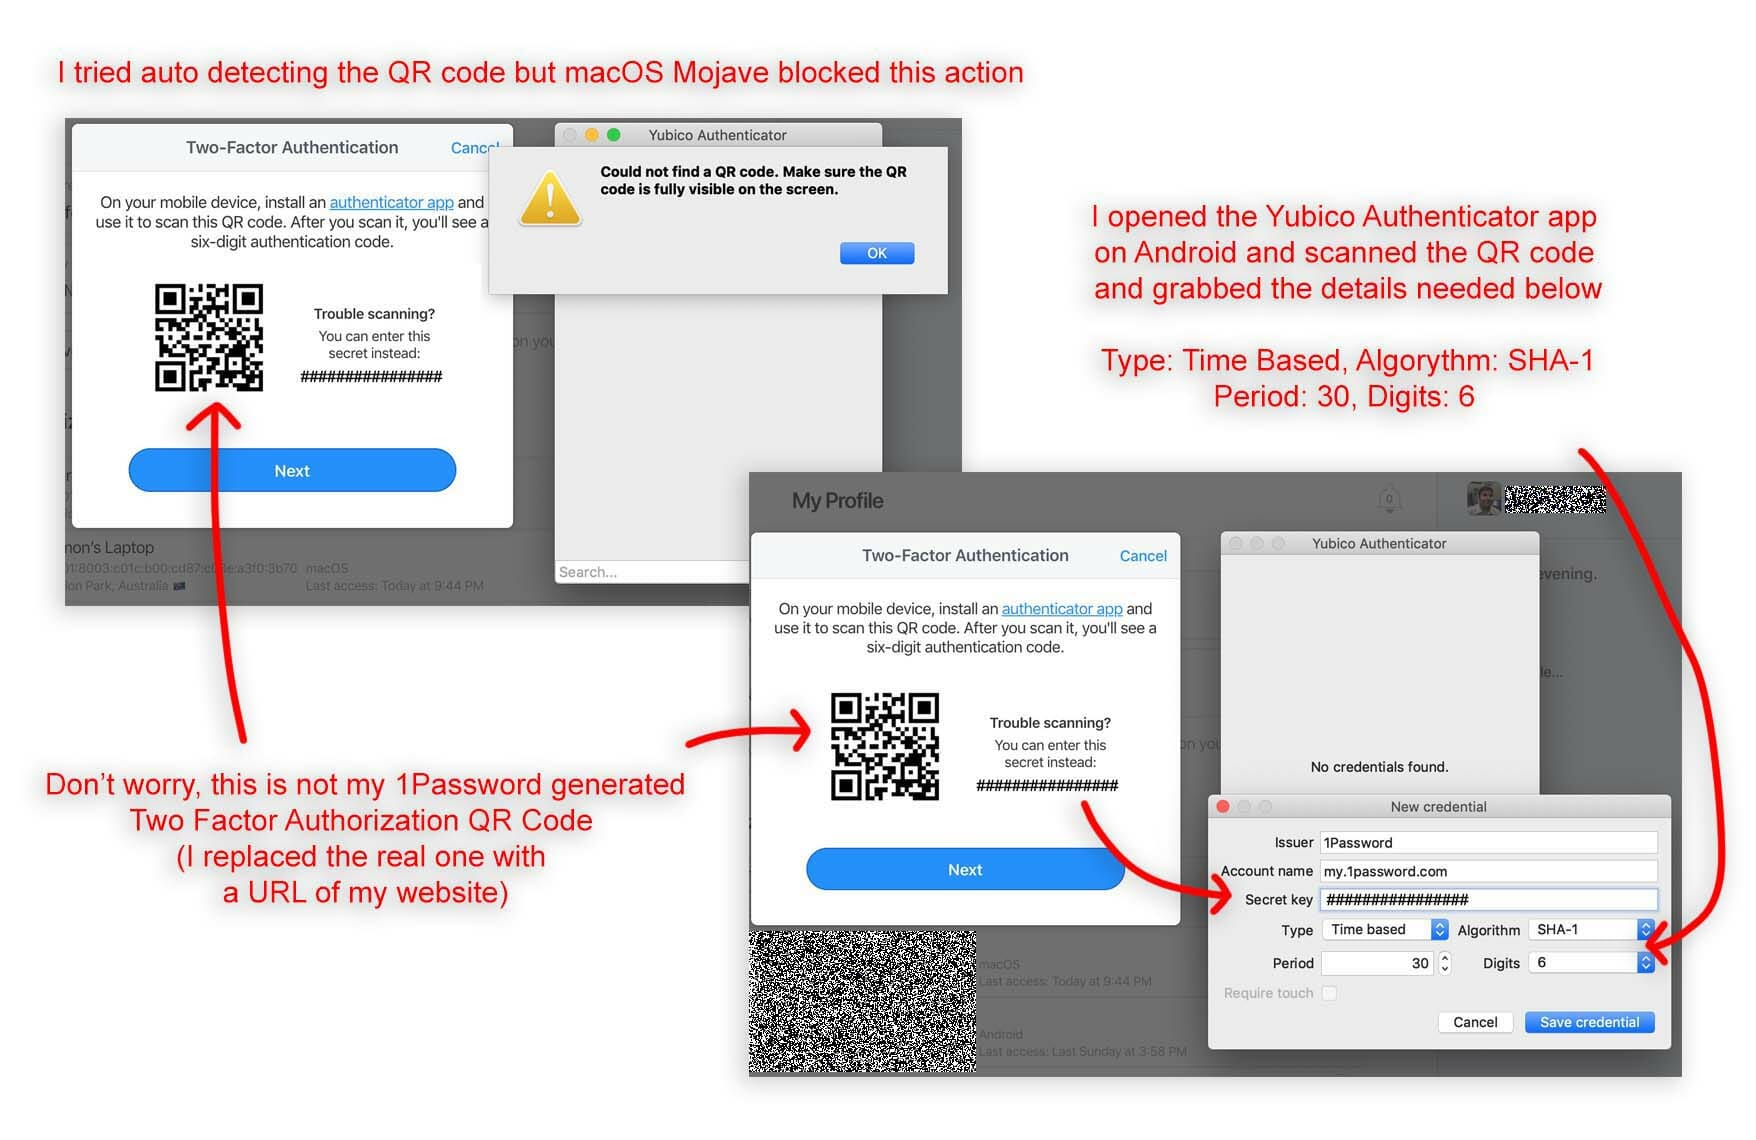
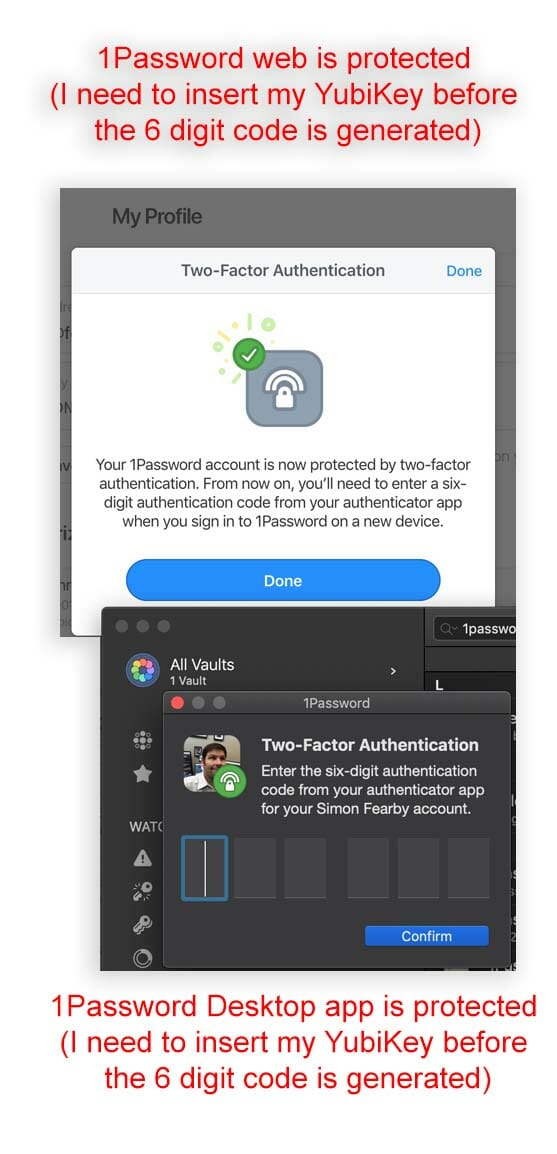
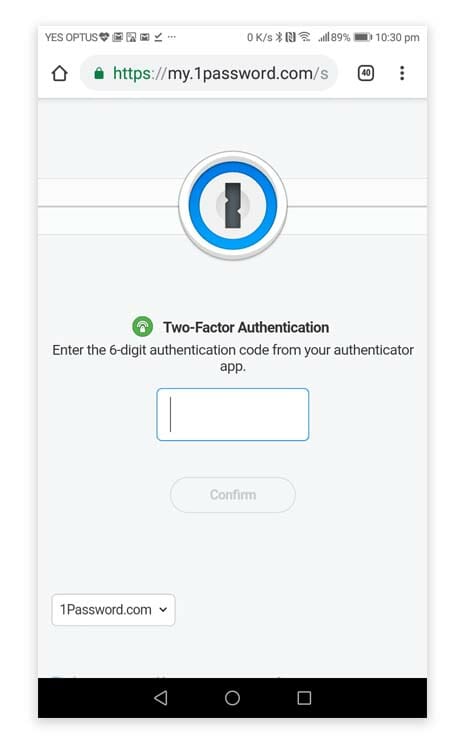
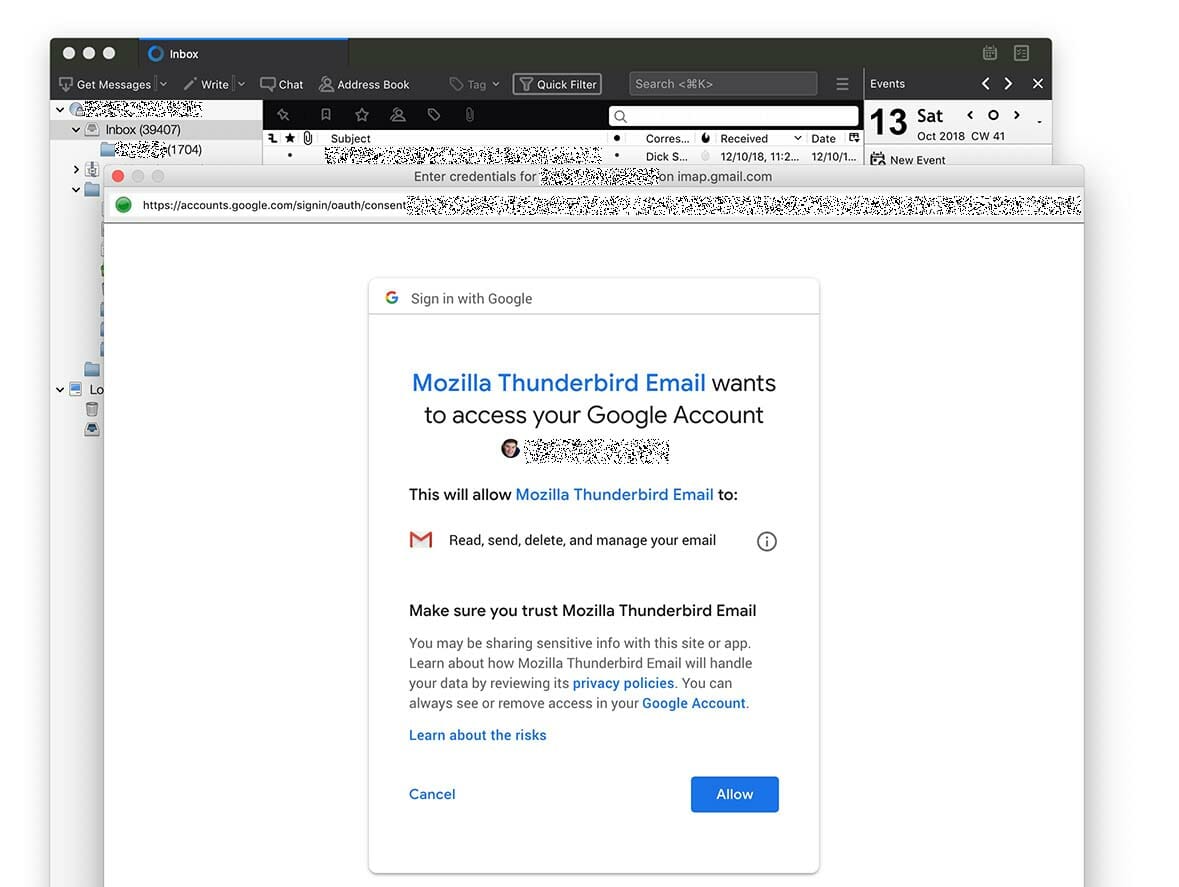
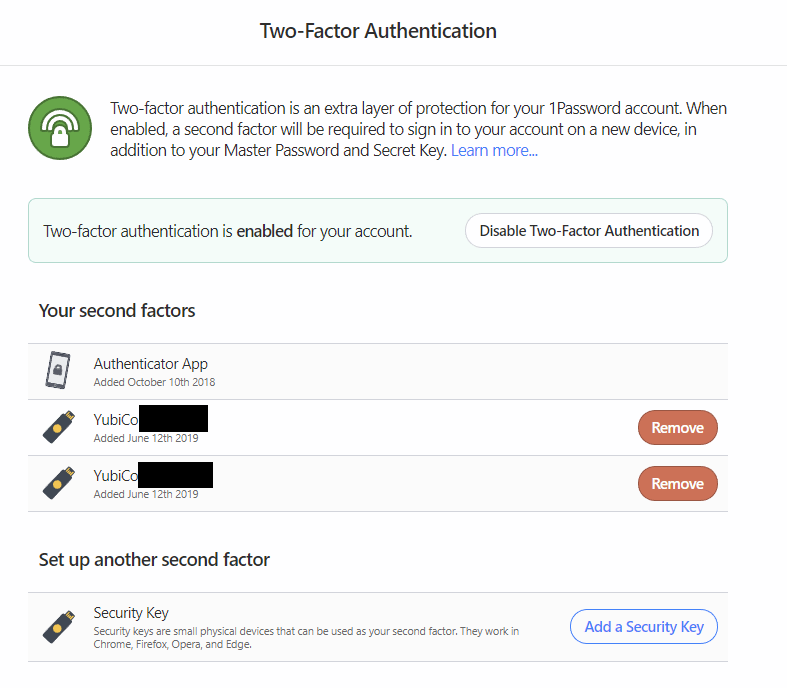
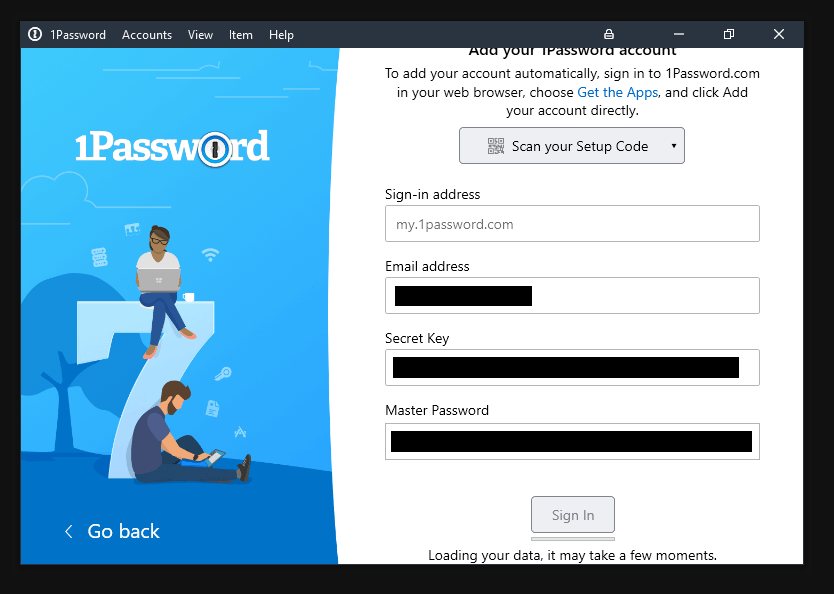
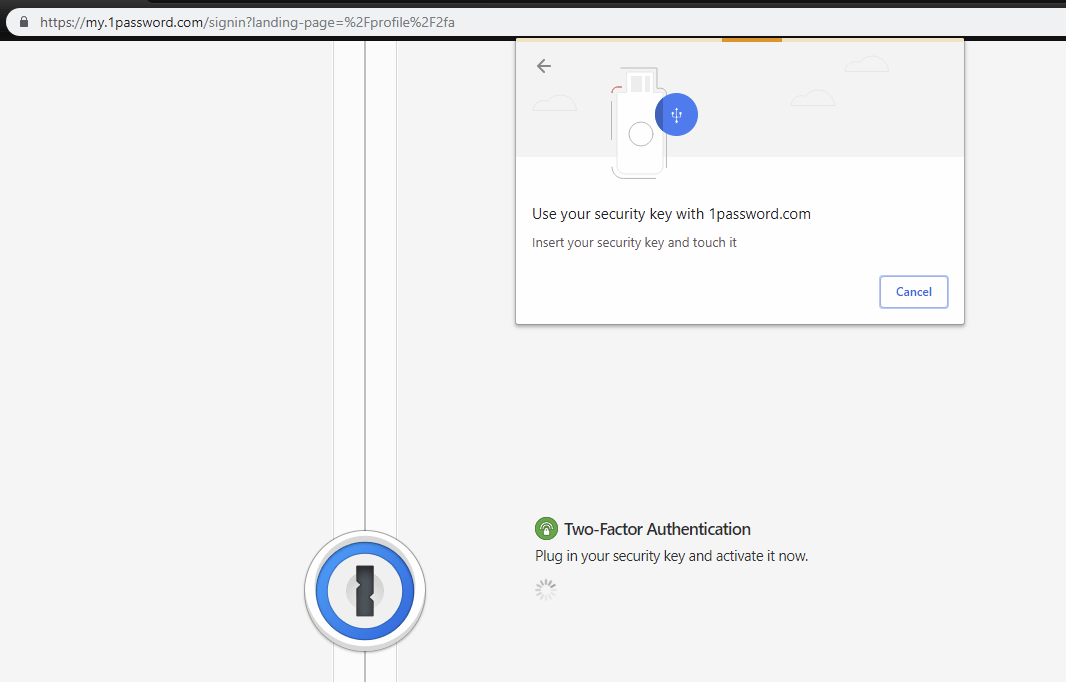
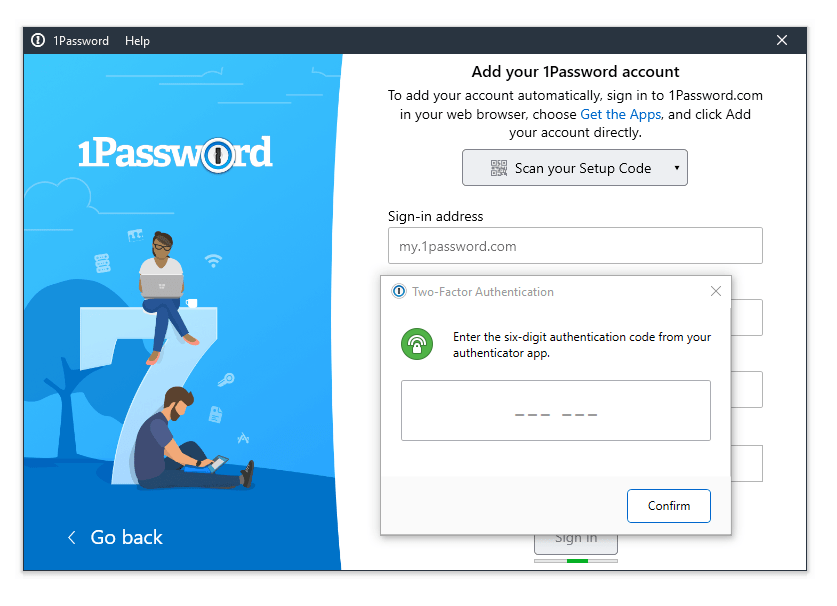
- 1Password
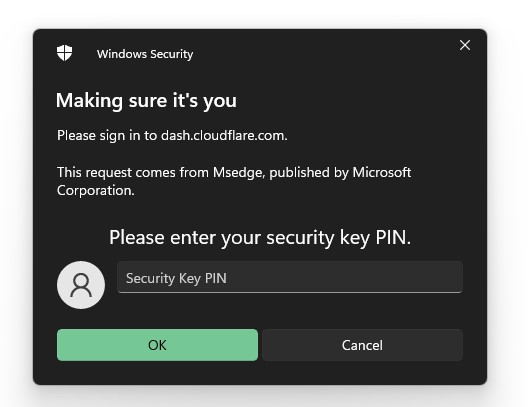
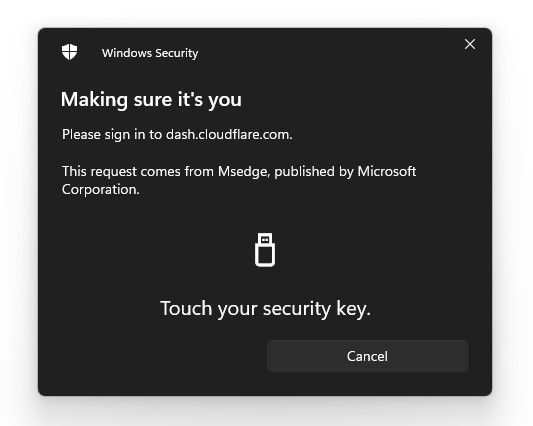
- Cloudflare
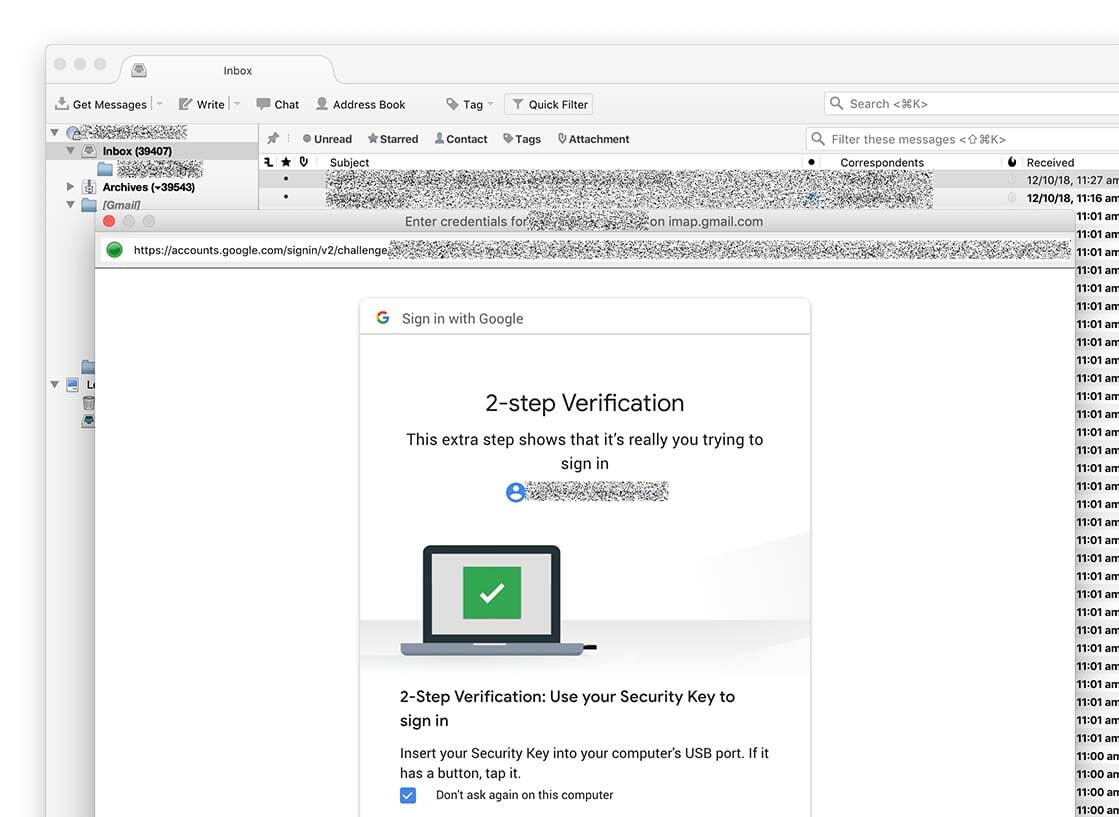
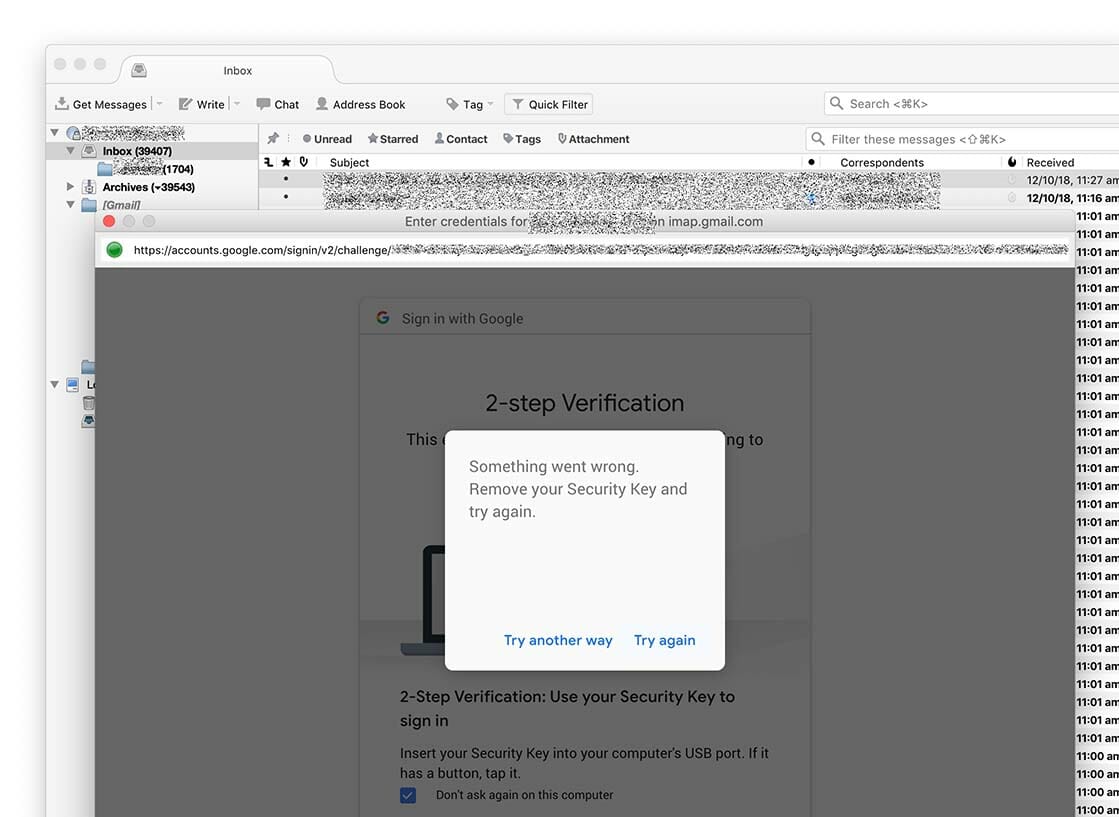
- Google Account
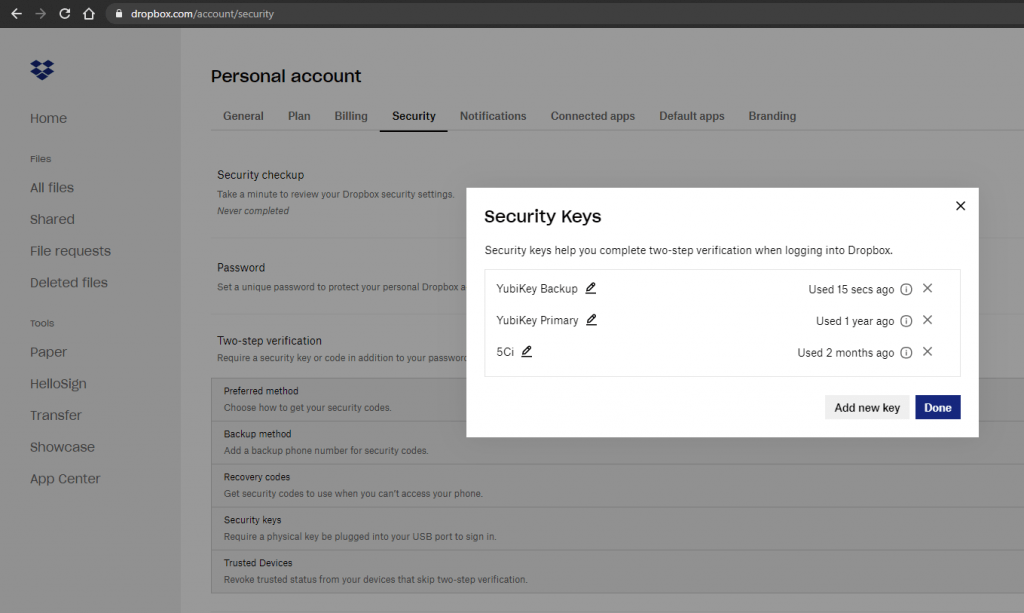
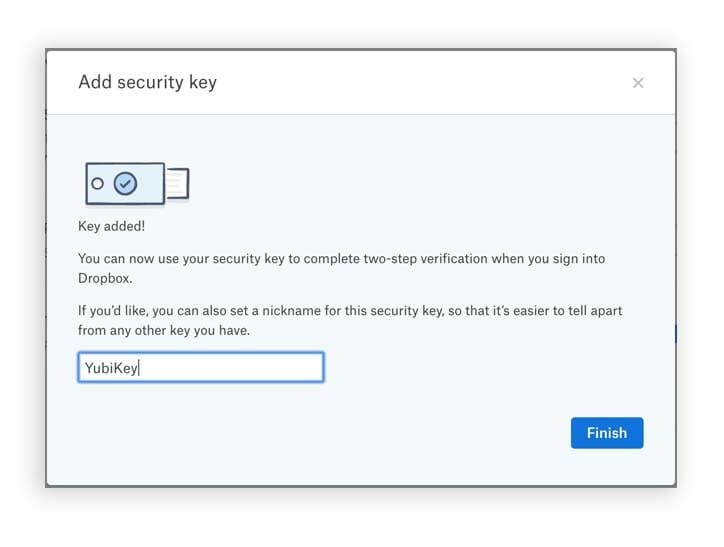
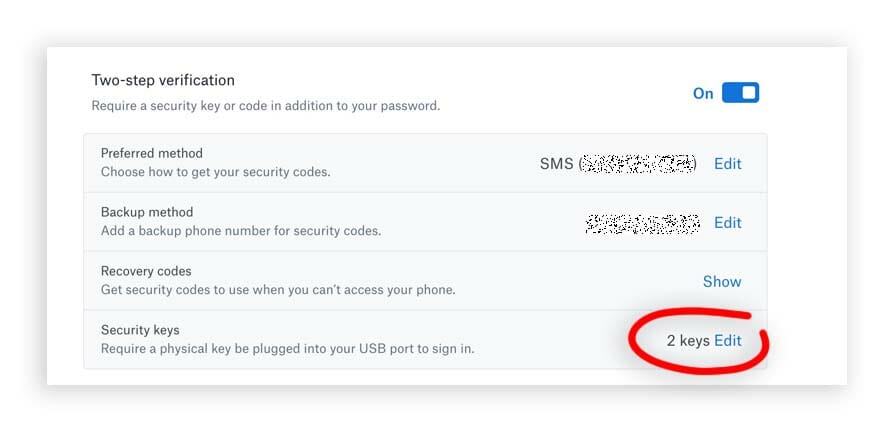
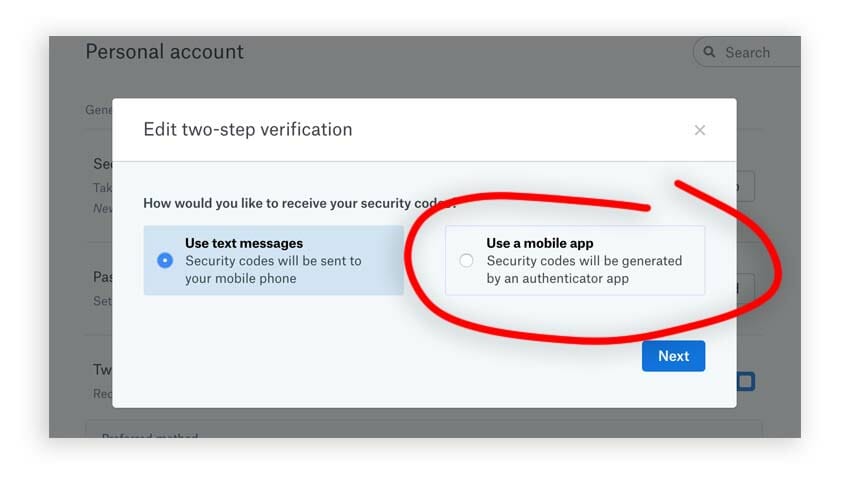
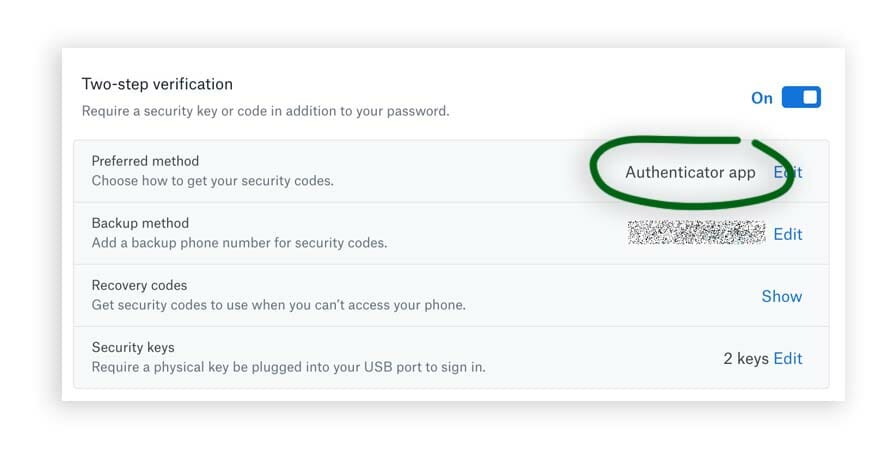
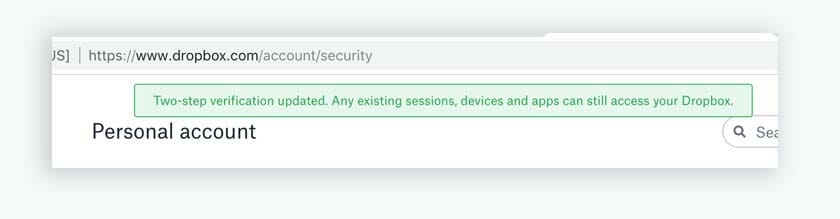
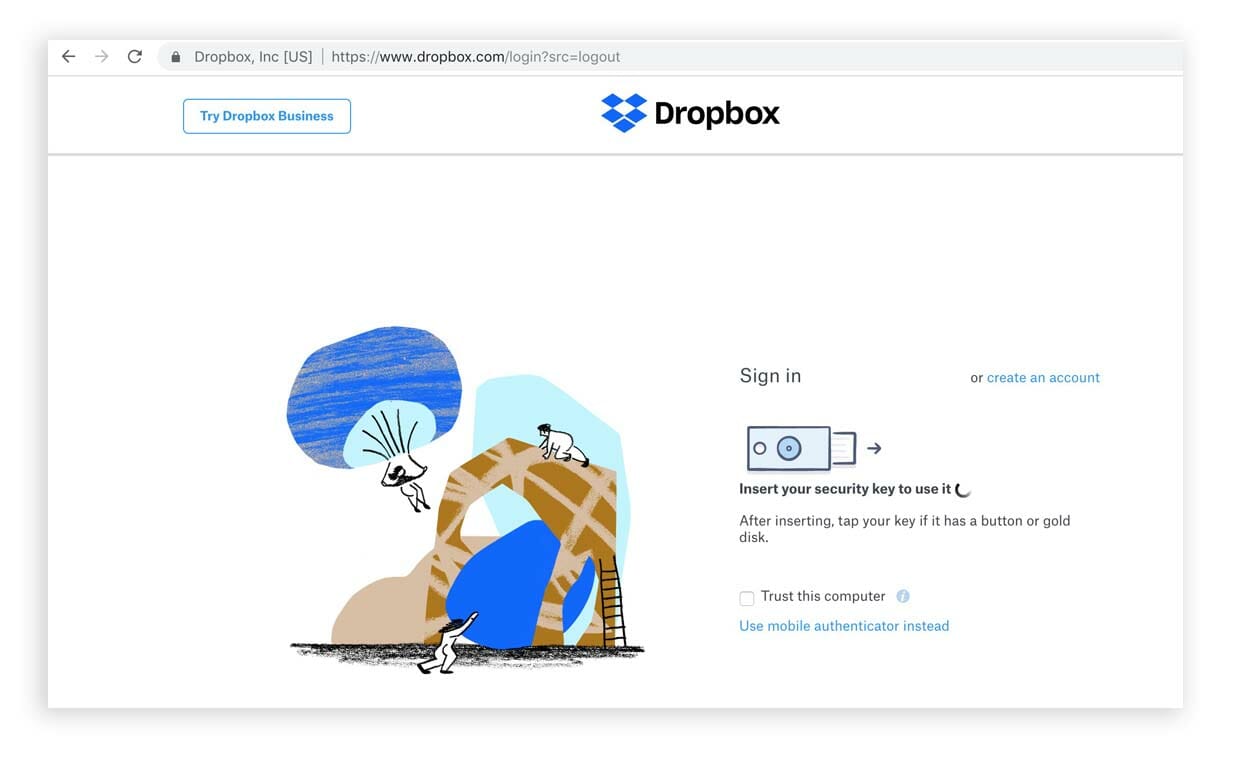
- Dropbox
- GitHub
- My Drive – Google Drive
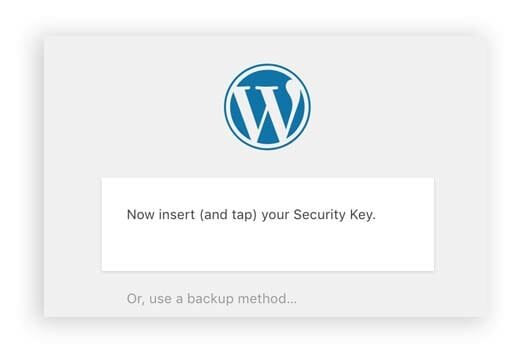
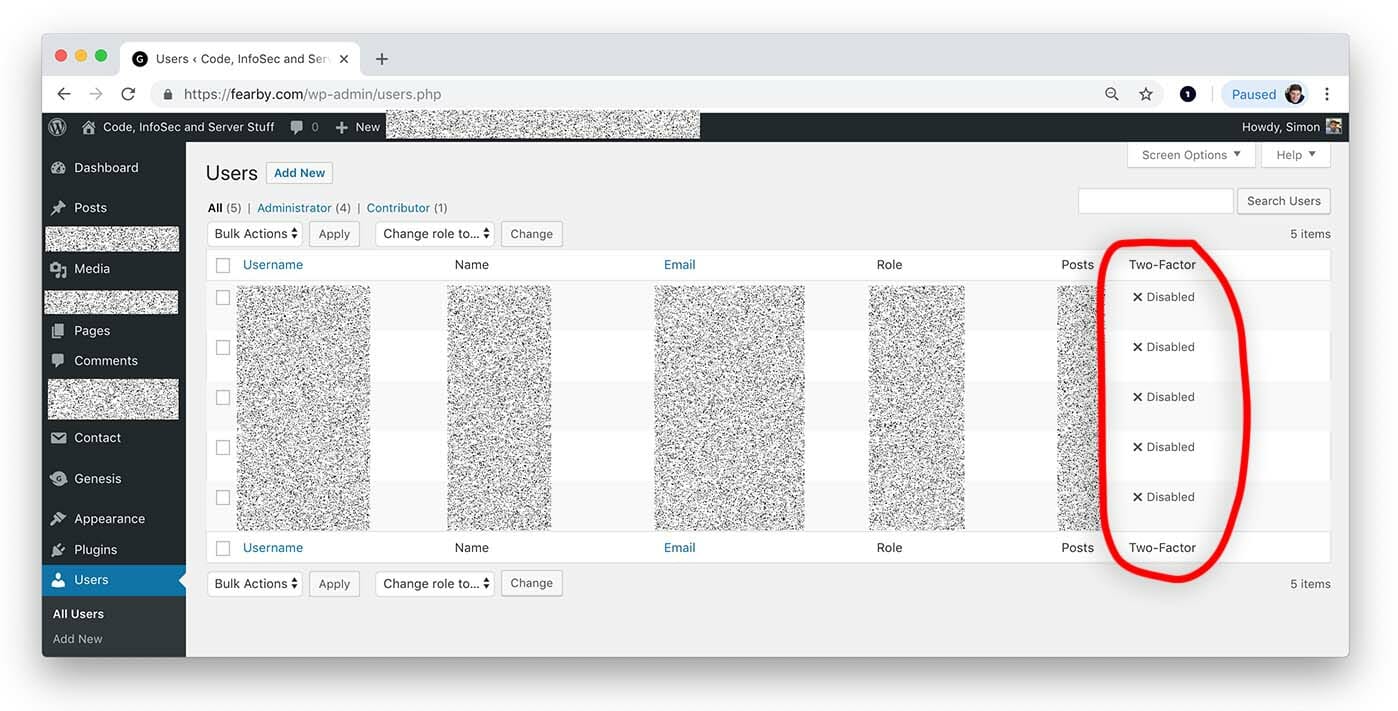
- WordPress
- etc
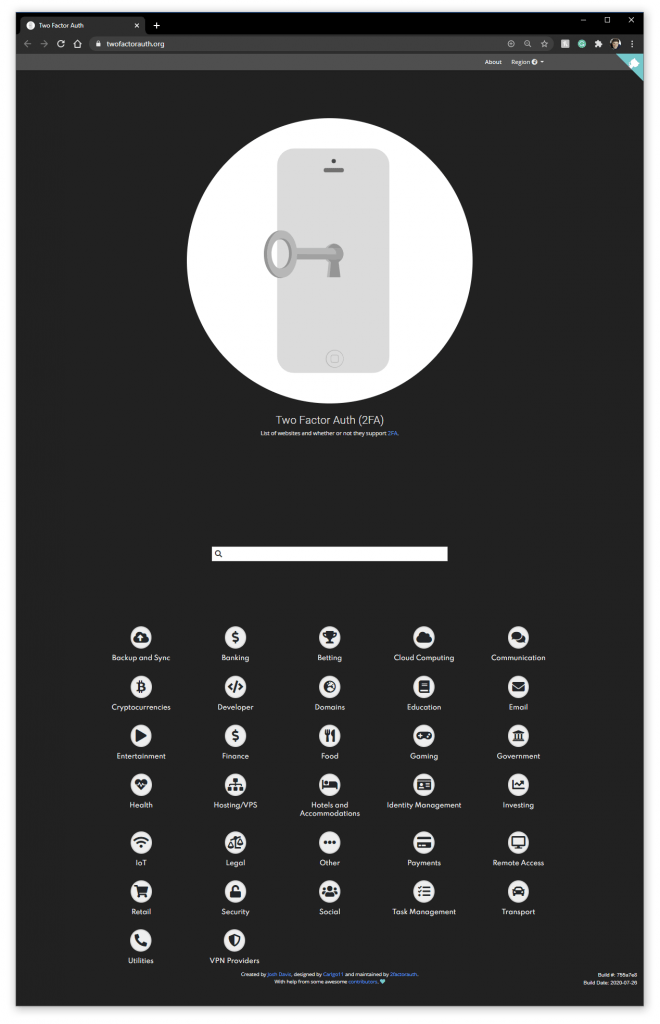
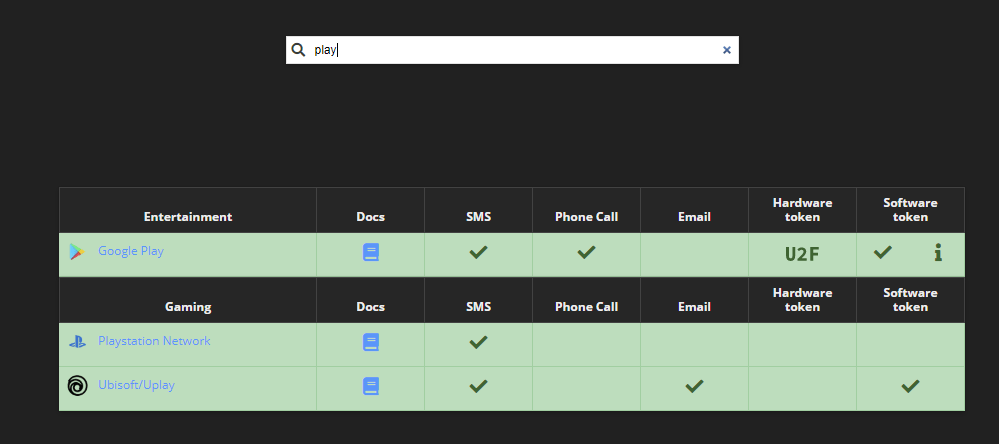
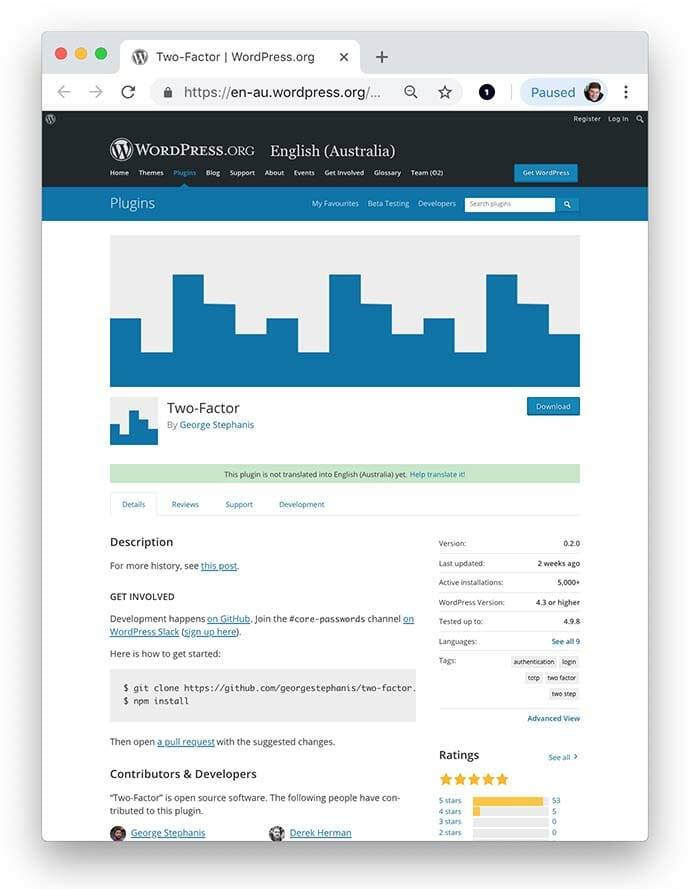
2FA Directory is a great site for browing what site(s) by category listing is they support 2FA or not.
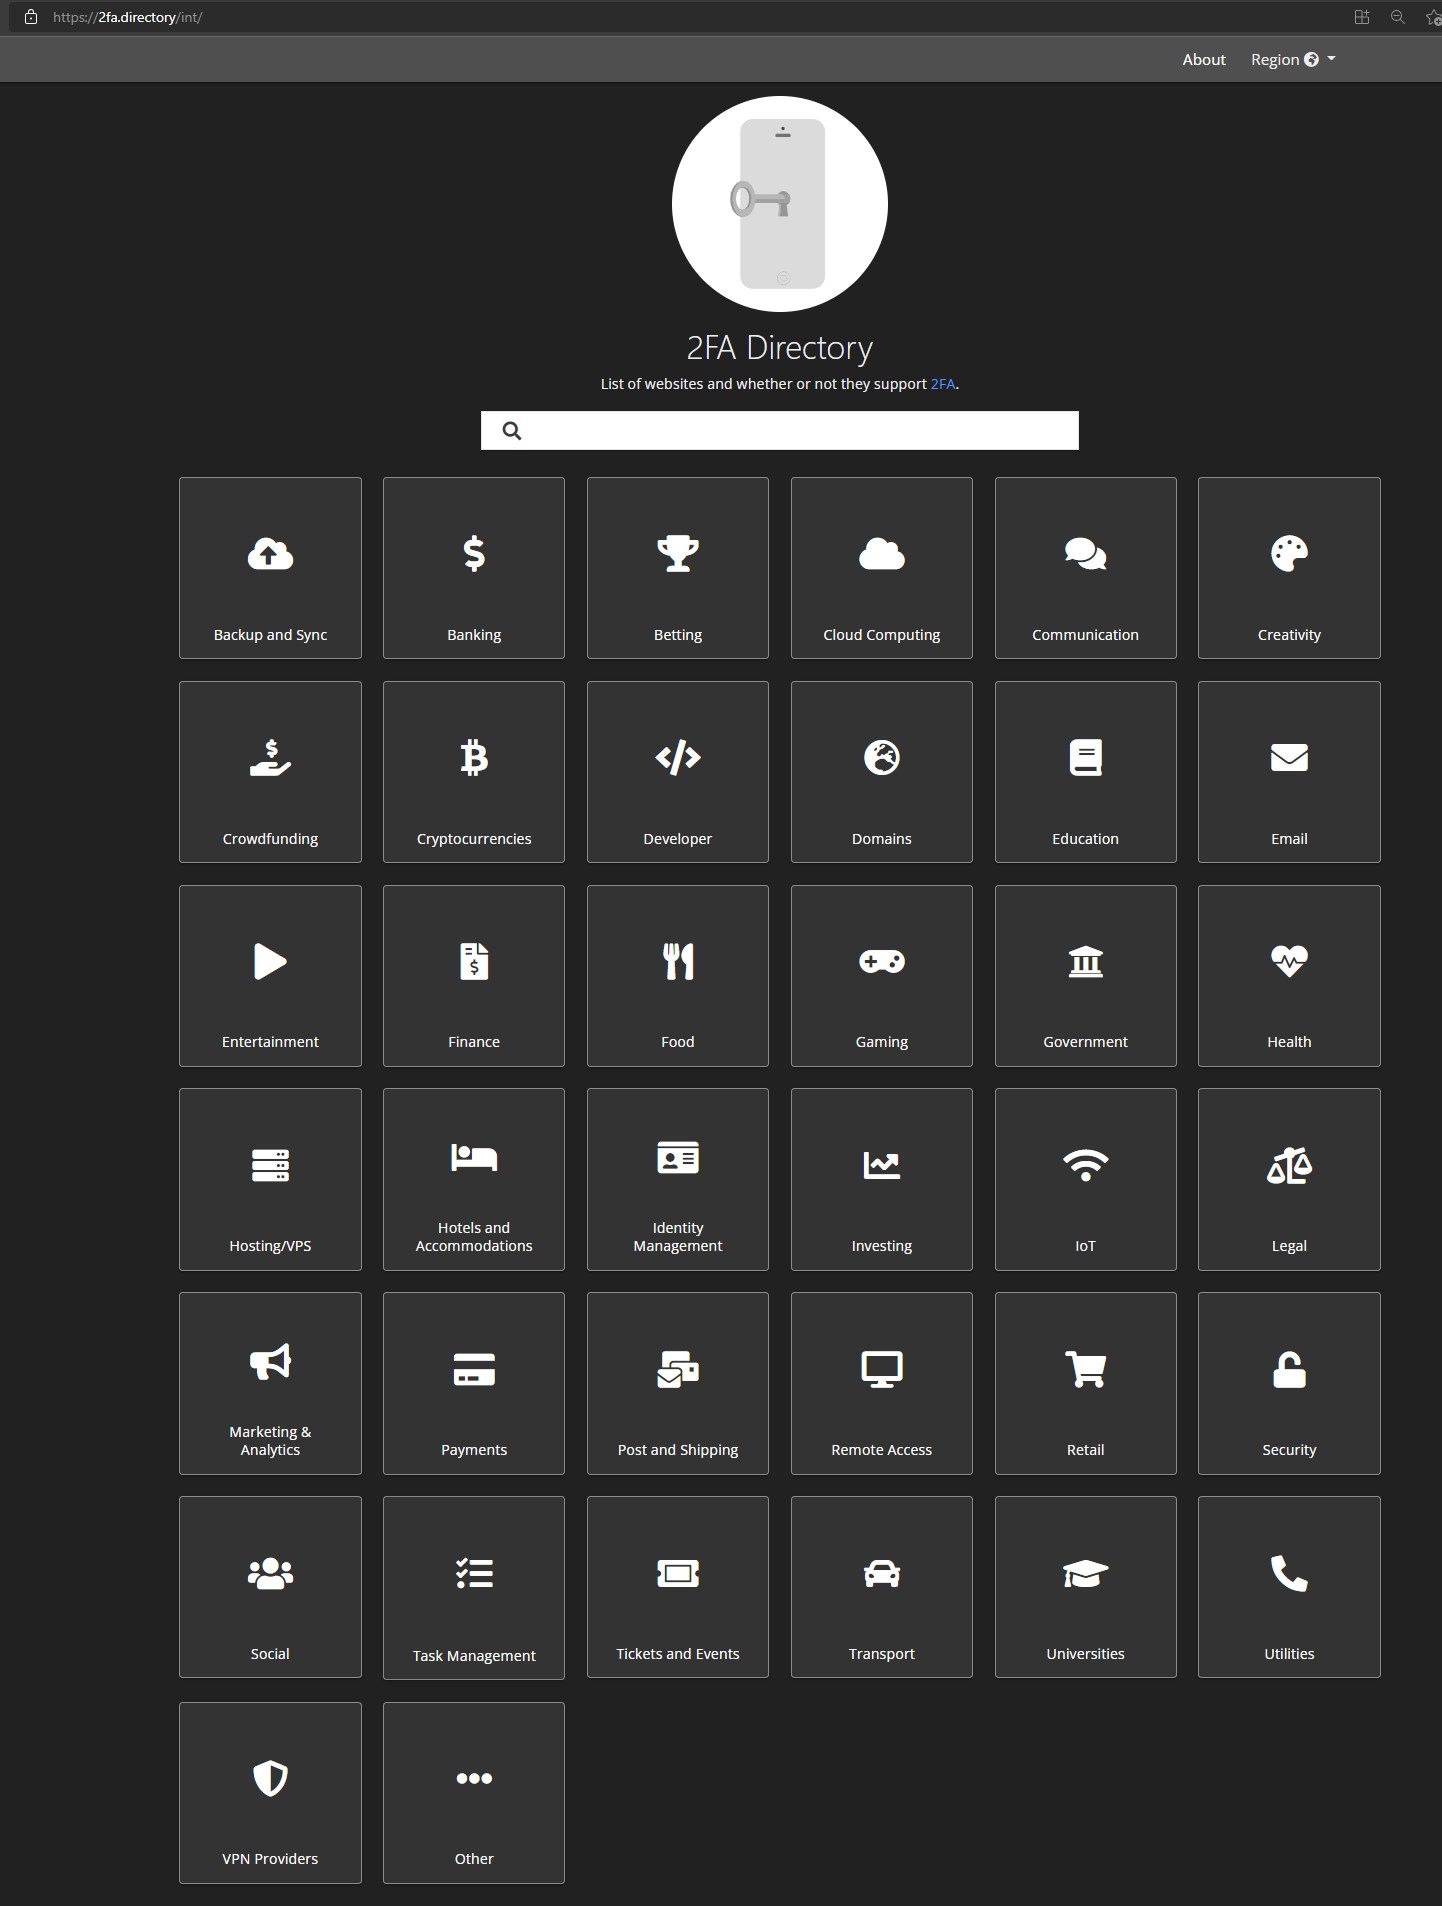
Social Category

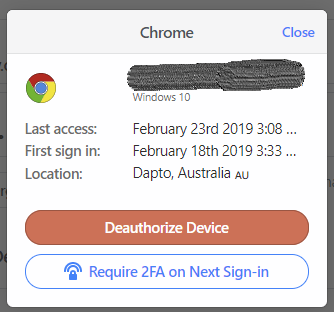
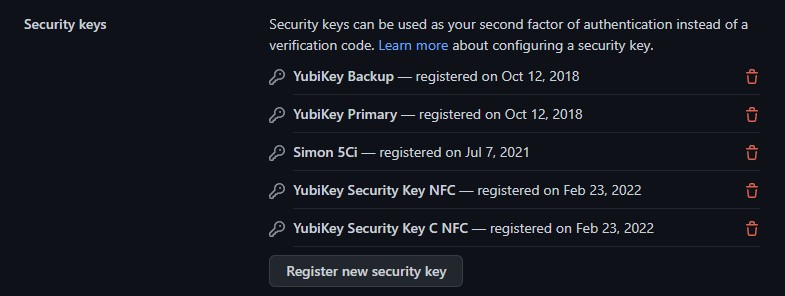
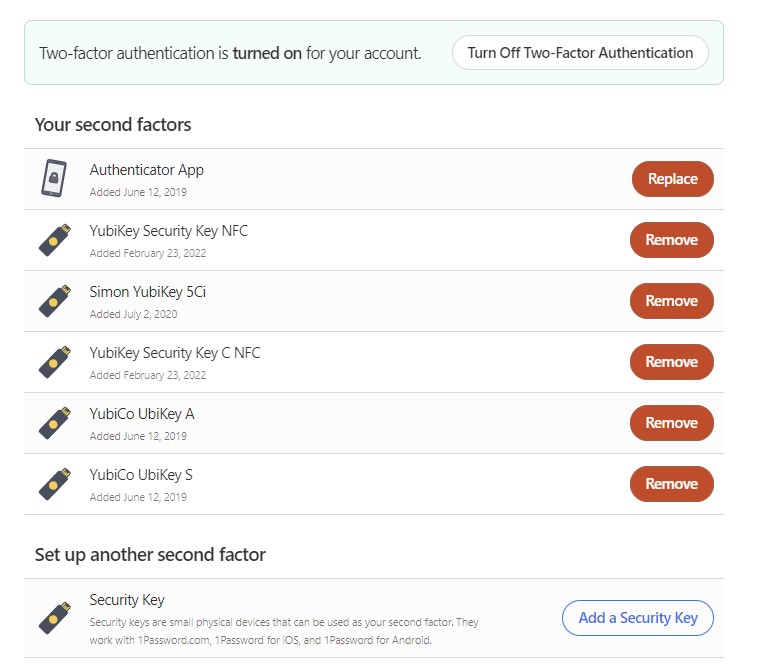
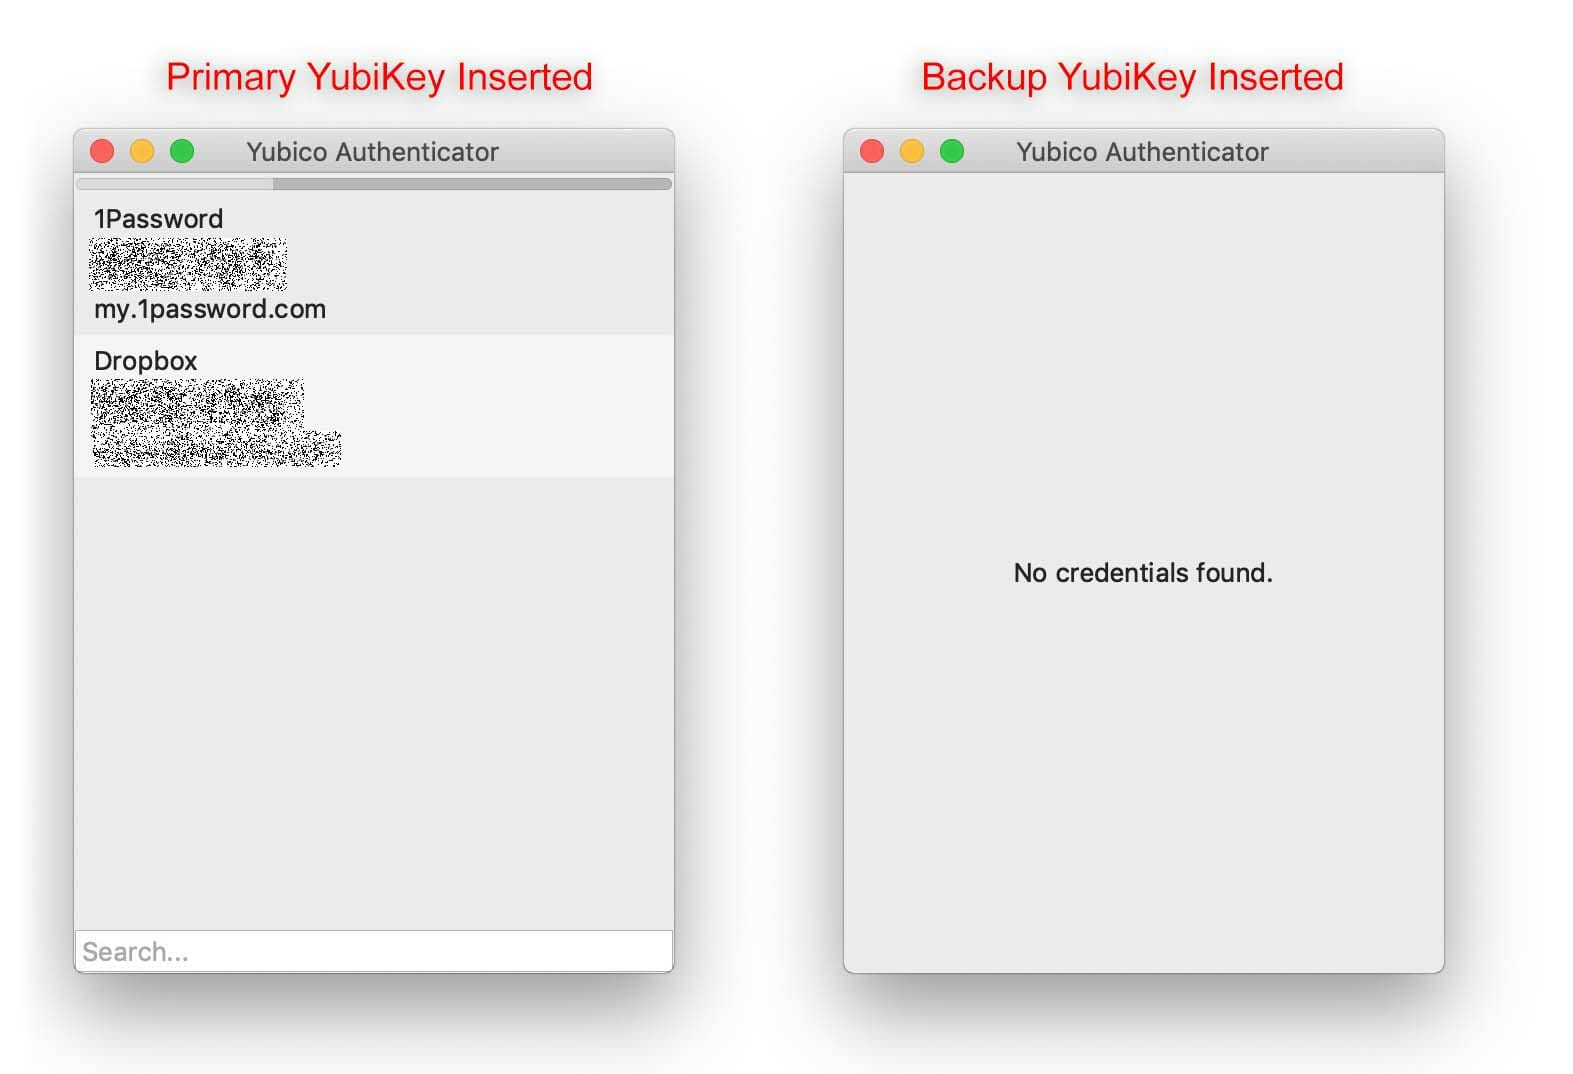
I have linked the new keys ot my critical sites
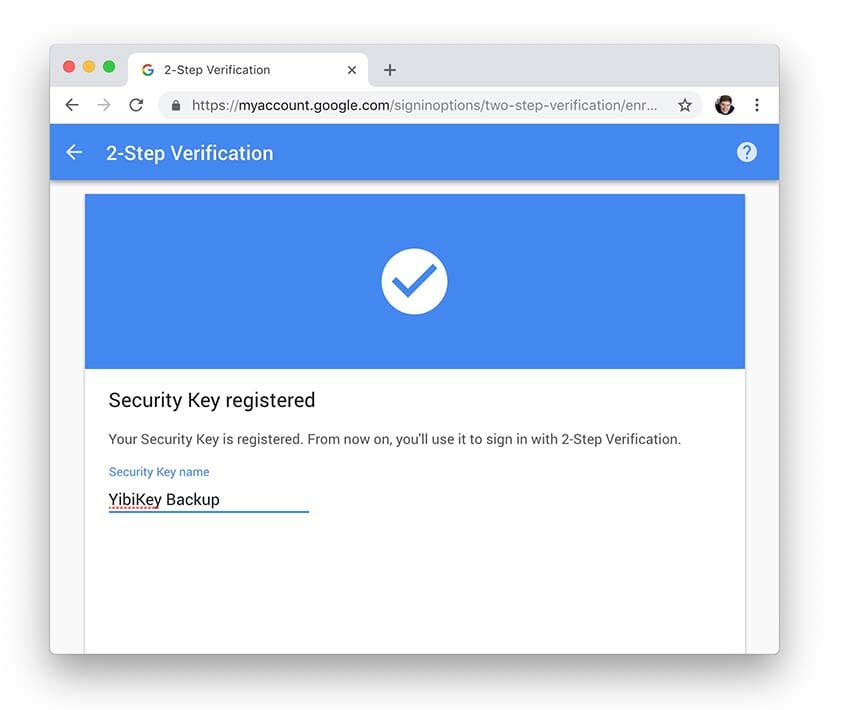
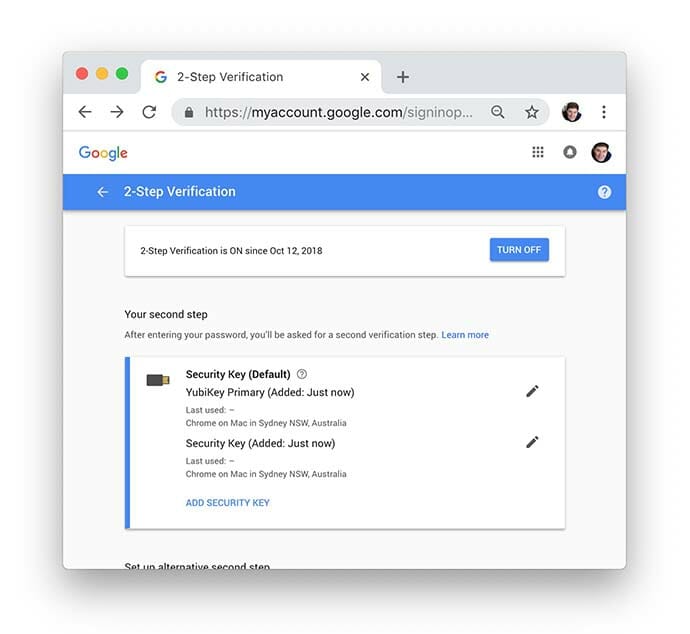
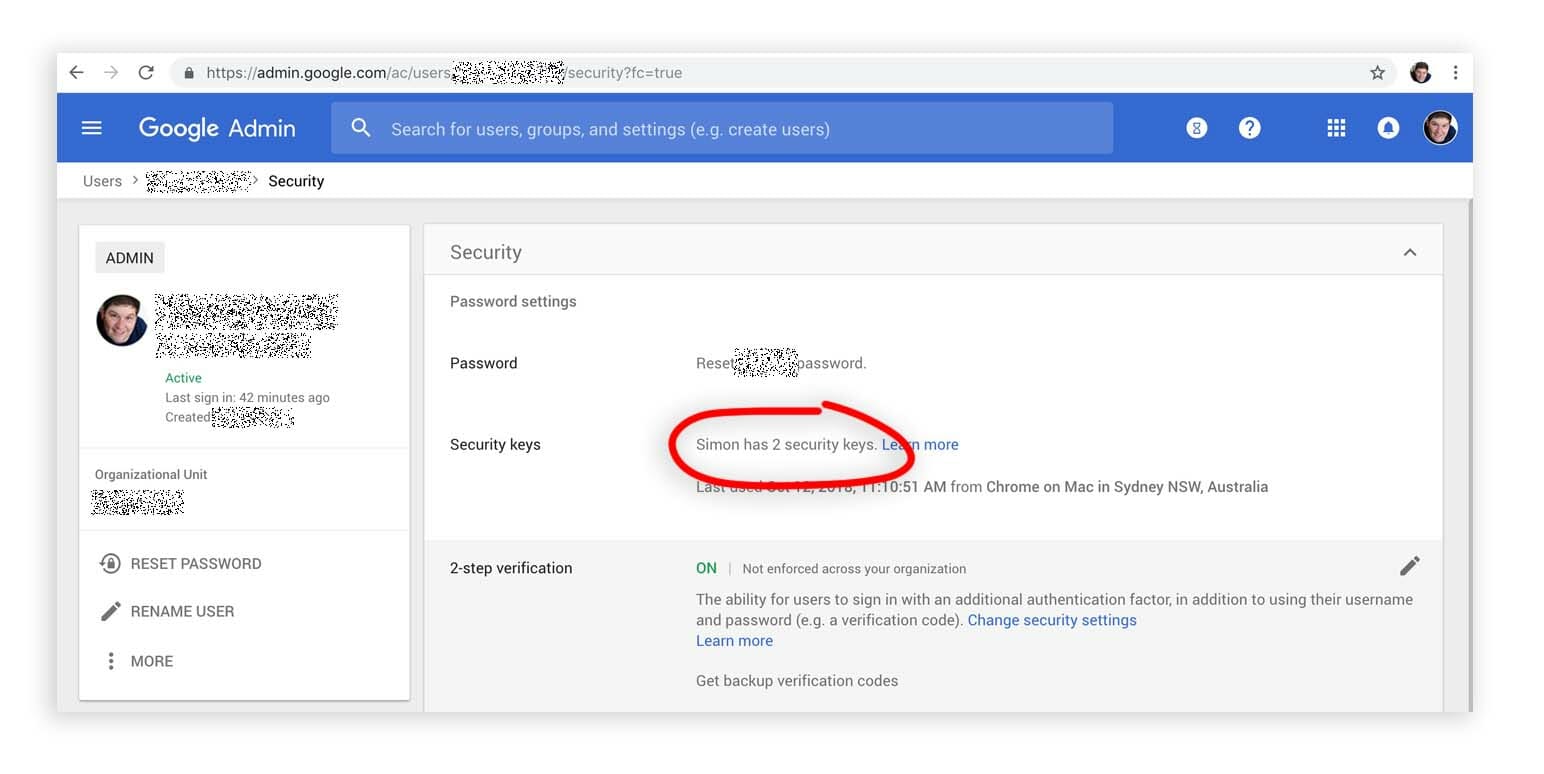
I now have a few keys added to critical site and I can put my keys in multiple safe places for backup.
Site A
Site B

Site C
Job done
Security Key Cons
- No OATH – TOTP (6 digit code based Two Factor Authentication) like on more expensive keys
- Setting a password with the YubiKey Manager is a bit hidden
Security Key Pros
- Low Price
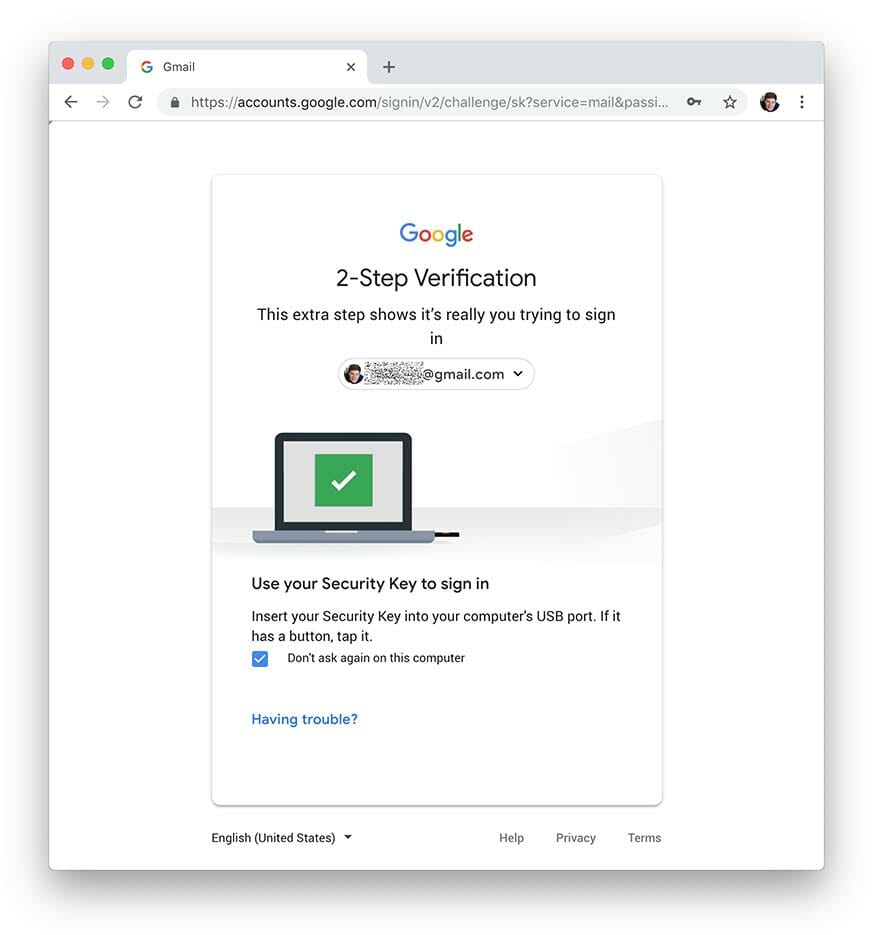
- Simple Tap to Sign in (when setup)


![Enter 2fa code on mobile app loginb]](https://fearby.com/wp-content/uploads/2018/05/pasword-2fa-005-mobile-login.jpg)